Dash Lights, Wrong LEDs & A Better Plan.
Only half the instrument cluster lit up, so I pulled it apart, found a disconnected wiring harness, ordered the wrong LED size, and eventually landed on the right plan: white LEDs shining through the original colored filters.
What is actually known about the dash lights.
Why did only half the cluster light up?
The exact cause is not fully proven. I found an entire harness disconnected behind the cluster, which is a strong clue, but bulbs, sockets, the printed circuit, and the dimmer still need to be considered.
Were the first LEDs installed?
No. They were the wrong physical size, so I stopped before forcing them into the original sockets.
Why use white LEDs instead of green?
The cluster already has colored filters. White LEDs should let those original filters create the display colors, but the final appearance and brightness have not been tested.
Did reconnecting the harness fix the lighting?
That has not been fully verified. The harness is connected again, but the corrected bulbs still need installation and the entire cluster needs a careful lighting test.
Can the wagon be driven for a nighttime test?
No. A separate compression test found 61 PSI in cylinder #1 beside three cylinders at 140 PSI. The engine should remain off until that sealing problem is repaired.
Mission: make the dash light up without changing its character.
The original plan was simple: remove the instrument cluster, figure out why the dash lights were only partially working, document the bulb types, and replace the old bulbs with LEDs.
The investigation found a useful clue right away: an entire wiring harness was disconnected behind the cluster. The first LED order was the wrong size, so the conversion stopped before installation. The corrected plan is to use properly sized white LEDs and let the original colored filters create the factory look.
The cluster removal that started the LED project.
This video covers the instrument-cluster removal, the surprise disconnected harness, and the bulb documentation that made an LED conversion possible. The cable and gear-indicator problems that followed now have their own page.
Why I took it apart
What I found
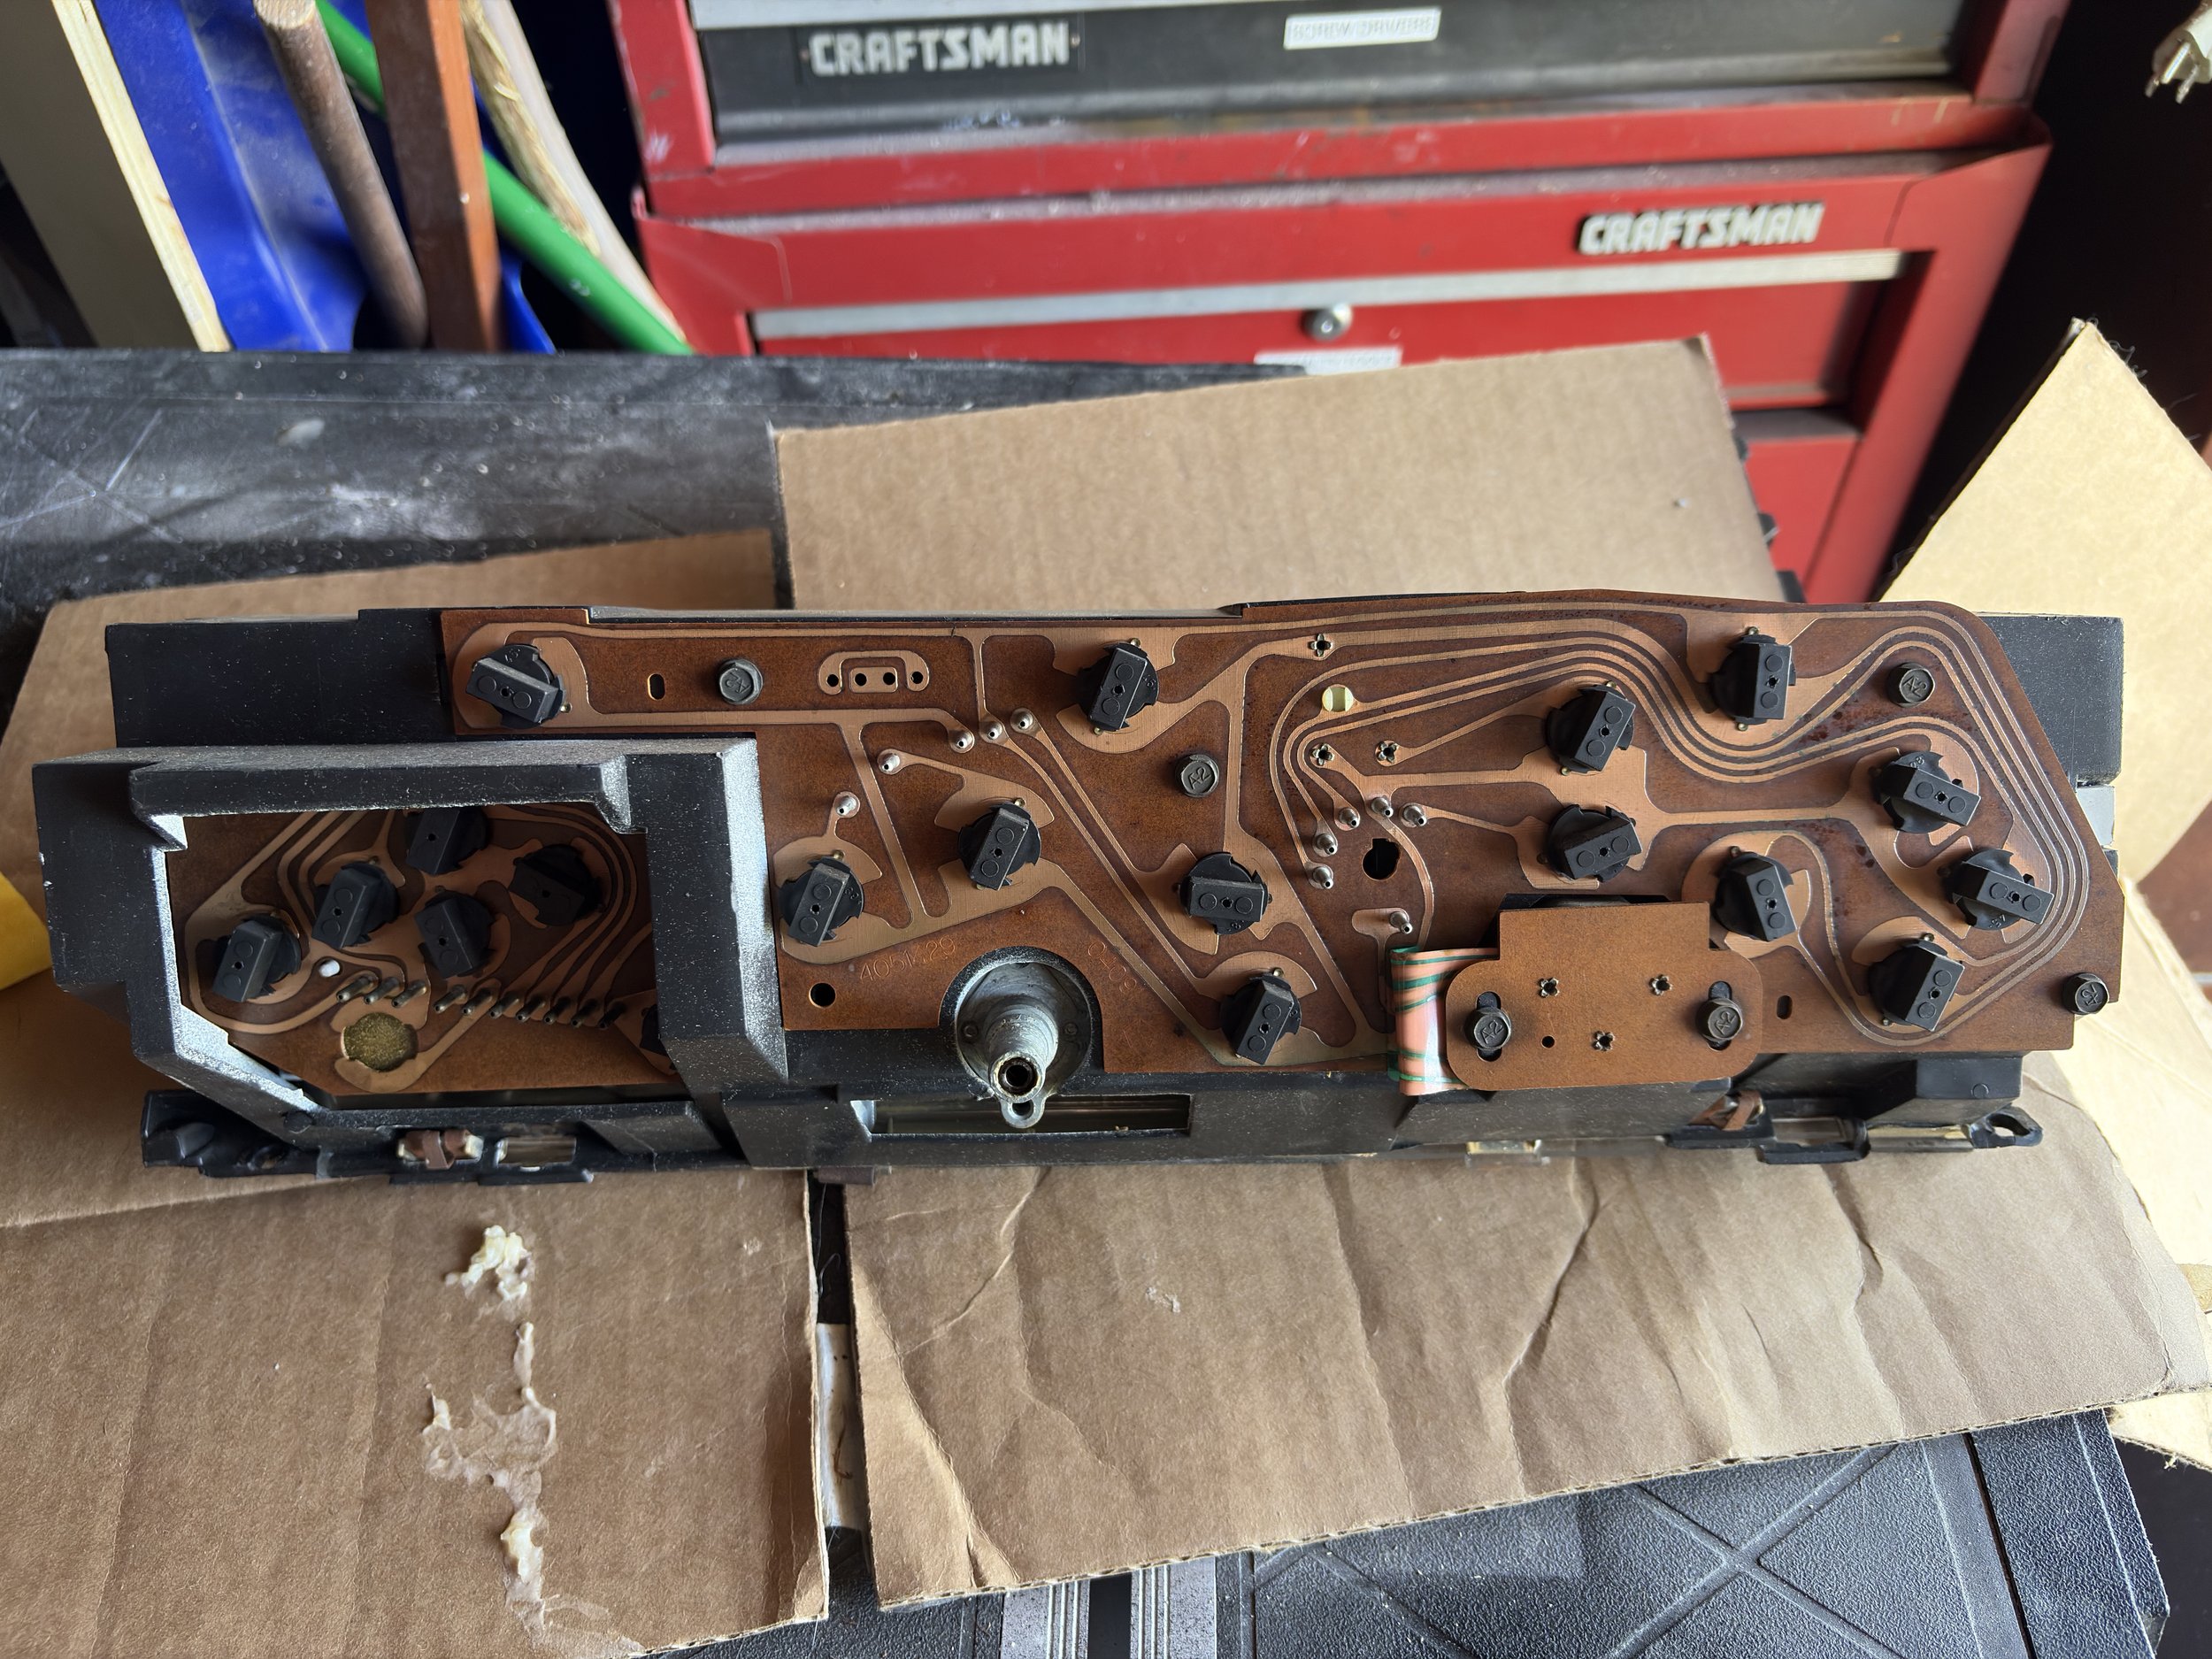
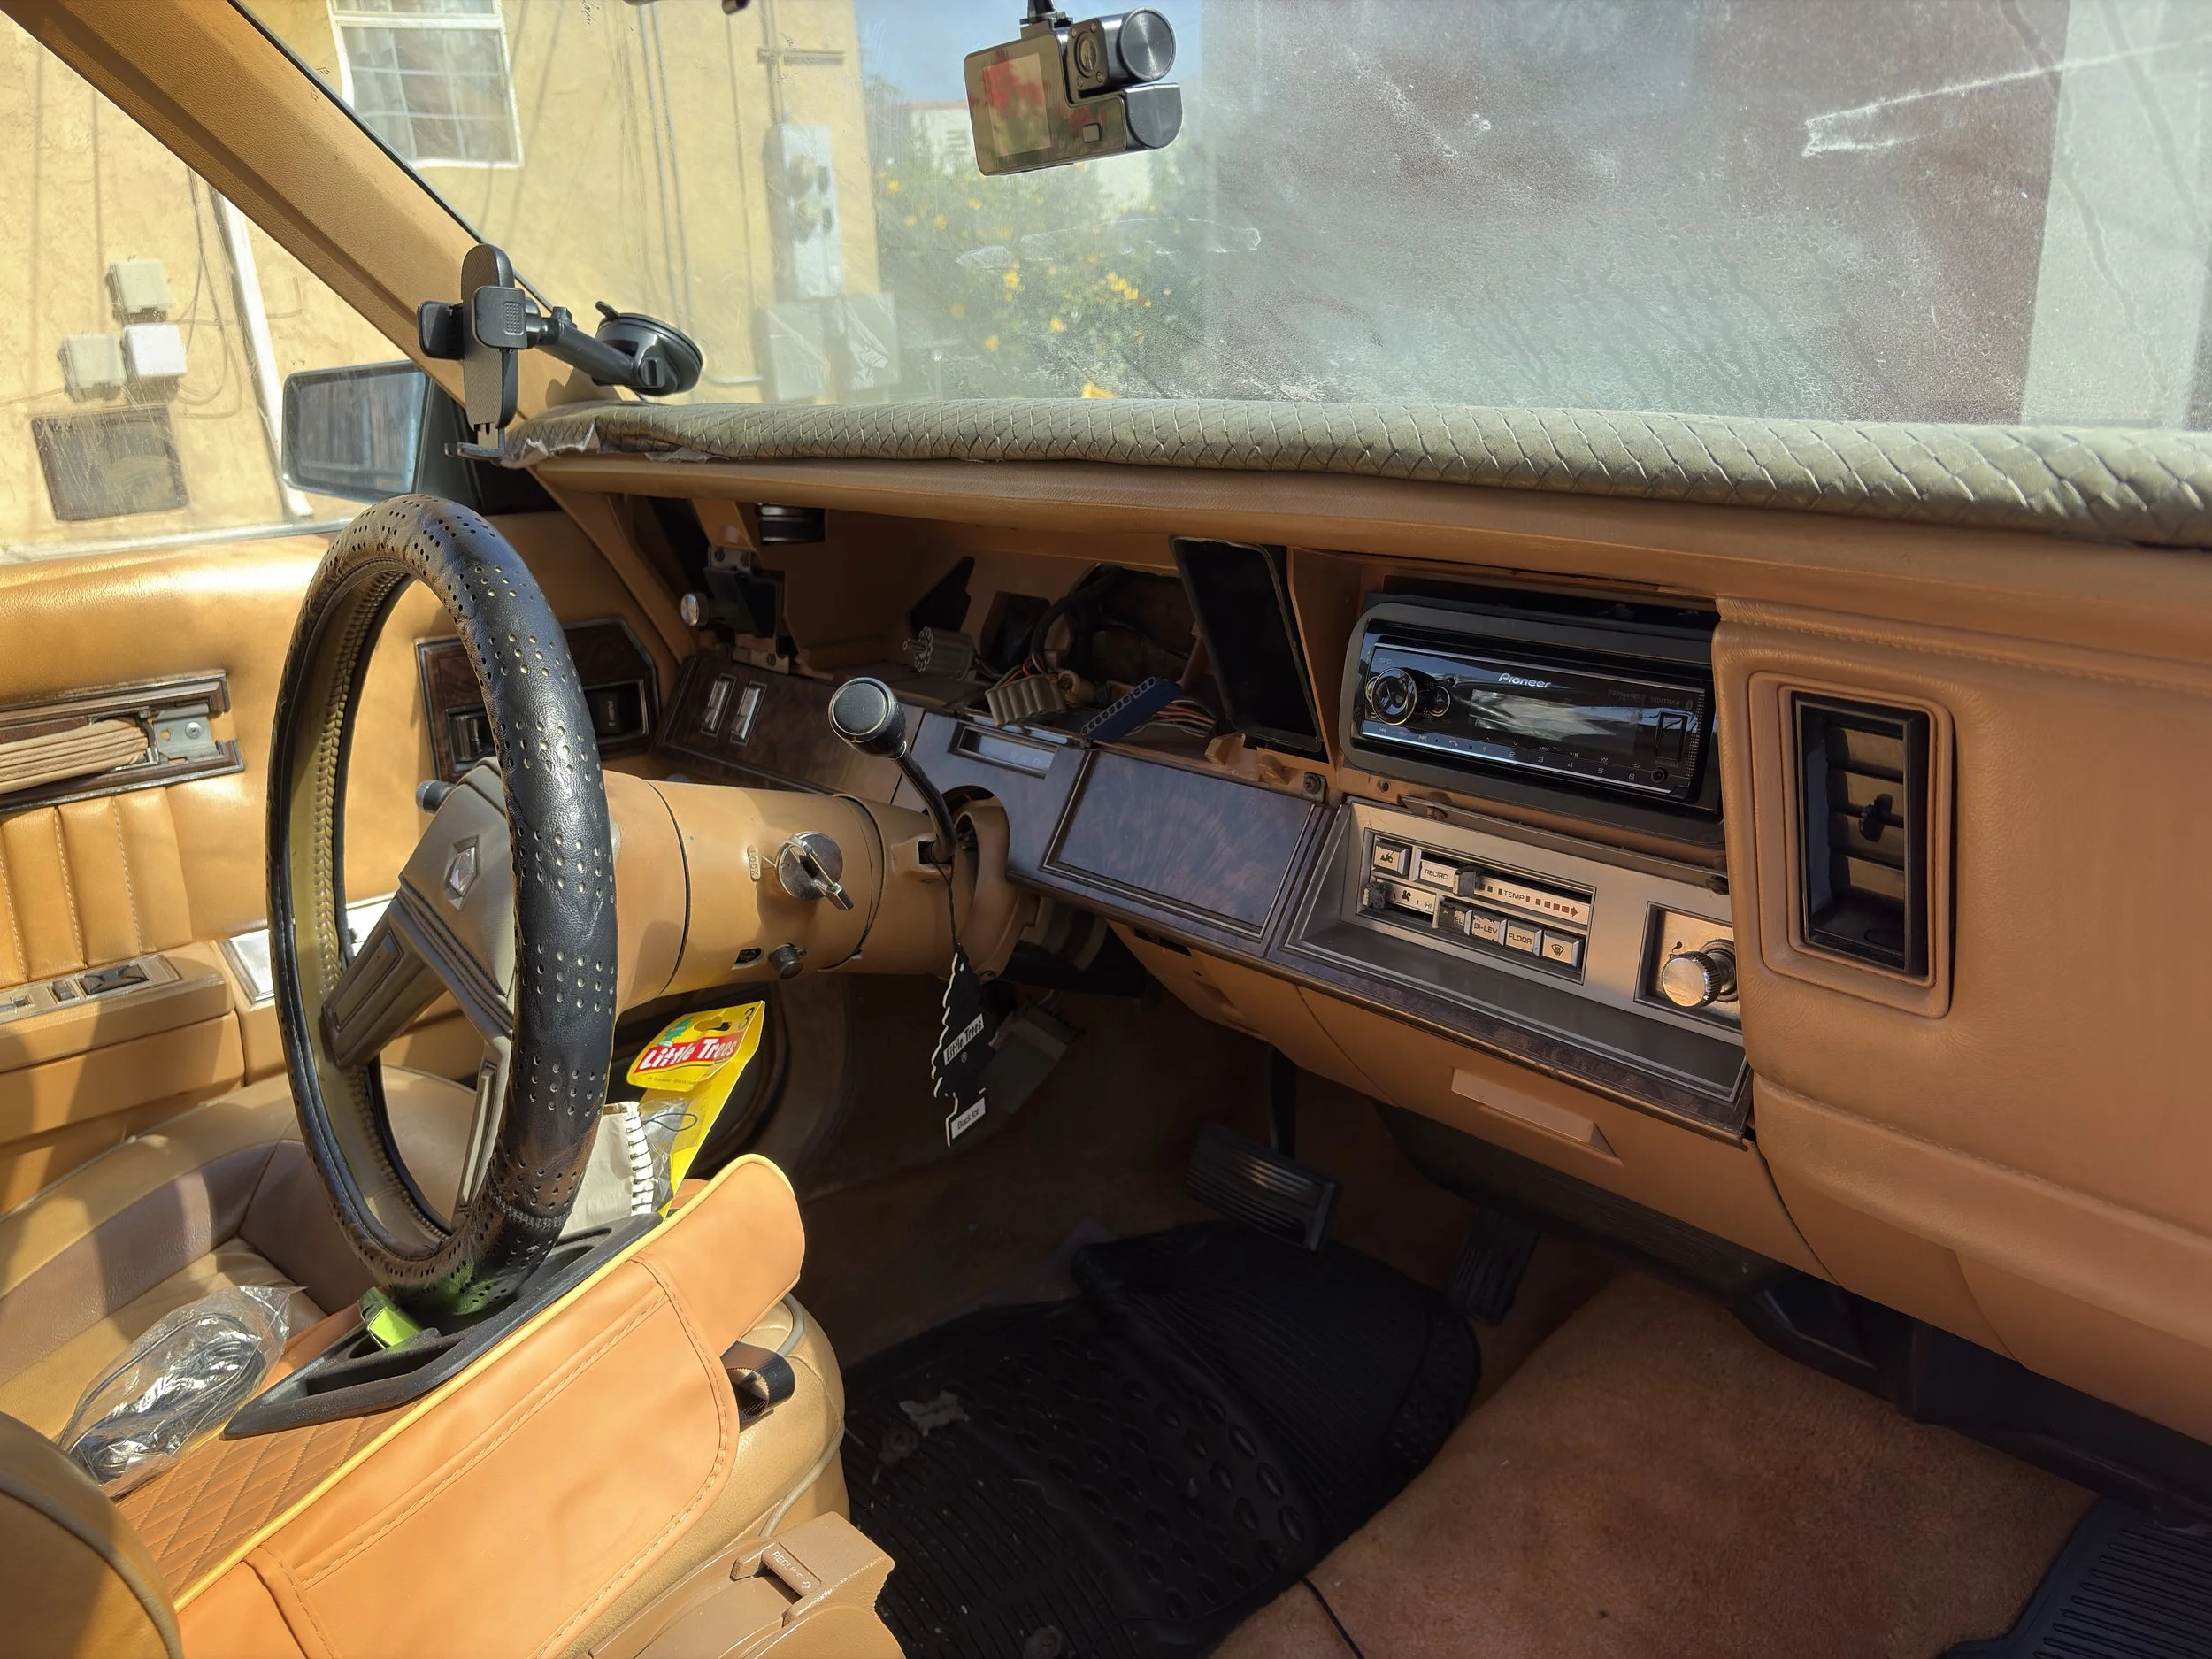
I expected to find some burned-out bulbs. Instead, I found that an entire wiring harness was disconnected behind the instrument cluster.
That was both exciting and annoying. Exciting because it could explain why part of the dash was not lighting up. Annoying because it means someone had been back there before and left things unfinished.
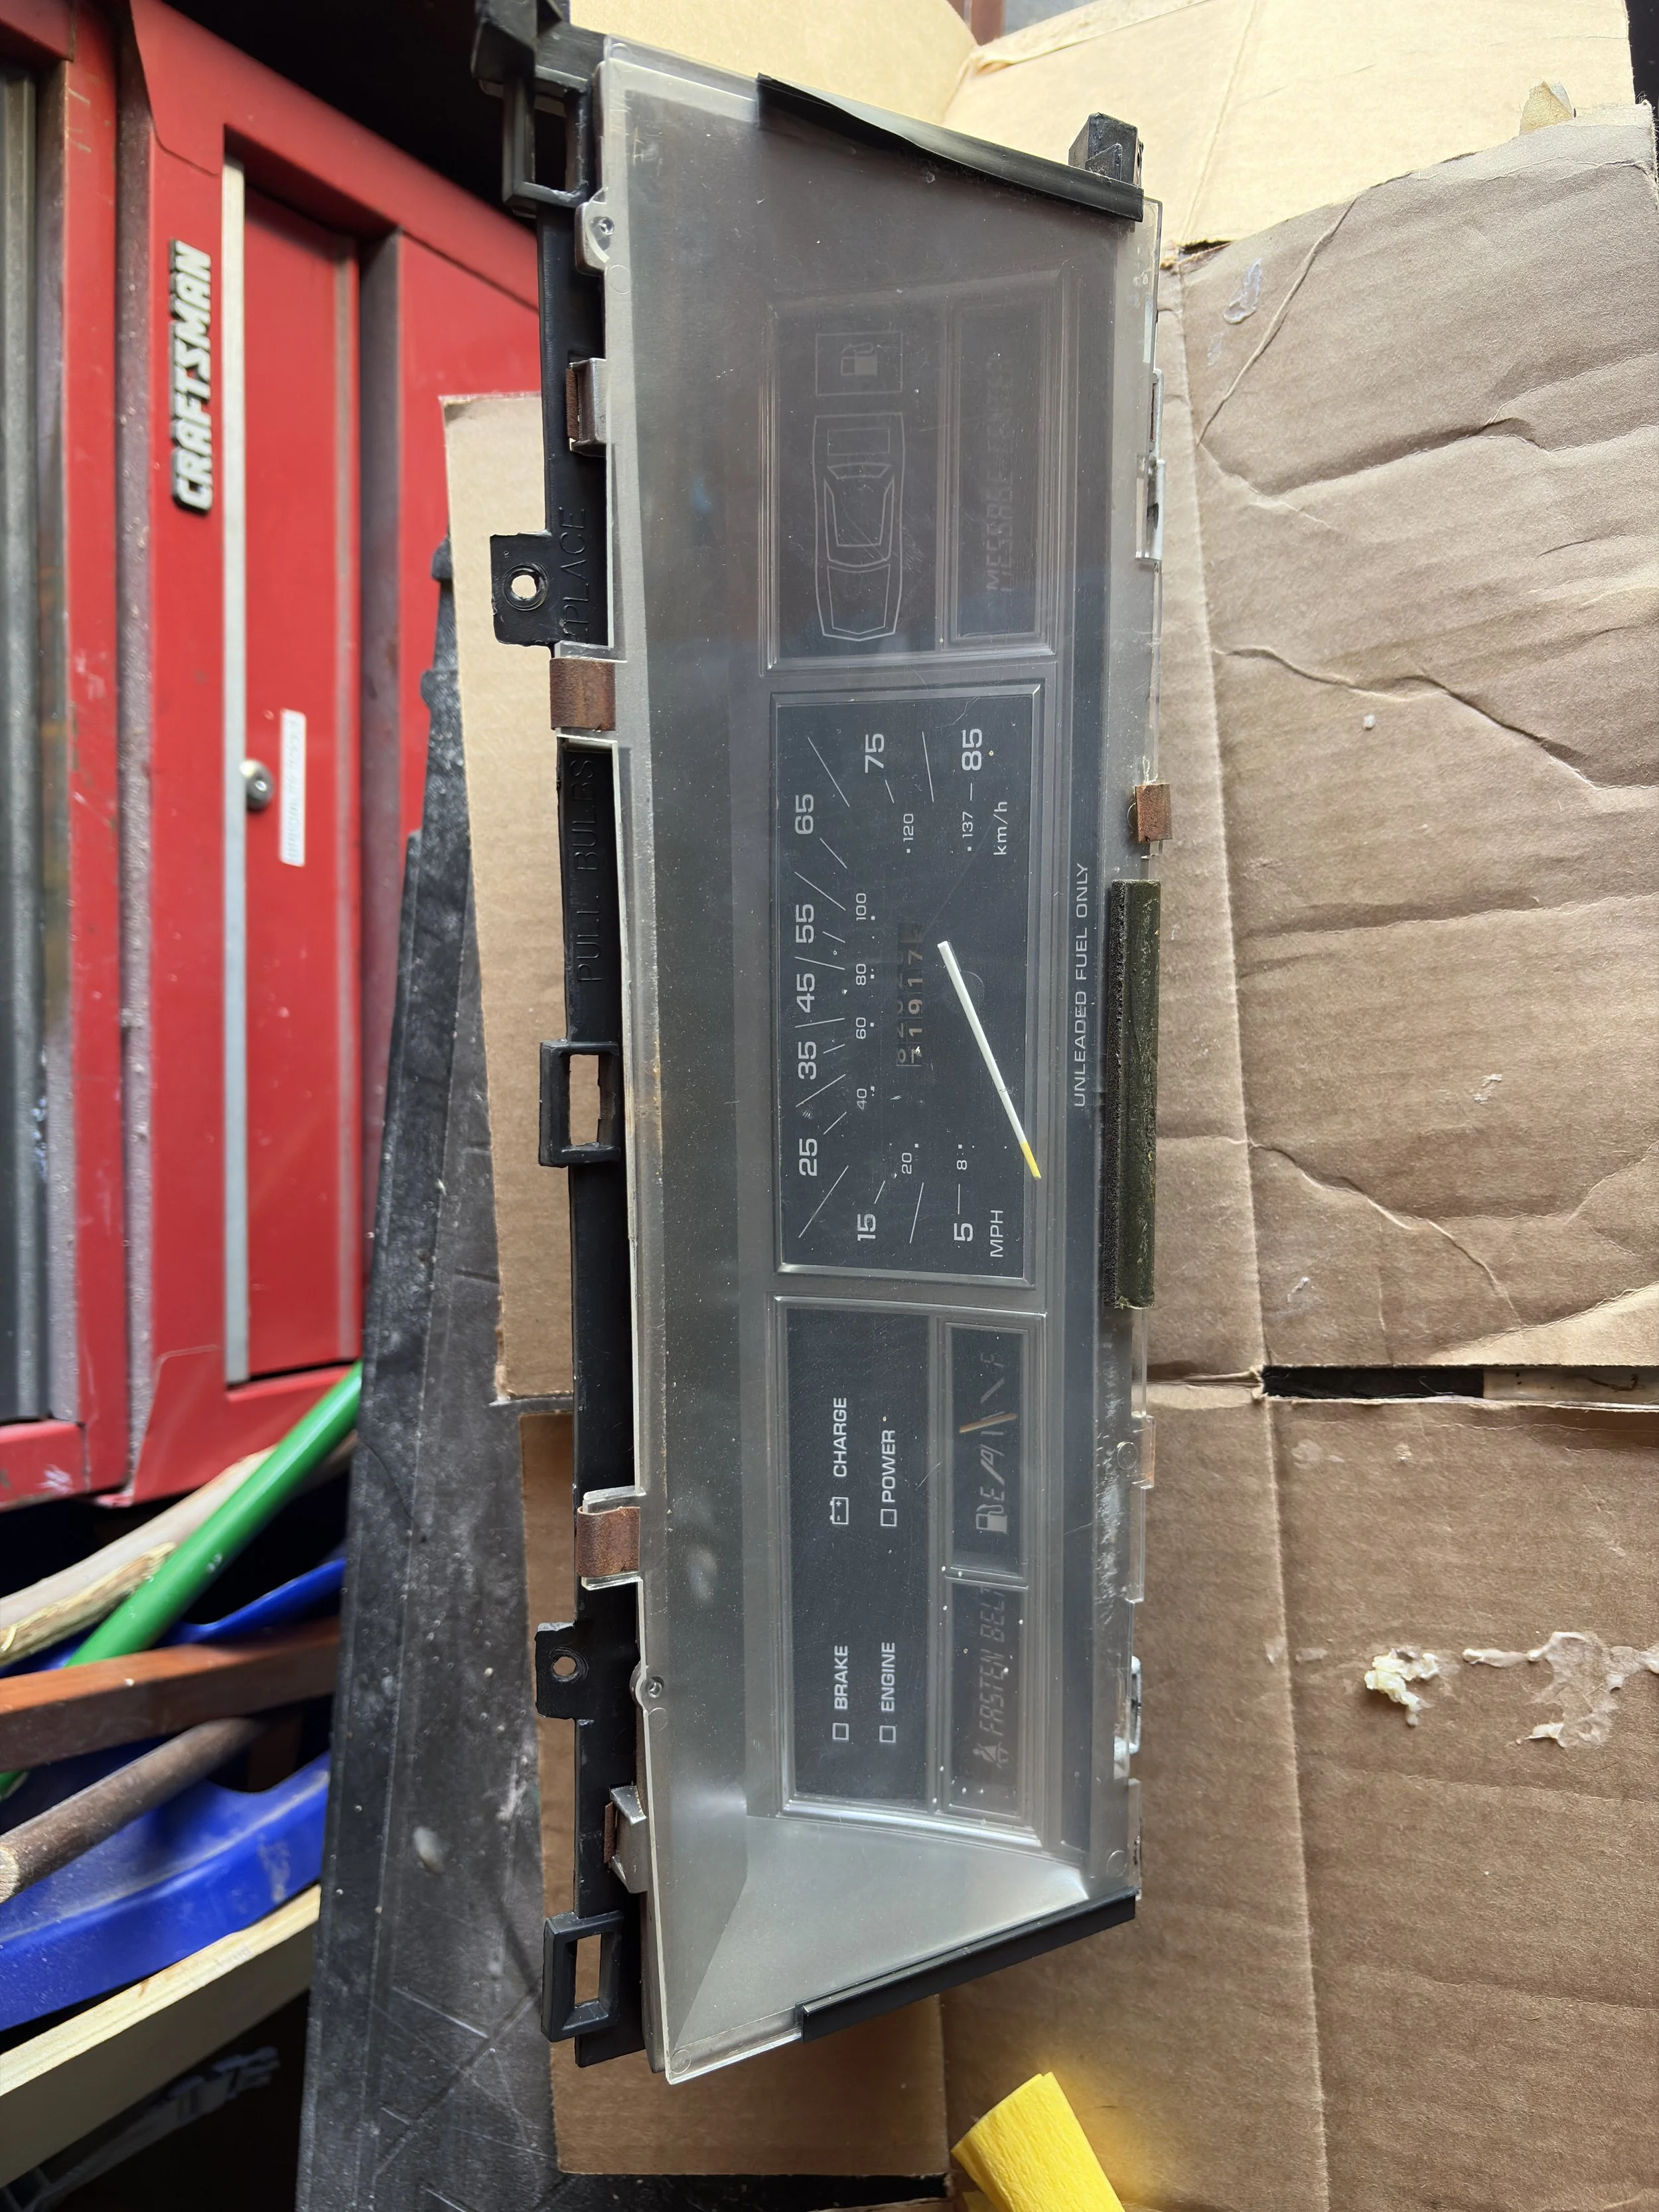
While everything was apart, I photographed the bulbs and sockets so I could match the replacements. My first order still missed the mark because the LEDs were the wrong size.
The corrected plan is white LEDs, not green ones. The white light should shine through the cluster's original colored filters, keeping the factory colors while making the display easier to see.
Equipment for dashboard archaeology.
What actually happened.
I started with the dash light problem.
Only half of the cluster was lighting up, so the goal was to inspect the bulbs, sockets, and wiring behind the instrument cluster.
I removed the instrument cluster.
I carefully pulled the cluster out far enough to inspect what was connected behind it. This is where the dashboard stopped being cute and started being a puzzle box.
I found a disconnected wiring harness.
Behind the cluster, one entire wiring harness was unplugged. That may explain why only part of the dash was lighting up.
I photographed the bulbs and sockets.
I documented what was already in the cluster so I could match the replacement style and size instead of trusting a generic listing.
I ordered the first set of LEDs.
This became the shortest repair attempt in the project. The replacements were the wrong size, so they never made it into the cluster.
I changed the bulb plan.
Instead of green LEDs, I chose white replacements in the correct size. The cluster's original colored filters should supply the color more evenly than colored LEDs would.
I reconnected the wiring harness.
The unplugged harness was put back where it belonged. That removed one obvious electrical problem before I added new bulbs to the system.
The cluster created two other side quests.
The speedometer cable was difficult to reconnect, and the gear indicator began catching after reassembly. Those problems are documented in the Instrument Cluster Adventure.
I stopped before forcing anything.
Old cluster plastic and printed circuits are not good places for improvisation. The lighting project paused until the correct bulbs and a careful test could happen together.
The lighting conversion is still unfinished.
The harness is reconnected, the bulbs are documented, the wrong-size order has been ruled out, and the white-LED plan is ready for the next careful attempt.
Useful progress, but not a finished conversion.
Current dash-light evidence.
These photos document the instrument cluster, original bulb locations, and the area behind the dash. They are the reference for matching the white LED replacements and putting every socket back in the right place.
What went sideways?
The first replacement LEDs were simply the wrong size. There was no clever workaround and no dramatic installation. I opened the package, compared the bulbs, and discovered that the repair was already over.
Removing the cluster also led to speedometer-cable and gear-indicator problems, but those belong to the Instrument Cluster Adventure. This page stays focused on getting the lighting plan right.
What I learned
Related repairs
Final result
Not finished yet. The disconnected harness is connected again, the original bulbs and sockets are documented, and the first LED order was confirmed to be the wrong size. Properly sized white LEDs are the next attempt.
The conversion still needs installation and an actual nighttime lighting test before I can call it fixed.
What supports this page.
I Took Apart My Dashboard On My Wagon. Regrets Followed. and the original cluster photos document the removal, disconnected harness, bulbs, and sockets.
Los Angeles Public Library Chilton access is the starting point for vehicle-specific instrument-cluster, wiring, and bulb information.
The Instrument Cluster Adventure records the speedometer-cable and gear-indicator problems. The dimmer investigation covers another part of the uneven-lighting diagnosis.
The current-state page explains why the wagon cannot be driven for a nighttime lighting test while the cylinder #1 problem remains unresolved.
The dashboard glow gets another attempt.
One disconnected harness gave me a useful clue. One wrong bulb order delayed the rest. The next round is about installing the correct white LEDs and seeing what actually lights up, without starting or driving the wagon.