The Dimmer Switch I Haven't Cleaned Yet.
The dash lights were uneven and the dimmer did not seem very helpful, so the switch went onto the suspect list. It has not been removed, cleaned, or proven faulty.
What is known about the dimmer switch.
Was the dimmer switch cleaned?
No. I have not removed, opened, sprayed, scrubbed, or cleaned the switch.
Is the dimmer switch bad?
That has not been proven. It seemed suspicious during the uneven-lighting problem, but it has not received a fair electrical test.
What else was found behind the dash?
An entire instrument-cluster wiring harness was disconnected. That is a confirmed electrical fault, although it does not automatically explain every dark section.
Were the replacement LEDs installed?
No. The first LEDs were the wrong size. Correctly sized white LEDs still need installation before the full lighting system can be judged.
Does the engine need to run for a basic light check?
No. A basic stationary illumination check can be done without starting or driving the wagon. The engine must remain off because cylinder #1 later measured only 61 PSI.
This is a possible cause, not a completed repair.
When only part of the 1985 Chrysler Town & Country wagon's instrument cluster lit up, the dimmer switch seemed like one reasonable place to investigate. Old electrical contacts can cause inconsistent lighting, but that does not prove this switch is the problem.
I have not taken the dimmer apart or cleaned it. The cluster investigation also uncovered a disconnected wiring harness, and the first replacement LEDs were the wrong size. Those known problems need to be sorted out before I blame one small switch for the whole dashboard.
What I actually observed
What I have not established
There are other suspects with better evidence.
The dimmer originally looked suspicious because the lighting was inconsistent. Then the instrument cluster came out and revealed an unplugged harness. That is a real electrical fault, while the dimmer is still only a theory.
The bulb swap added another complication. The first LEDs never went in because they were the wrong size. The corrected plan uses properly sized white LEDs so the original colored filters can create the factory dashboard colors.
Test the system before taking the switch apart.
Finish the known lighting work.
Install the correctly sized white LEDs and confirm that every bulb and socket is seated properly.
Verify the cluster connections.
Make sure the wiring harnesses remain fully connected before assigning the problem to the dimmer.
Test the lights at night.
Turn on the exterior lights, observe every instrument section, and move the dimmer slowly through its full range.
Separate switch behavior from bulb behavior.
Note whether all working lights brighten and dim together, remain at one level, flicker, or drop out at certain positions.
Only then decide whether to remove it.
If the test points back to the switch, use the correct service information and inspect it carefully before choosing a cleaning method or replacement.
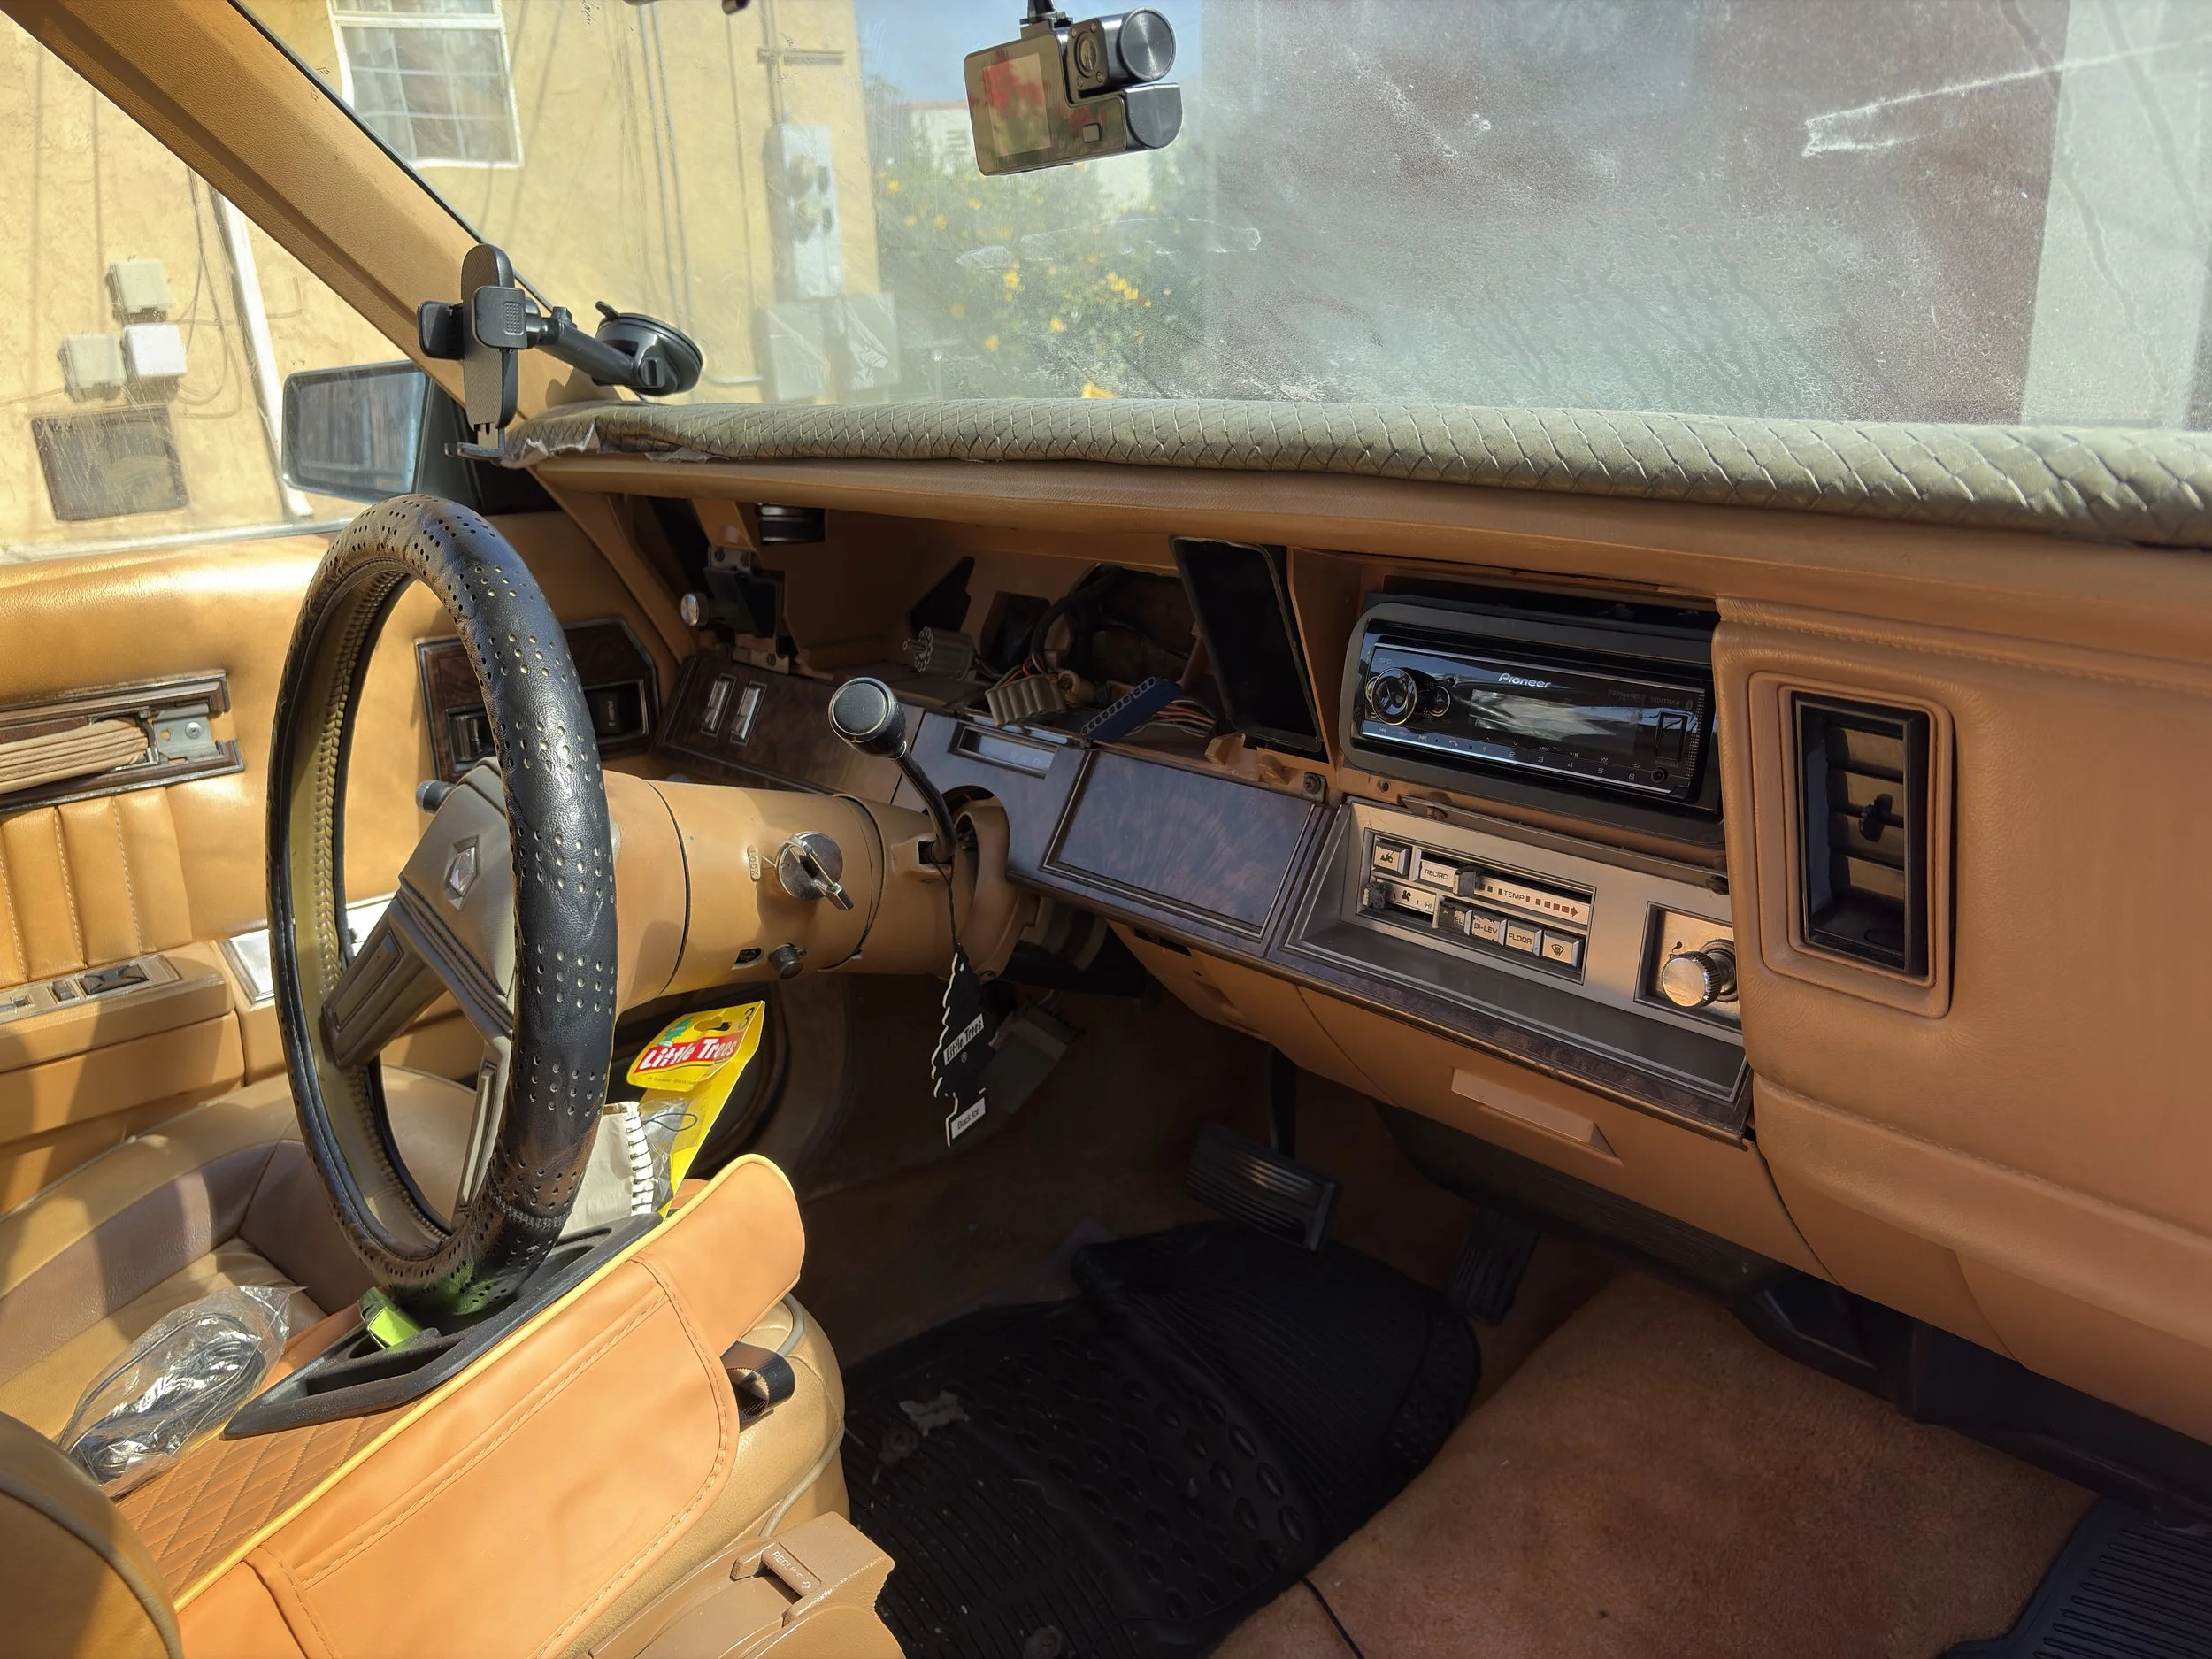
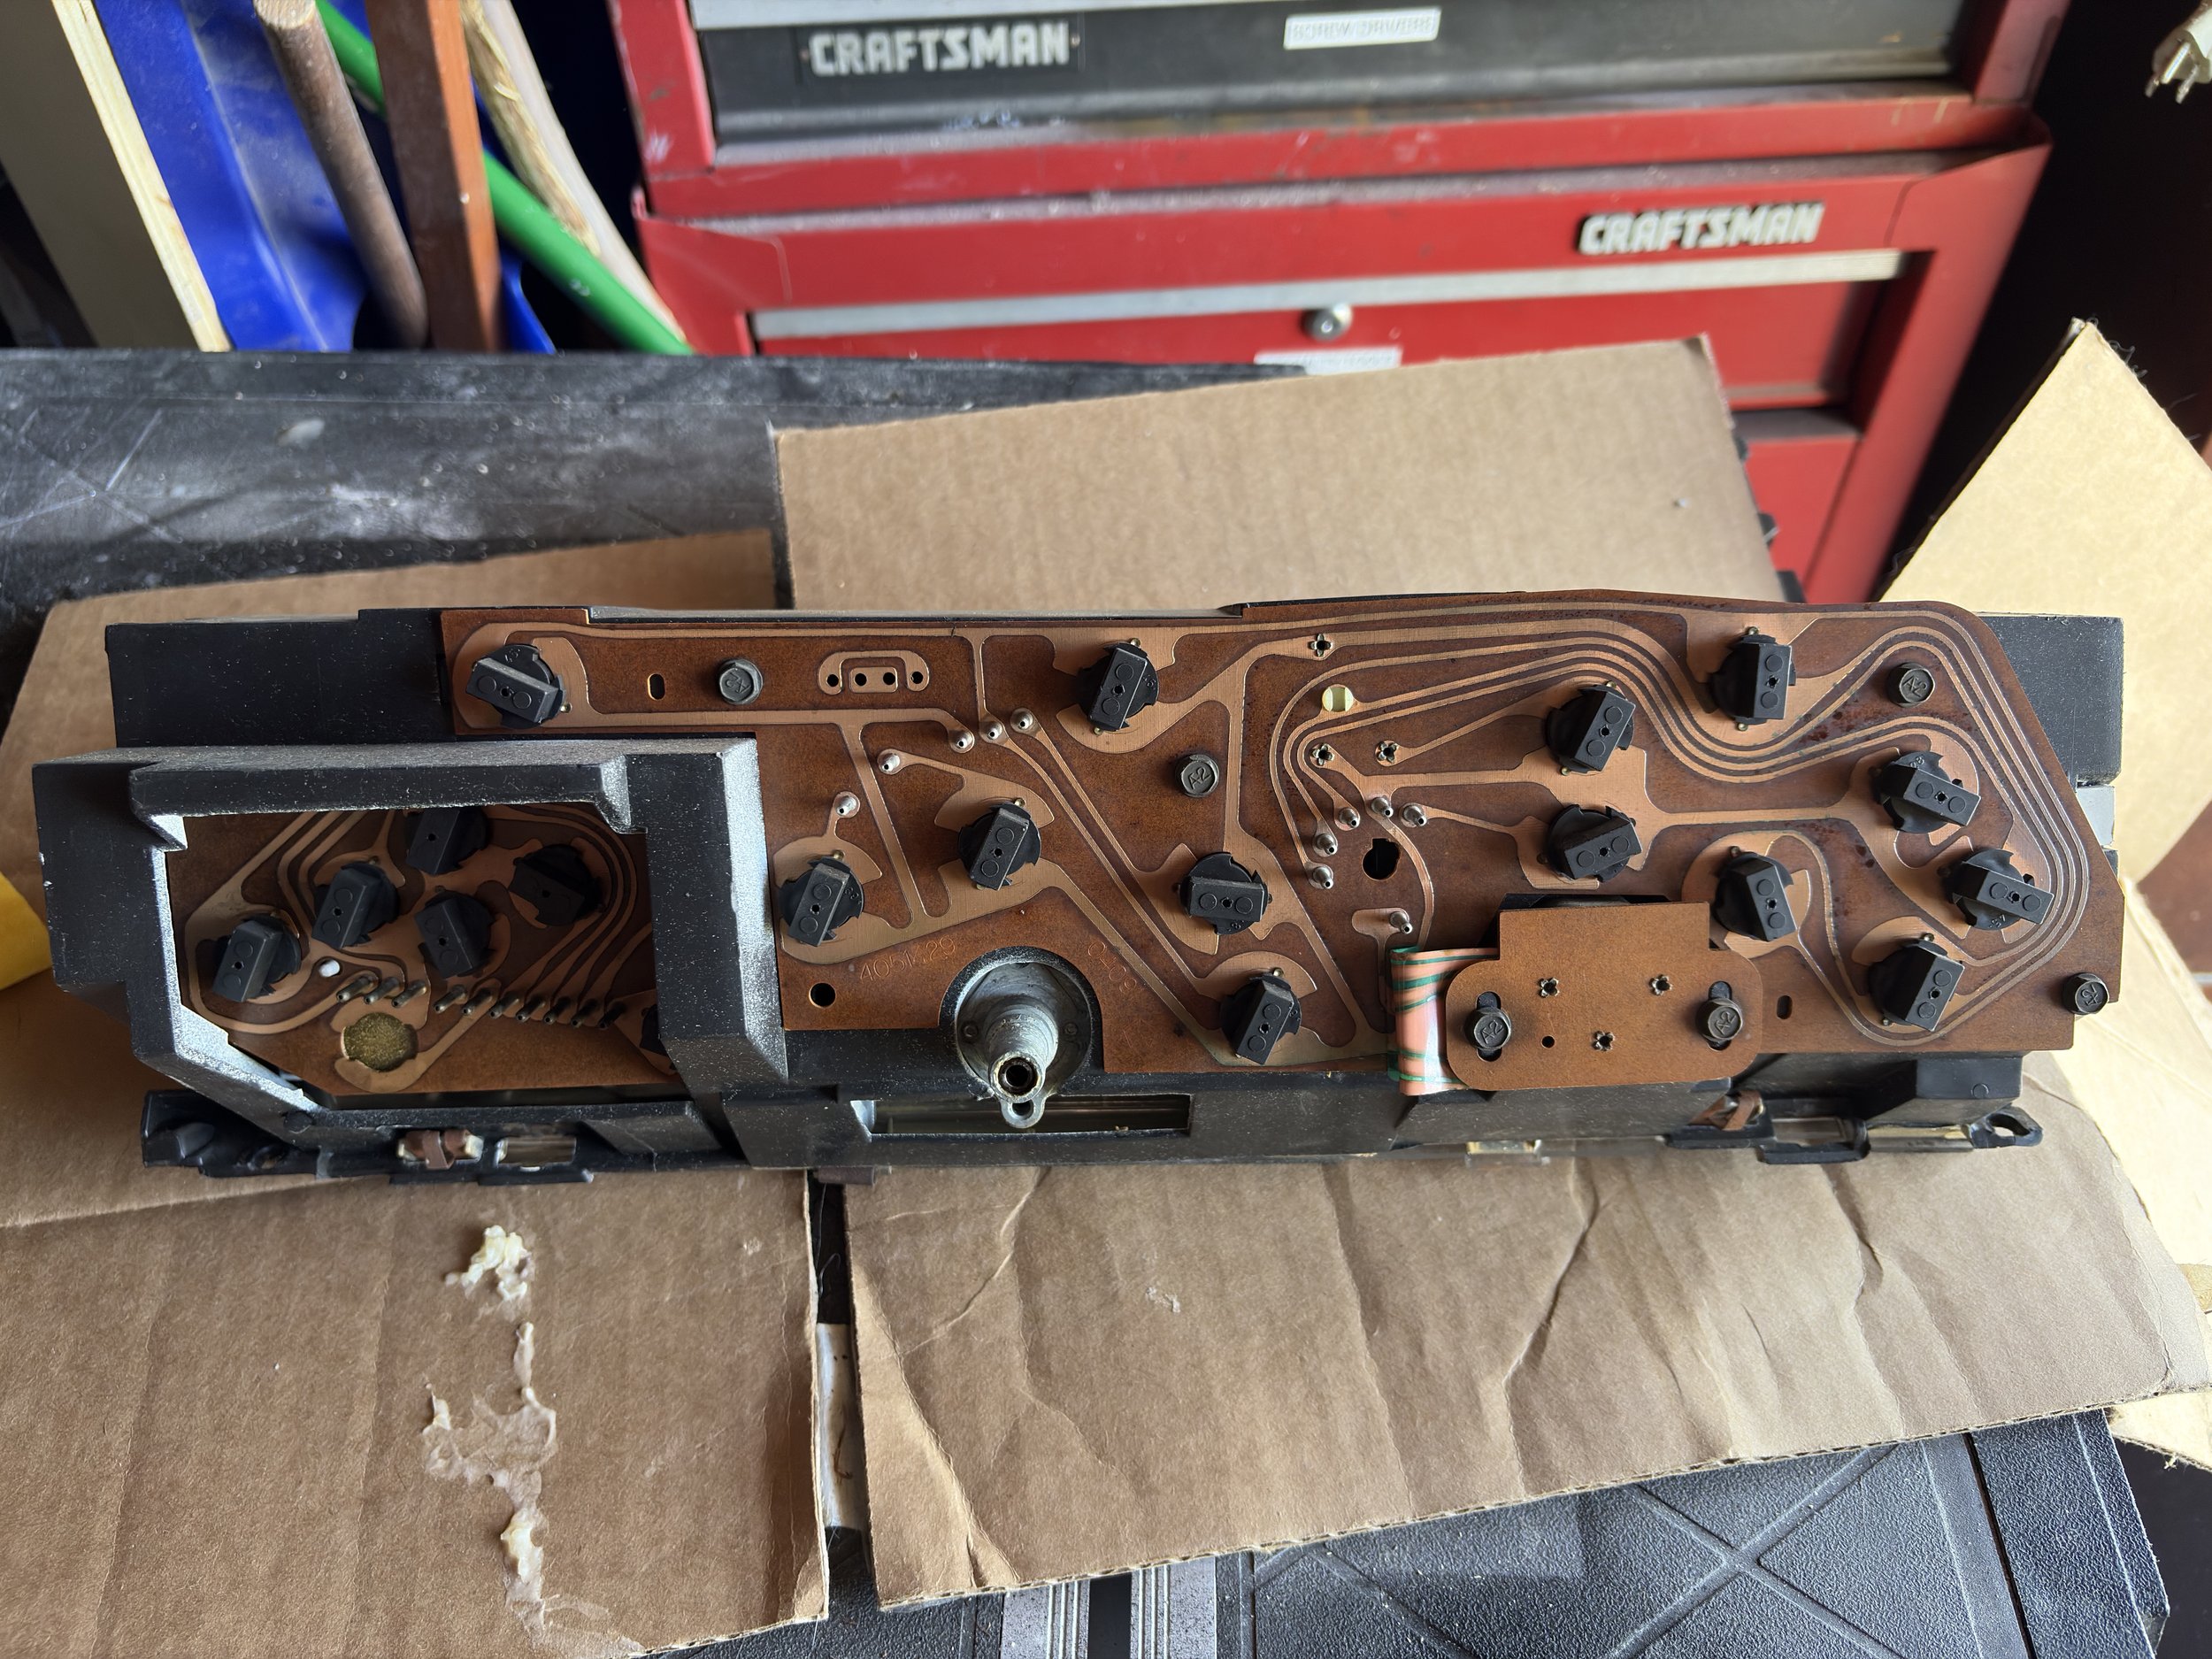
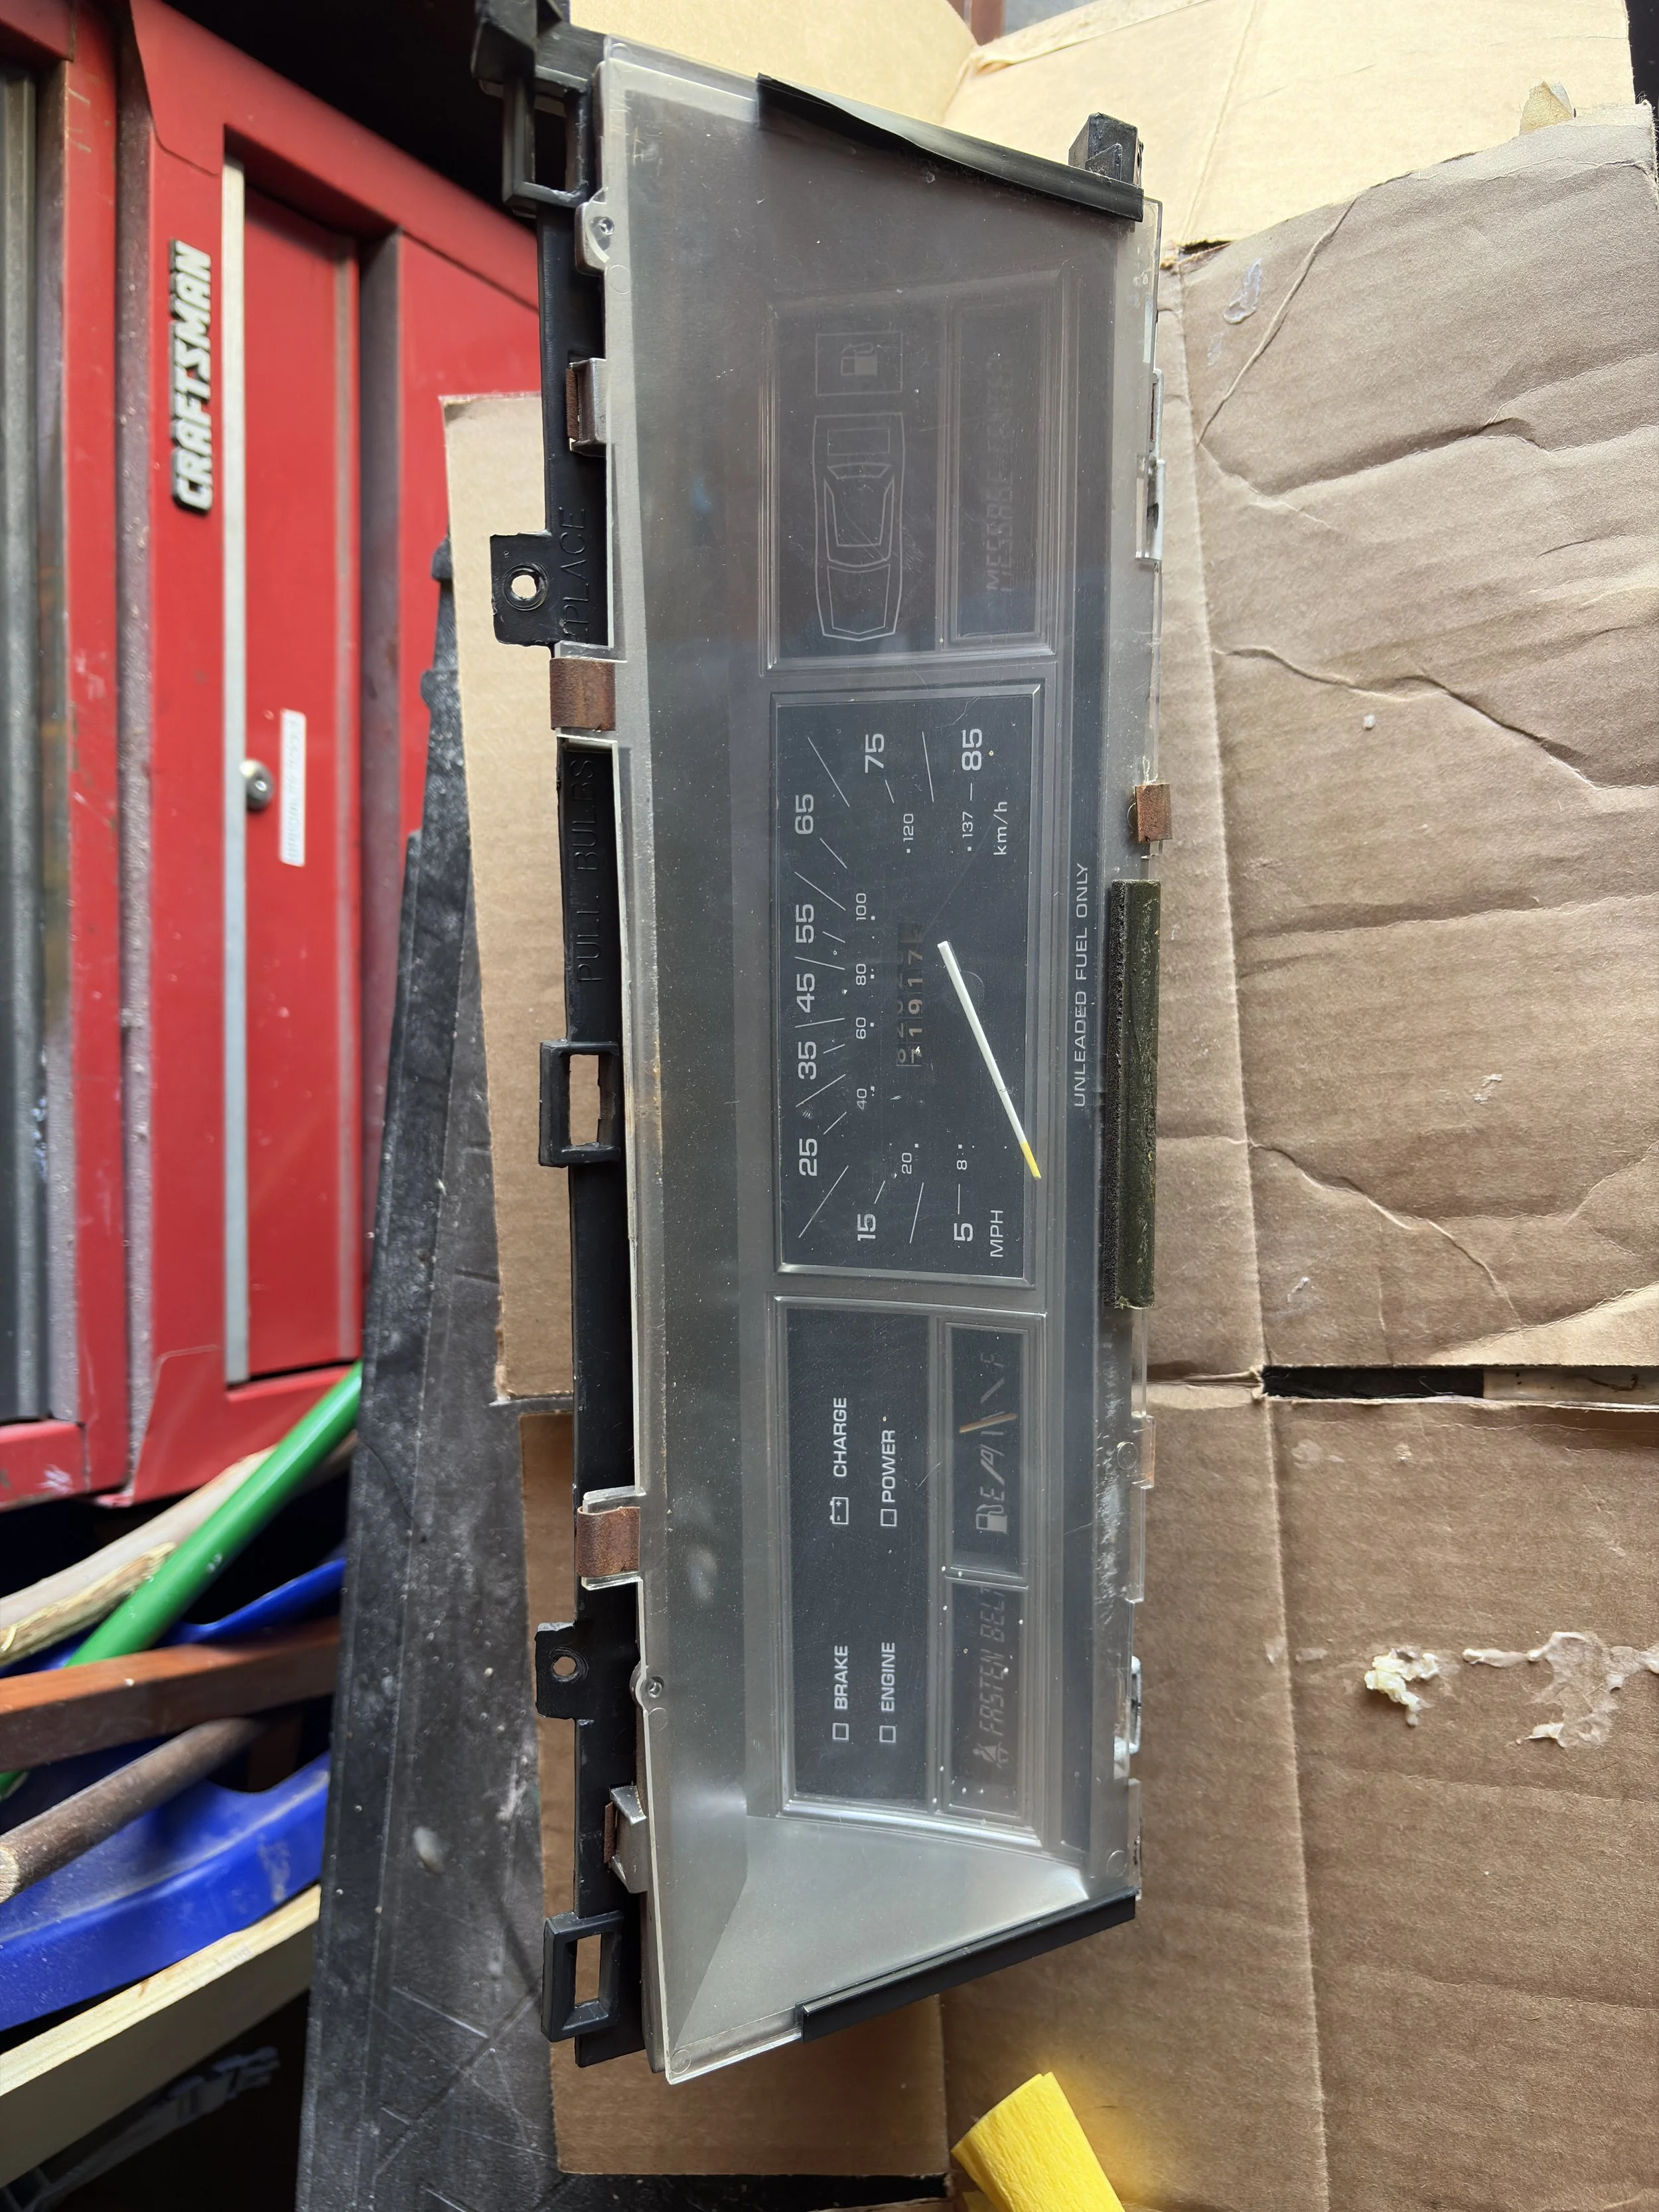
The dashboard as it actually sits.
These photos document the instrument-cluster area and the dash-light project around it. They do not show a completed dimmer-switch cleaning because one never happened.
Current conclusion
The dimmer remains on the diagnostic list, but it is not a confirmed failure and it has not been cleaned. The disconnected harness and unfinished LED conversion are more concrete parts of the lighting problem right now.
Once the correct bulbs are installed and the complete cluster is tested, this page can be updated with an actual result instead of a confident guess.
Related dashboard work
What supports this page.
The BWG photos document the opened dash, removed cluster, original bulb sockets, and the area where the disconnected harness was found. They do not show a cleaned dimmer switch.
Los Angeles Public Library Chilton access is the service-information starting point for the vehicle-specific lighting circuit, switch access, and electrical checks.
Dash Lights & LEDs documents the disconnected harness and wrong-size LEDs. The Instrument Cluster Adventure records the cable and gear-indicator complications.
The current-state page records the cylinder #1 problem and why any dashboard check must be stationary with the engine off.
Still on the list. Still not cleaned.
First the correct white LEDs. Then a real lighting test. If the evidence points back to the dimmer, it can finally earn the repair page its URL promised.