Fuel smell after shutdown.
My 1985 Chrysler Town & Country Turbo developed a fuel odor after shutdown while I was also chasing hard starting, stalling, and a hot no-start. The smell is real. Its source is still unknown.
What is known about the fuel odor.
When did the fuel smell appear?
The odor was noticeable after shutdown, during the period when the wagon also had hard starting, stalling, and a hot no-start.
Was an active liquid-fuel leak confirmed?
No. The odor could have come from liquid fuel or vapor, and no hose, fitting, injector-area component, tank connection, or vapor line has been proven responsible.
Does key cycling prove lost fuel pressure?
No. Cycling the key three times often helped it start, but that observation alone does not identify a bad pump, check valve, regulator, injector, or external leak.
What should be checked next?
With the engine cold and off, inspect the fuel hoses, connections, injector area, vapor plumbing, tank, and filler-neck area. Any later running test must wait until the engine is safe to operate.
Can the wagon be started or driven?
No. The unresolved fuel odor is a safety concern, and a separate compression test found 61 PSI in cylinder #1 beside three 140 PSI readings.
A real symptom without a confirmed source.
The fuel smell appeared after the wagon was shut off, when heat and pressure were settling under the hood. Around the same period, the engine often started more easily after I cycled the key three times, later stalled while driving, and once refused to restart for about 20 minutes while it was hot.
Those symptoms may be related, but I do not have evidence that one failure explains all of them. The later compression test found a major mechanical problem in cylinder #1, so the wagon is parked while that takes priority.
What I actually observed
What remains unknown
The engine problem moved to the front of the line.
A later compression test measured 61 PSI in cylinder #1 while cylinders #2, #3, and #4 each measured 140 PSI. Clear liquid had also appeared on the firing tip of the #1 spark plug, and coolant surged from the open radiator neck while the engine was cranked.
That does not explain the fuel odor, but it does mean the engine has a confirmed mechanical problem that must be understood before the wagon runs again. The fuel system still needs its own careful inspection after the cylinder #1 diagnosis is resolved.
How the problem developed.
Starting took more than one try.
I could hear the fuel pump switch on, but the wagon often acted as if it was not getting fuel. Cycling the key three times before cranking usually helped.
It cut out under acceleration.
While getting onto the highway, the wagon jerked as if power briefly dropped and then returned. It did not stall during that event.
The wagon stalled while driving.
I got it restarted, but the same trip produced a no-start after shutdown.
It would not restart while hot.
After roughly 20 minutes of cooling, it started again. At stops it wanted to stall, so I shifted into Park and gave it some throttle to keep it running.
The fuel odor appeared.
The smell was noticeable after the engine was turned off. That made a heat-related leak, seep, pressure-loss issue, or vapor-system problem worth investigating, but did not identify which one.
The compression test changed the priority.
Cylinder #1 measured 61 PSI beside three matching 140 PSI readings. The wagon stayed parked while the mechanical engine problem moved ahead of the fuel-smell investigation.
Inspect before replacing parts.
Once it is safe to continue, the next fuel-system work is a cold visual inspection followed by a careful check during and immediately after brief operation. No hose or component gets blamed without evidence.
Confirm the odor is actually gone.
Any eventual repair will need the same shutdown and heat-soak conditions repeated safely before I call this problem fixed.
Current fuel-smell evidence.
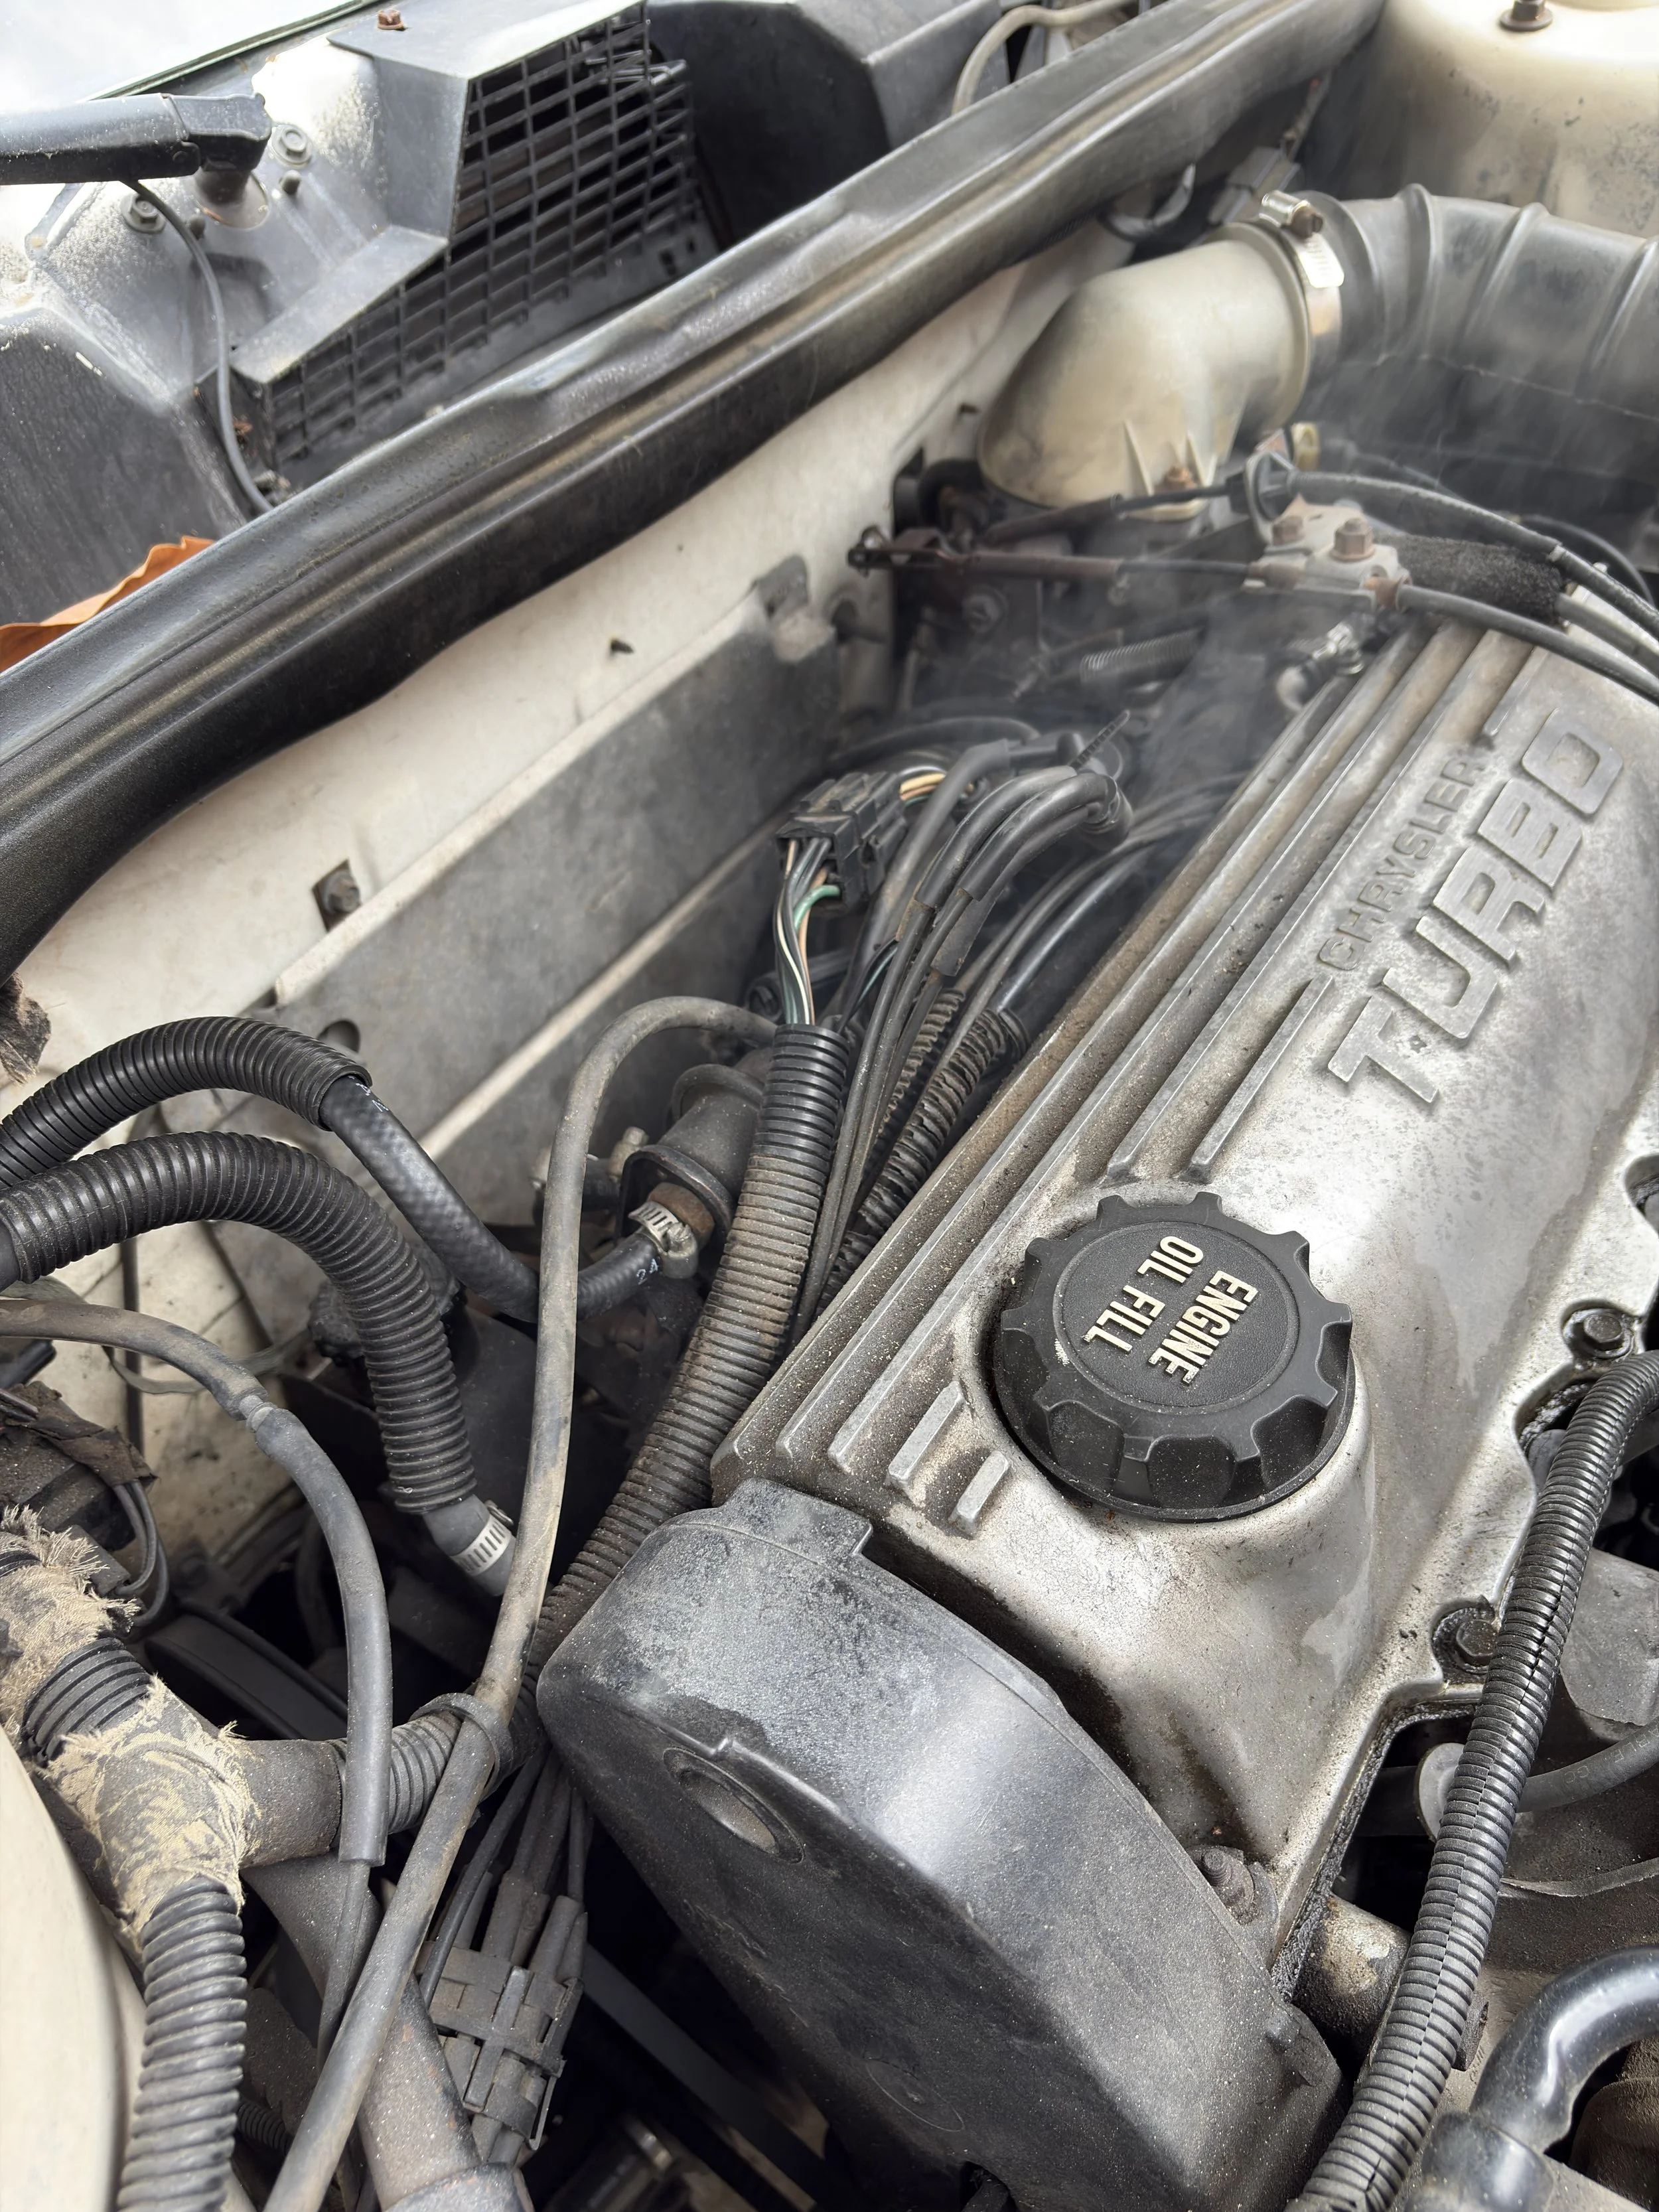
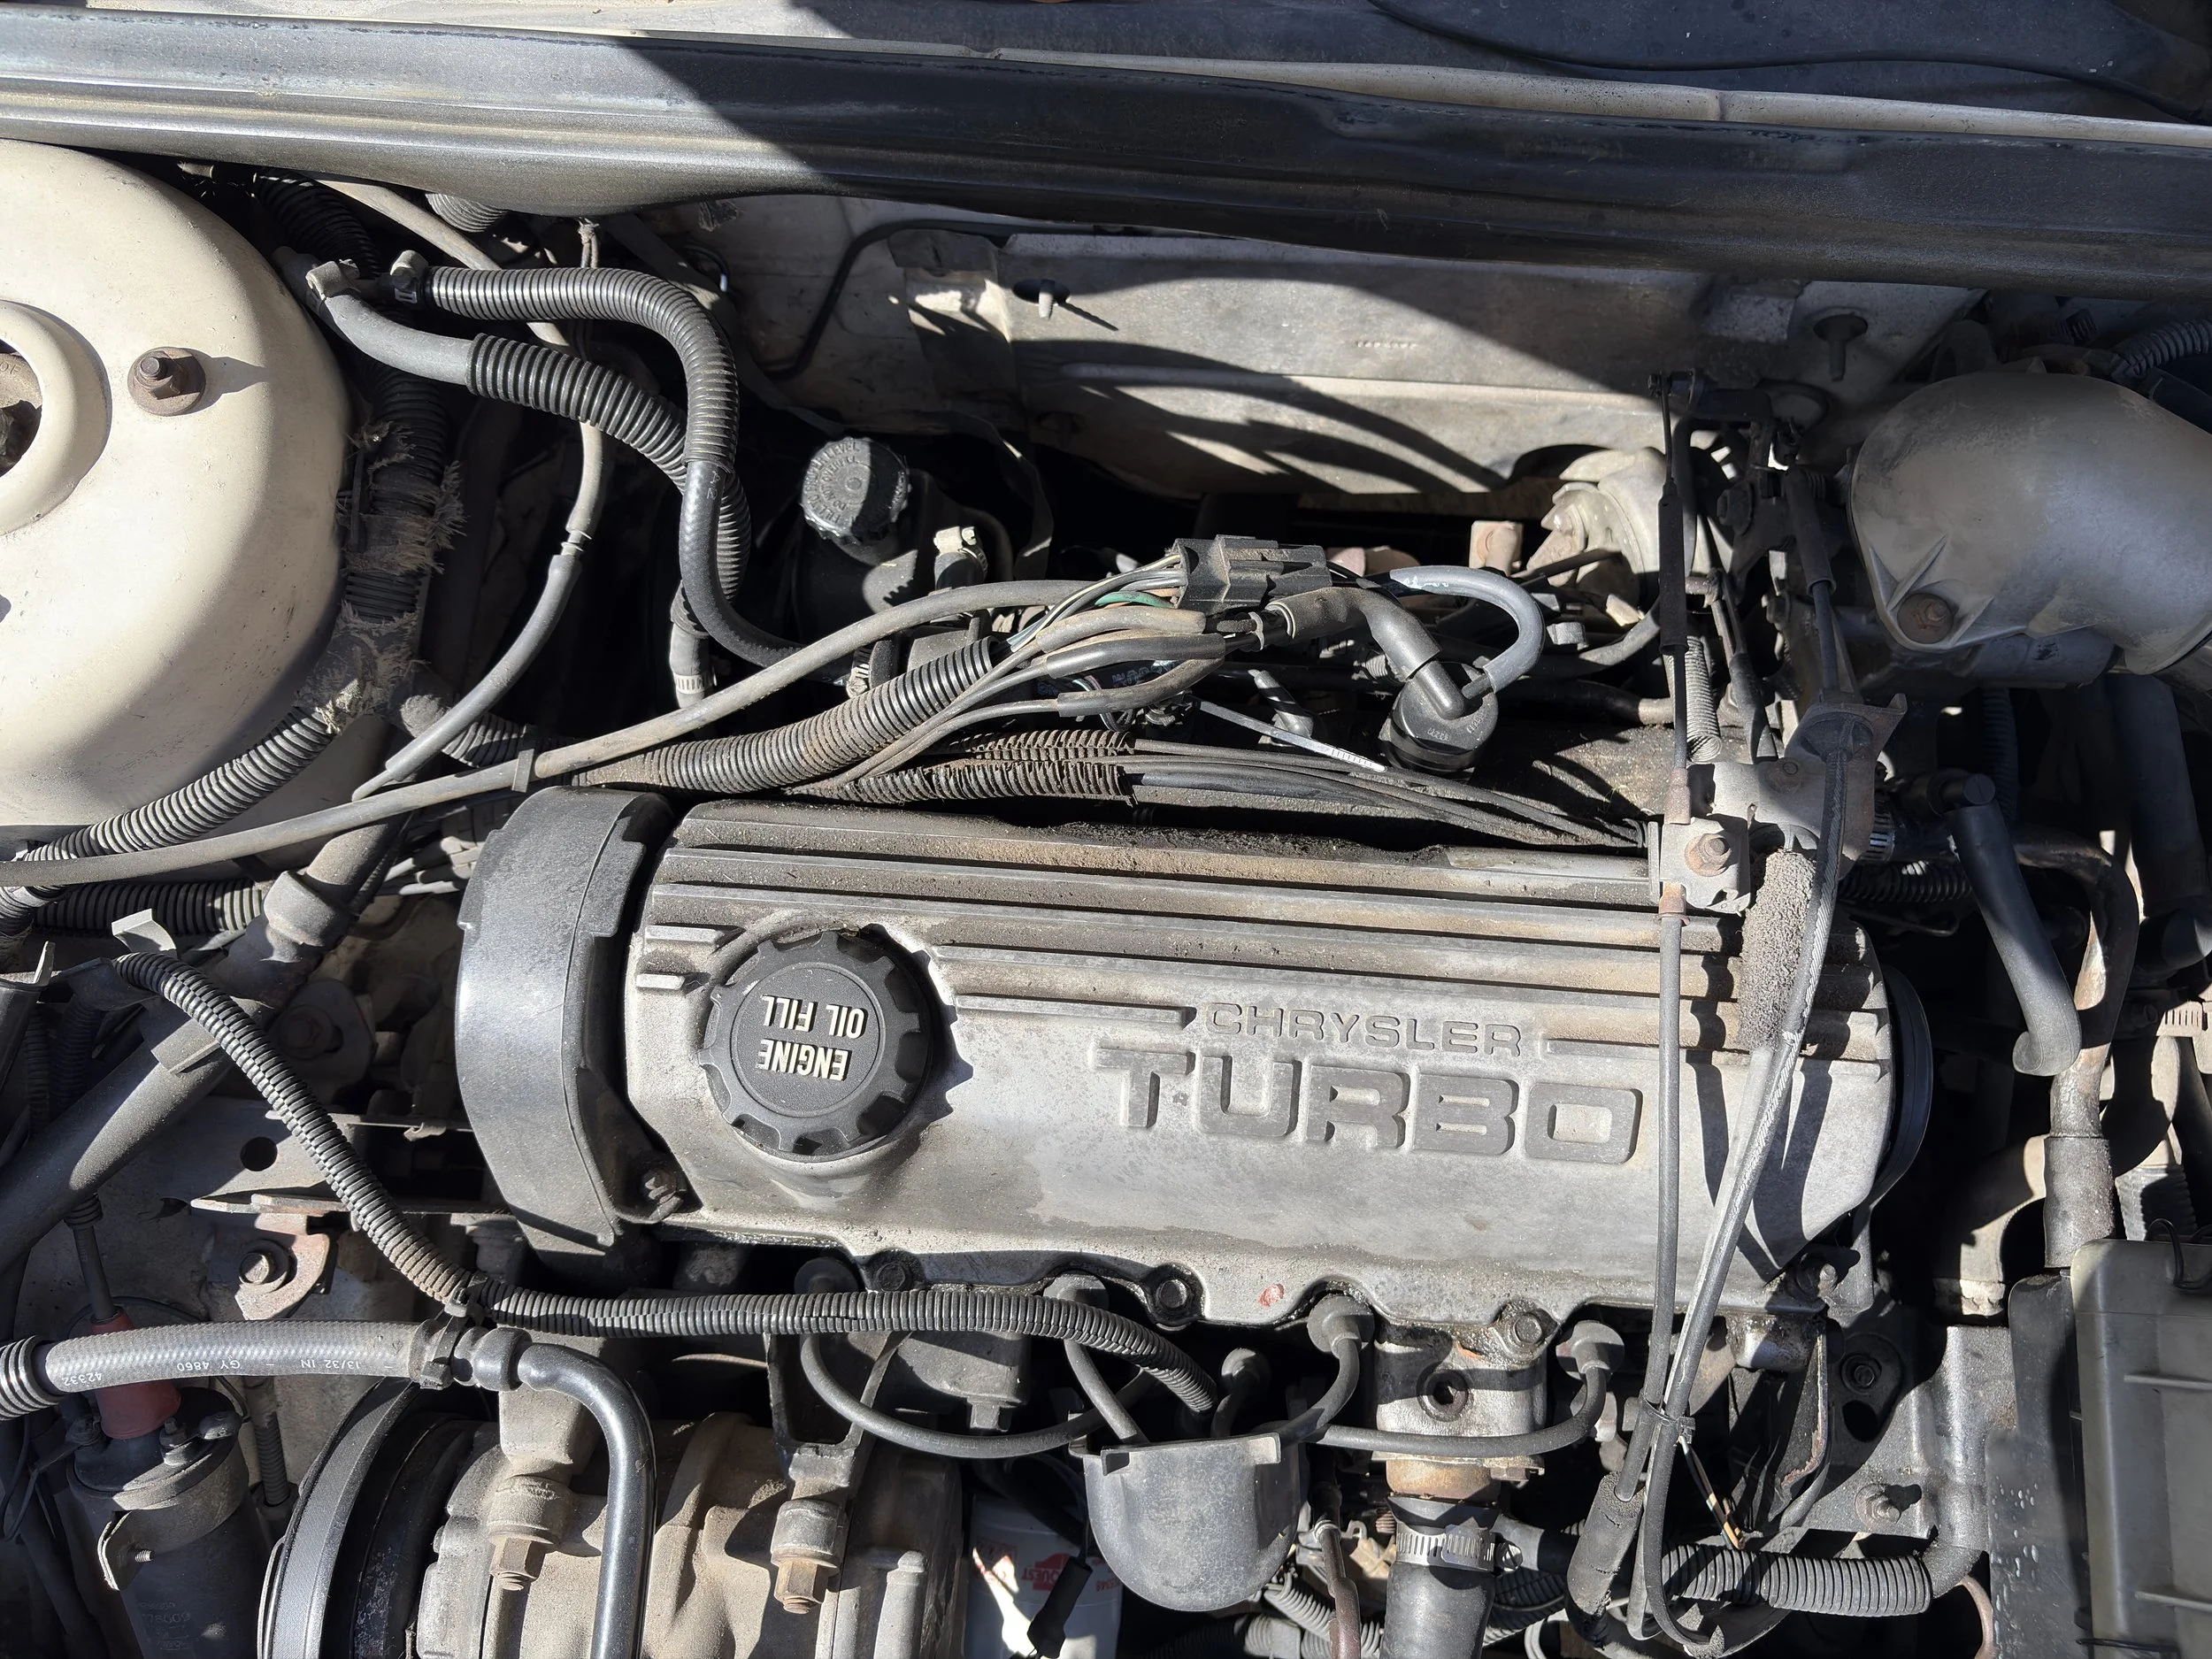
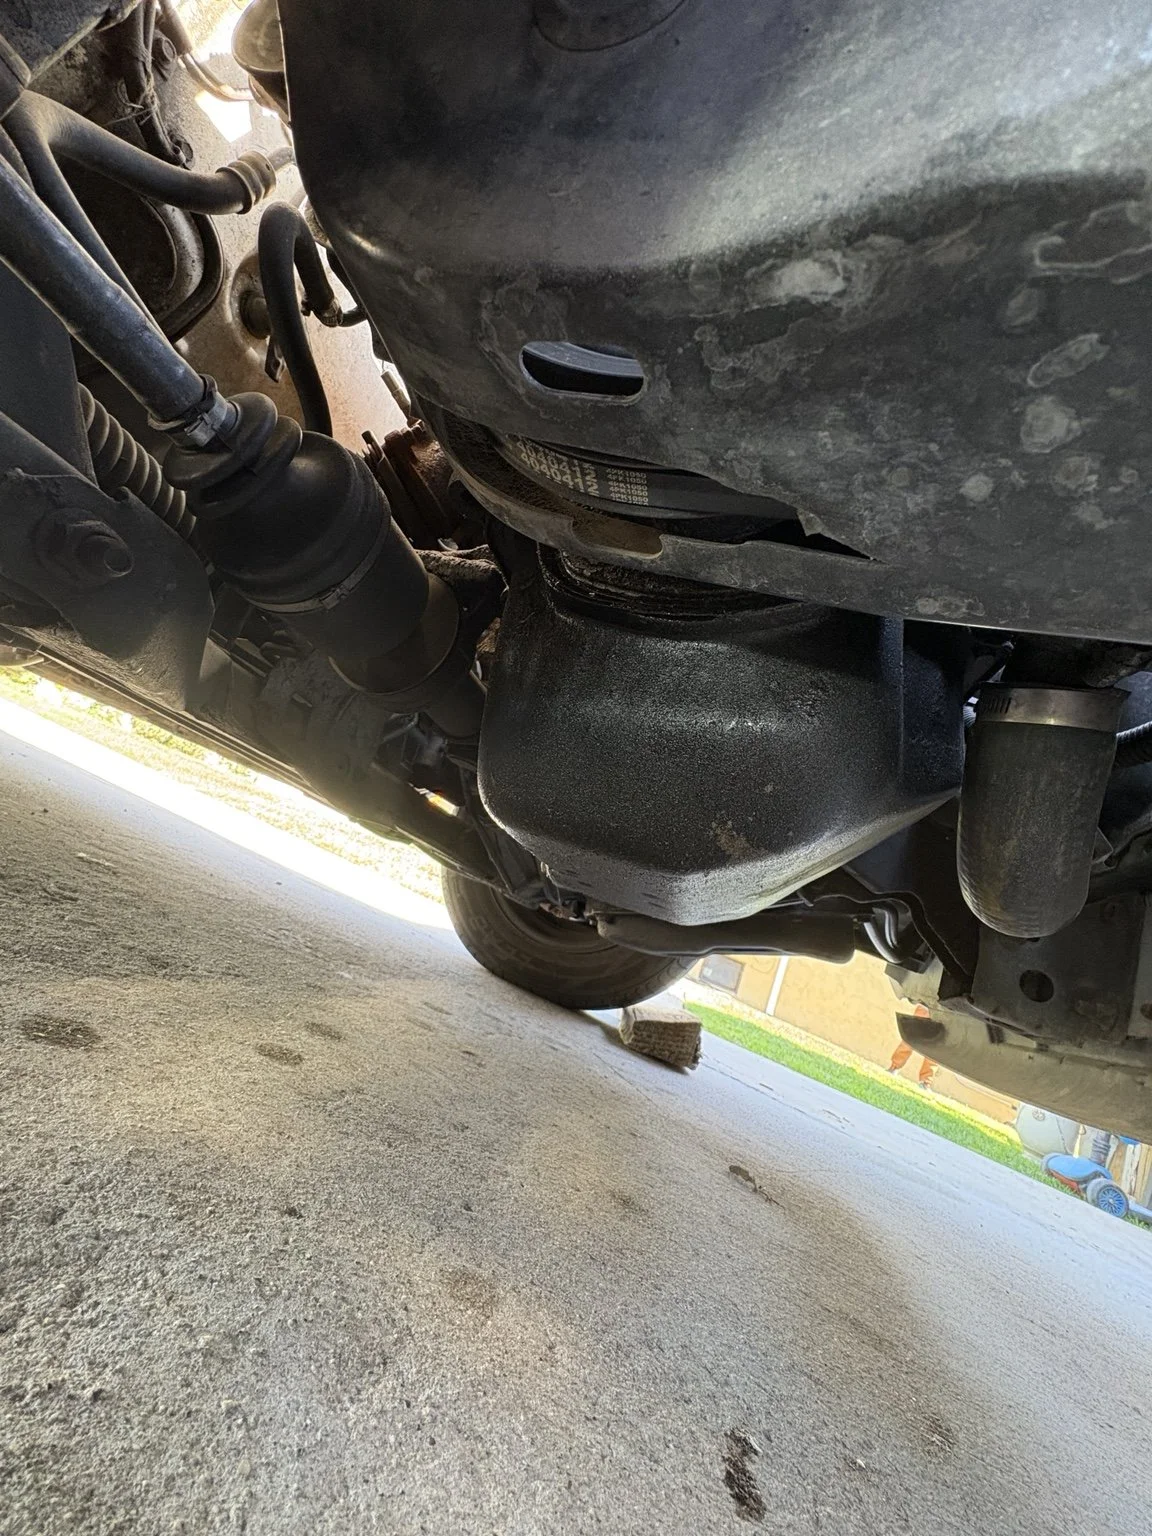
Possible sources
Possibilities only
Old fuel hose, loose connections, injector-area seepage, lost fuel pressure, vapor-system plumbing, and the tank or filler-neck area all remain possibilities. None has been confirmed as the source.
Current result
Unresolved
The fuel odor remains unresolved. The wagon is parked because of the confirmed compression loss in cylinder #1, and the fuel system will need a separate inspection before it returns to the road.
What supports this diagnosis.
The labels separate service-information resources from what I observed and measured on this specific wagon.
Los Angeles Public Library provides access to Chilton automotive repair information for vehicle-specific fuel-system procedures and diagnosis. Access may require a library card. View the library resource.
The ownership guide provides the larger maintenance and diagnostic context for the wagon's early Chrysler fuel, vacuum, cooling, and engine systems. Read the survival guide.
The current engine record documents the repeated 61 PSI reading in cylinder #1, the three 140 PSI readings, and why the engine cannot be run for further fuel testing. Read the complete diagnosis.
The project-status page records the fuel odor as unresolved and keeps it separate from the confirmed internal engine problem. Read the current status.
Parked until the evidence catches up.
I know the odor happens after shutdown. I do not yet know where it comes from. That is less satisfying than a tidy repair story, but it is more useful than pretending a list of possible parts is a diagnosis.