Preparing a classic car for rattle-can paint.
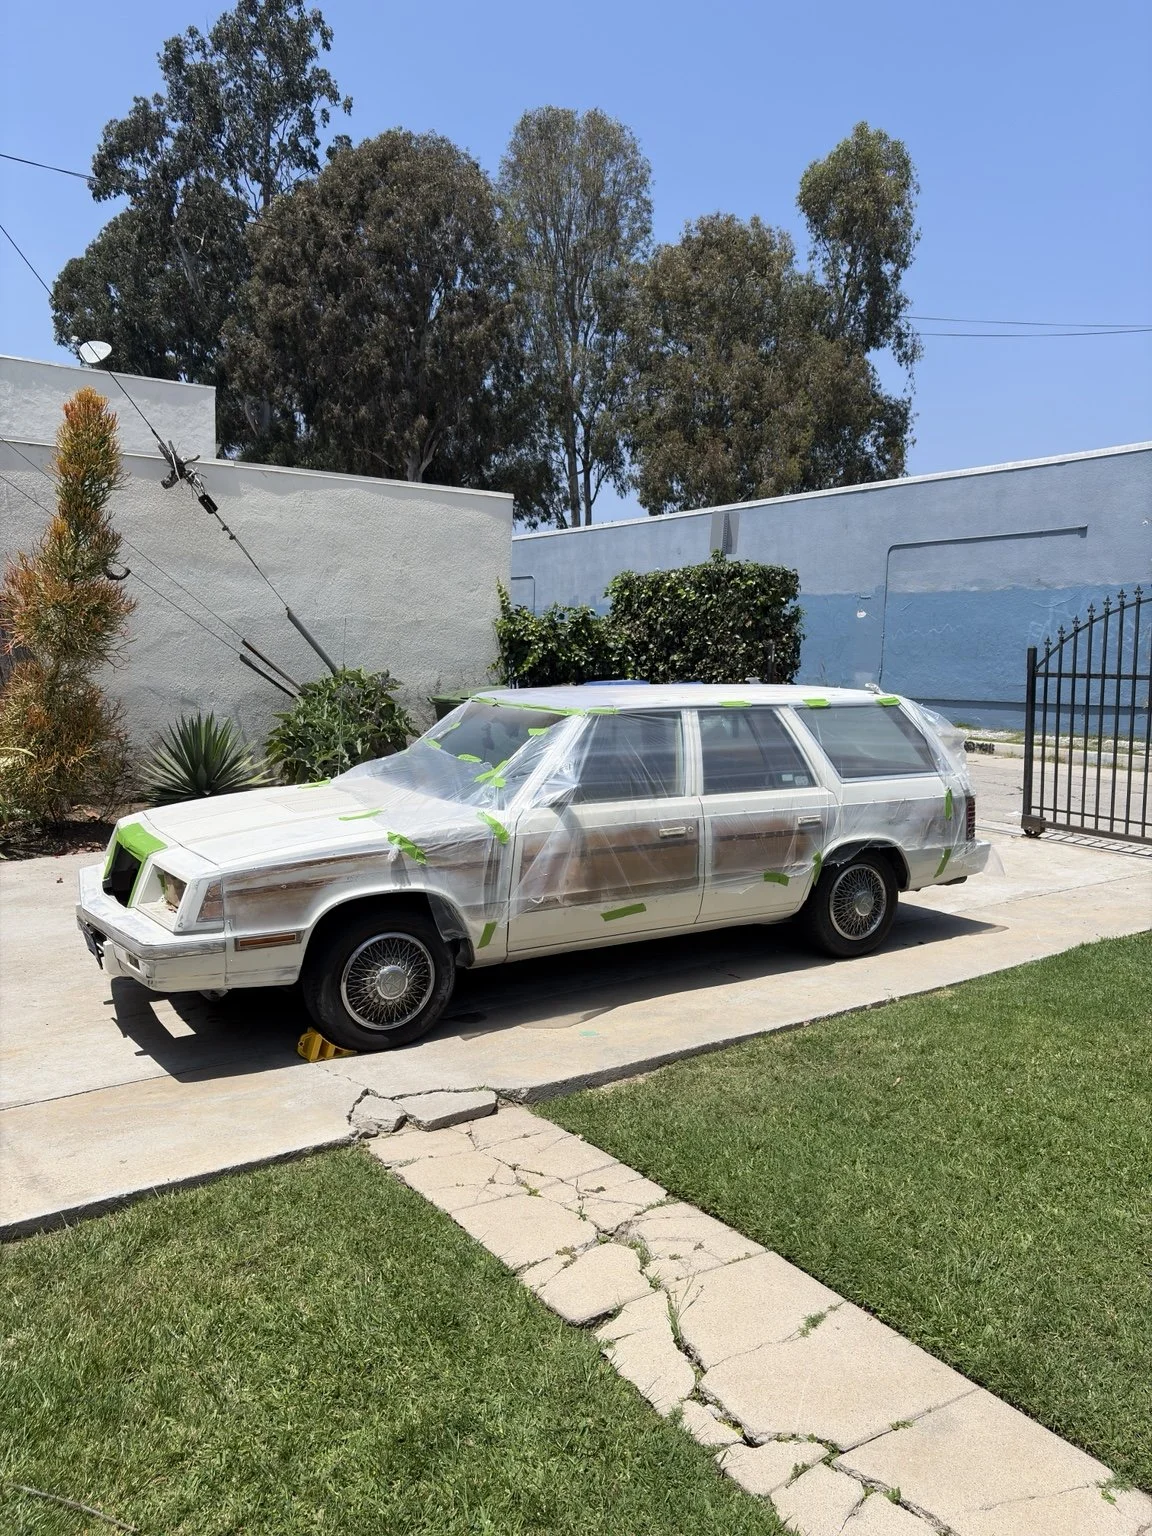
The rough paint on this 1985 Chrysler Town & Country had serious orange peel. Sanding the hood and roof exposed primer burn-through, old body filler, and a much bigger prep job than expected.
What happened during the paint preparation.
What was wrong with the existing paint?
The hood and roof had heavy orange-peel texture from an earlier DIY paint job. The surface was visibly uneven before I started preparing it.
What did I sand?
I worked on the hood and roof, using an orbital sander across broad areas and hand sanding around grooves, edges, and trim details.
Did primer hide the orange peel?
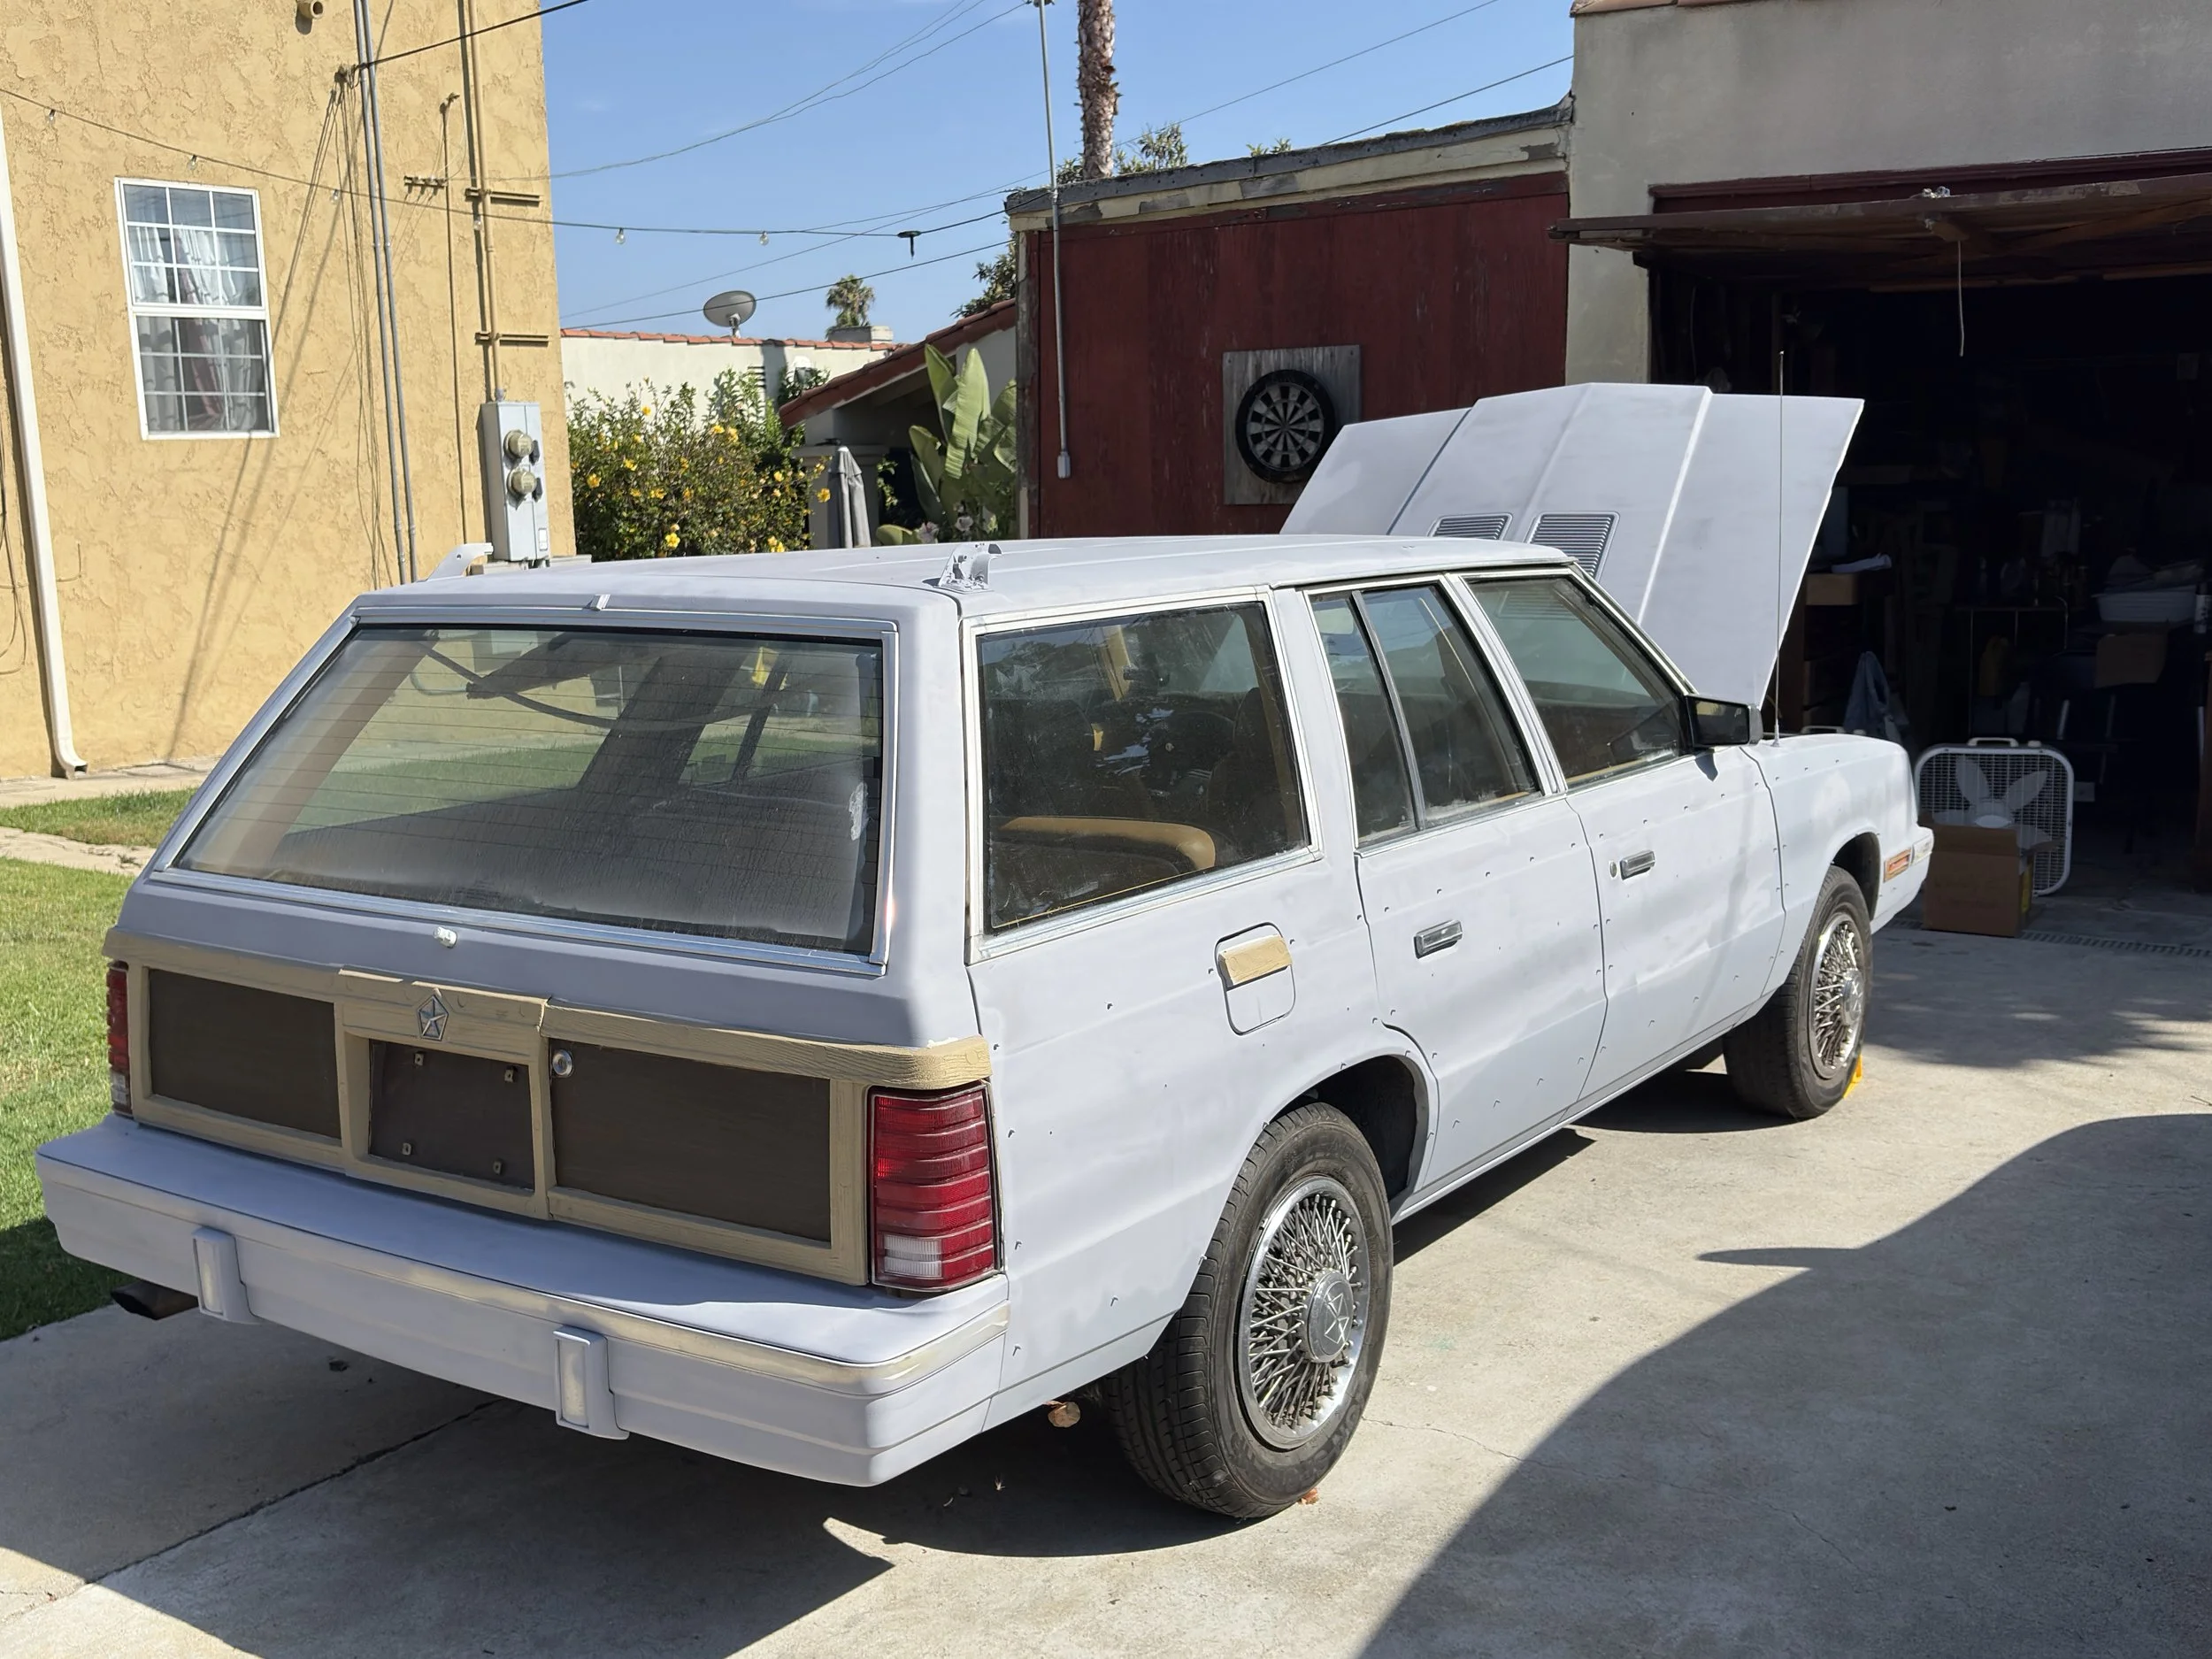
No. The primer made the remaining texture easier to see. It also showed several places where I sanded through and need to correct the surface again.
What was hiding on the roof?
Sanding exposed a substantial amount of old body filler. I do not yet know what repair or damage is underneath it.
Has the color coat been applied?
No. The paint project is paused during surface preparation. The unfinished bodywork and the wagon's engine problem both need attention before color makes sense.
The prep became the project.
I started this job to prepare the wagon for a better rattle-can finish. Once sanding began, the old texture fought back. Primer made the remaining orange peel easier to see, a few areas broke through, and the roof exposed old filler. The color coat can wait until the surface is actually ready.
What the old paint revealed
What actually helped
The paint-prep sequence so far.
Start on the hood and roof.
These large, visible panels made the rough texture impossible to ignore. My goal was to level the existing surface instead of covering it again.
Try the larger sanding tool.
I began with a giant sanding tool. It worked, but it made an already tiring job feel even bigger and harder to control.
Switch to an orbital sander.
The orbital sander was faster, easier, and gave me better control on broad sections of the hood and roof.
Hand-sand the details.
The machine could not safely reach every groove, edge, and trim area. Those sections still needed slower hand sanding.
Use primer to inspect the surface.
The primer did not hide the orange peel. It made the remaining texture and unfinished areas easier to see.
Find primer burn-through.
In a few spots I sanded through the primer. Those areas need another round of correction before paint.
Discover the roof filler.
Sanding exposed a lot of old body filler. I do not know what repair it is hiding, so that discovery changed the scope of the job.
Pause before color.
The engine problem comes first, and the body is not ready anyway. An unfinished surface is better than rushing color over problems I can still see.
What I would repeat
Where the paint work stands
The hood and roof have been sanded and primed, but they are not finished. Remaining orange peel, primer burn-through, and roof filler all need more attention. For now, the wagon's mechanical problem has priority.
There is also a separate chapter about what happened when an earlier paint attempt went wrong.
Orange peel, primer, and the roof surprise.
What supports this page.
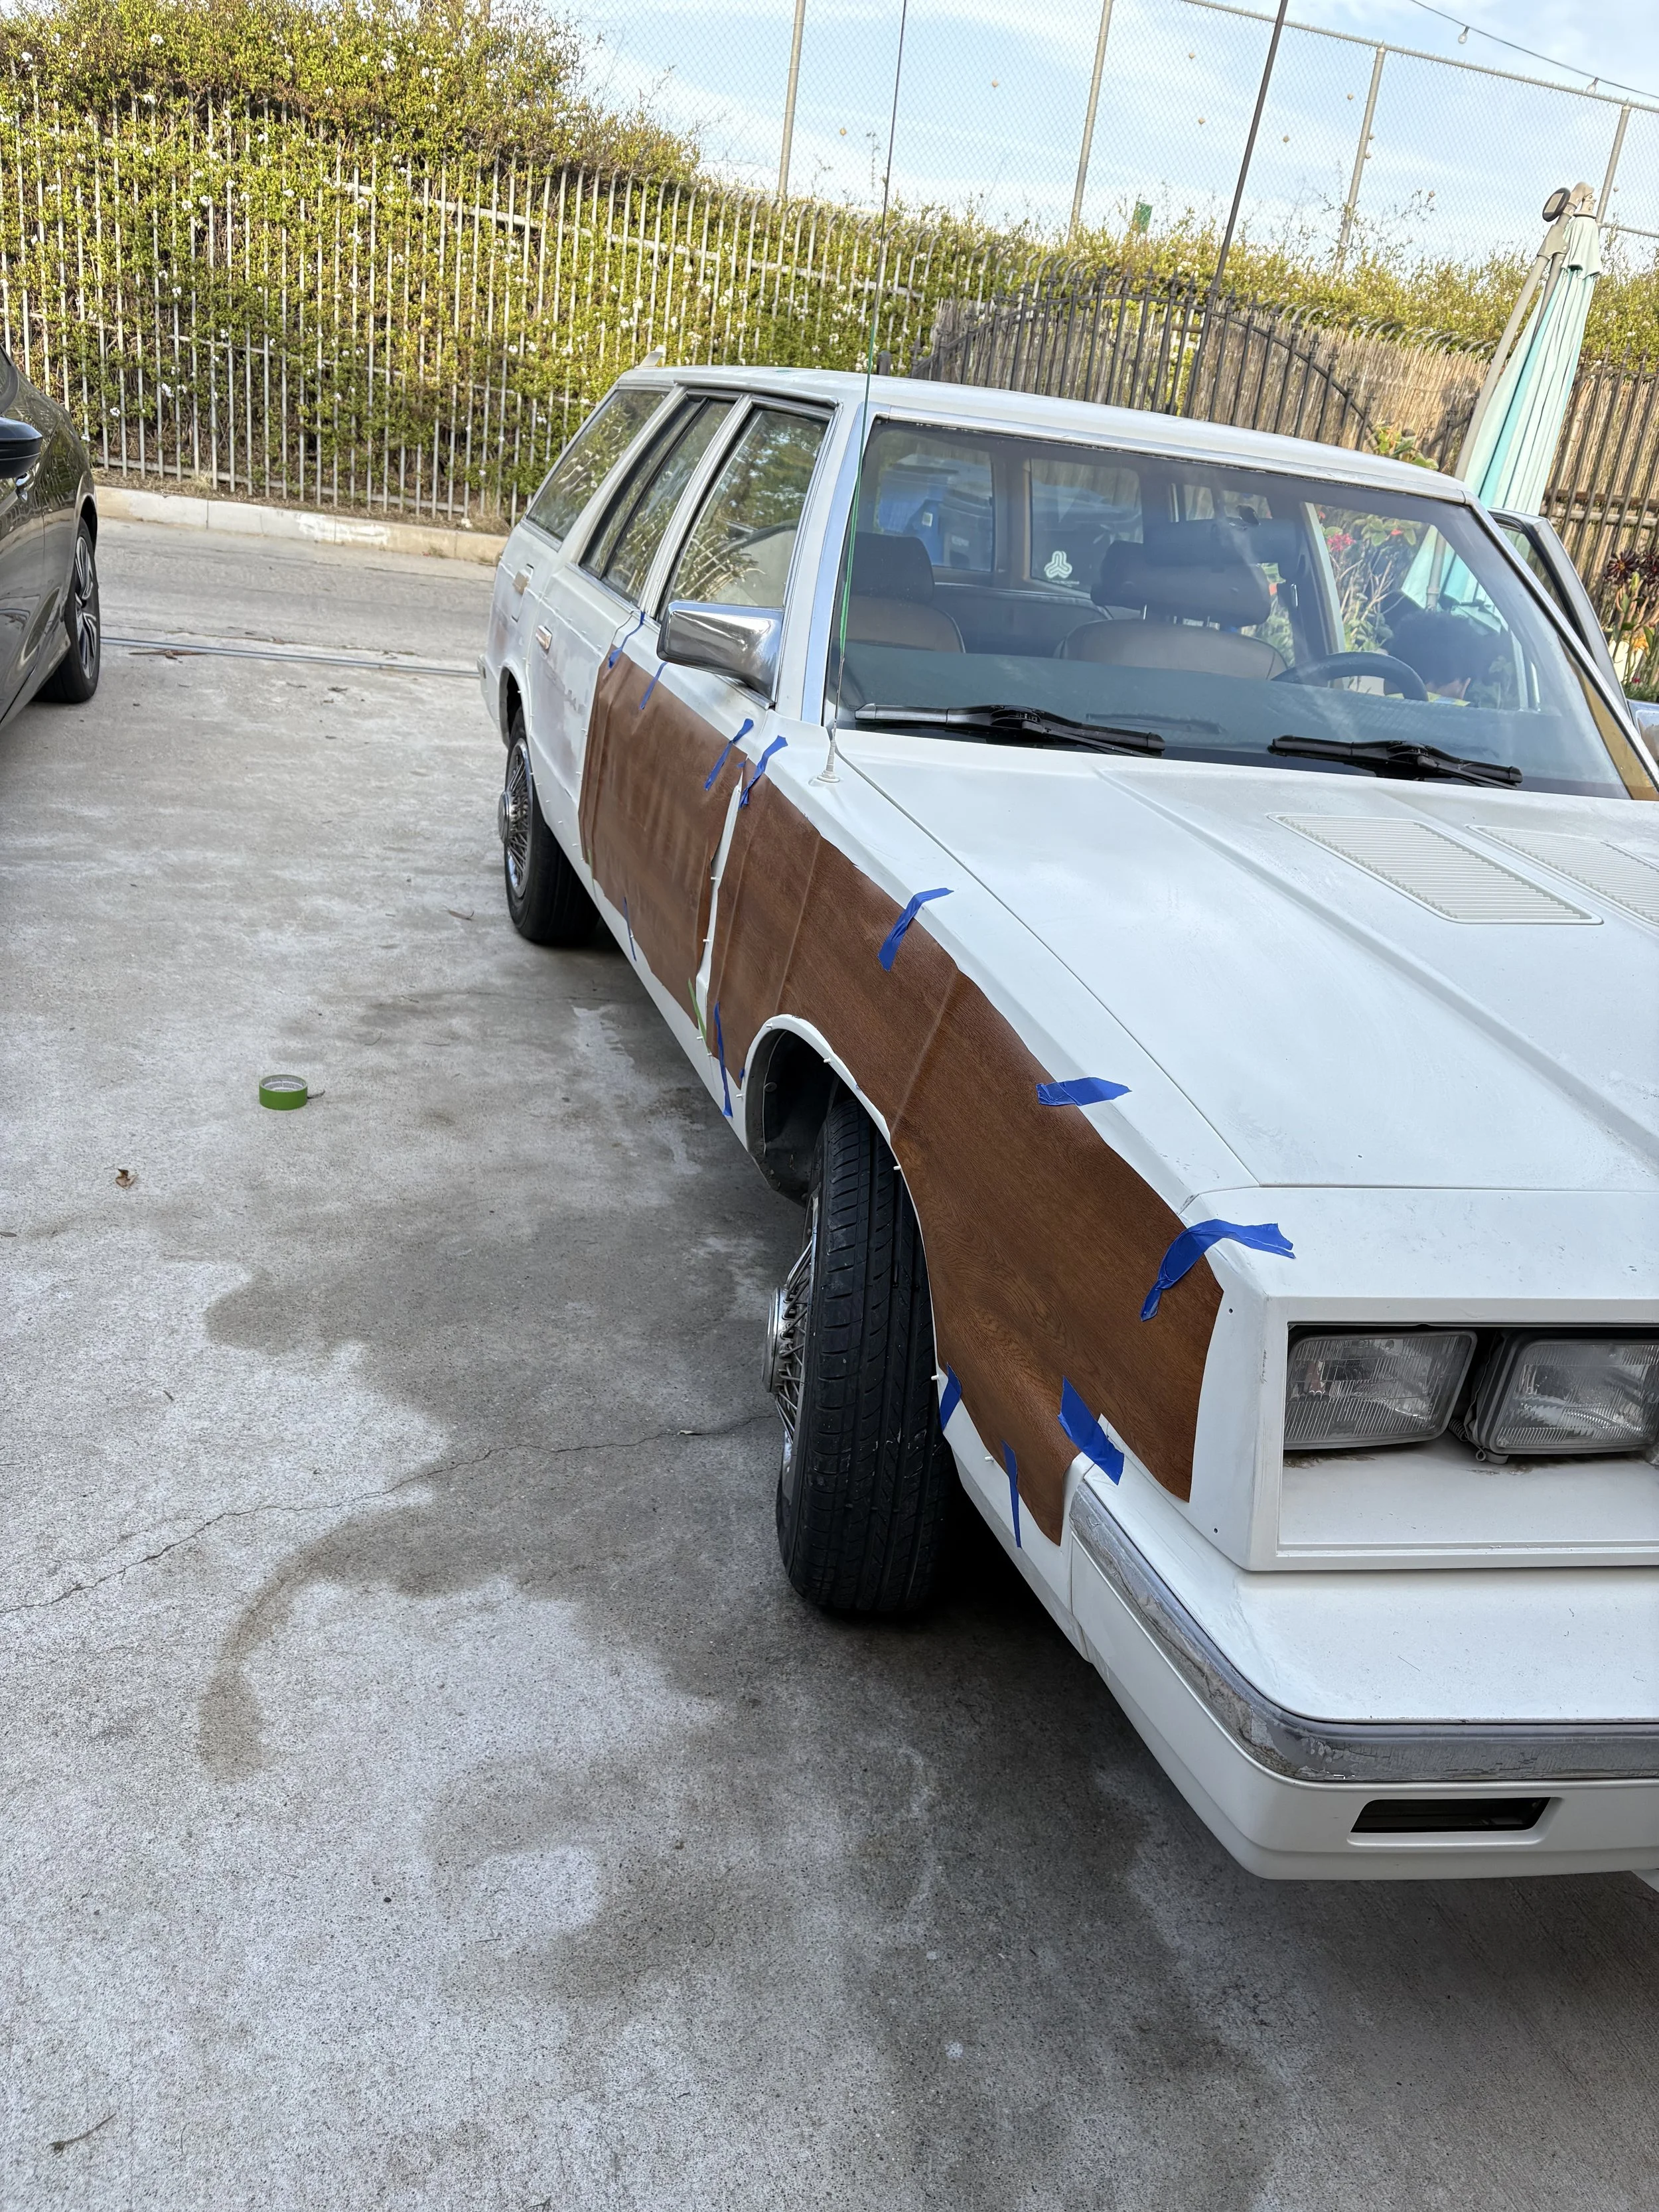
The photos and notes document the orange peel, sanding work, primer burn-through, exposed filler, tool change, and paused status.
3M's product guidance explains how guide coat can reveal pinholes, scratches, and uneven filler or primer before top coating.
Rust-Oleum's product page describes using guide coat to highlight low spots, scratches, pinholes, and other surface imperfections during sanding.
The related BWG page documents the earlier paint problem and the recovery work that followed.
The low-compression diagnosis explains why mechanical work now takes priority, while the repair archive connects the full project history.
The paint can wait. The prep cannot.
I would rather pause with an honest unfinished surface than bury orange peel and mystery filler under another coat. The wagon will get its color when the body and the engine are ready.