Eight dollars. No board removal. Headliner back where it belongs.
The rear headliner in my 1985 Chrysler Town & Country was losing its grip on the roof. I wasn't ready for a full replacement. I tried a pack of upholstery twist pins from Michael's. It worked well enough that I bought more.
A cheap temporary fix that actually worked.
The cloth headliner in the rear cargo area had started pulling away from the backing board. A proper repair means removing the entire headliner panel, stripping decades of deteriorated foam, and recovering it with new fabric. That project is still coming.
For now, I needed something cheap that would stop the drooping and make the wagon look a little less tired inside. Enter: twist pins.
What the twist-pin repair did and did not fix.
Did twist pins hold the headliner up?
Yes. They held the loose fabric against the backing board, and the second round of pins made the rear section look noticeably better.
Is this a permanent repair?
No. The deteriorated foam is still behind the cloth. A real fix still means removing the board, cleaning it, and installing new material.
Did I remove the headliner board?
No. I installed the twist pins from inside the wagon while the original board stayed in place the whole time.
How much did this cost?
The first pack cost about $8. I bought more pins afterward to finish the rear section, so $8 was the starting point, not the total.
What safety gear matters here?
Eye protection before you start — full stop. The old foam had turned to powder and fell directly into my eyes while I worked overhead.
I fixed my headliner for under ten bucks.
This one covers the first attempt: the method, the twist pins, what happened when forty-year-old foam became airborne, and whether the repair actually held.
More pins. Better result.
After the first round worked better than expected, I went back with more pins and finished the rear section properly. This turned a quick experiment into a real temporary fix.
It is not a permanent restoration. Eventually the board comes out, the foam gets cleaned off, and new fabric goes in. But the rear cargo area looks better now and the headliner is staying put.
Why I tried this
What I used
I used Twist Pins by Loops & Threads from Michael's — meant for upholstery and fabric projects, but they worked exactly like I hoped for holding sagging headliner cloth in place.
Equipment for overhead fabric surgery.
What actually happened.
I inspected the sagging headliner.
The rear section was the worst. Not fully collapsed, but loose enough that the whole cargo area looked tired.
I decided not to remove the whole thing.
A proper repair means pulling the board, scraping off old foam, and recovering it with new fabric. I wasn't ready for that yet.
I found twist pins at Michael's.
The pins looked like they might screw through the cloth and grip the backing board well enough to hold the fabric up.
I started installing pins.
Worked across the rear section, twisting pins into place and keeping the spacing reasonably even.
I disturbed ancient foam dust.
The headliner backing foam had turned to powder. Working overhead meant it started falling straight down.
I regretted not having safety glasses on.
Some of that powder landed directly in my eyes. The repair was cheap. The lesson was free.
I continued anyway.
Once I could see again, I kept going because the headliner was already looking better and I wasn't stopping now.
The first round actually worked.
The pins held the cloth against the board and the rear cargo area looked noticeably cleaner than before.
I bought more pins.
First section looked decent. I decided to keep going and finish more of the rear headliner properly.
The back section looked much better.
Not a concours-correct restoration repair. A cheap fix that made the wagon a nicer place to sit. That's the job.
Where things stand.
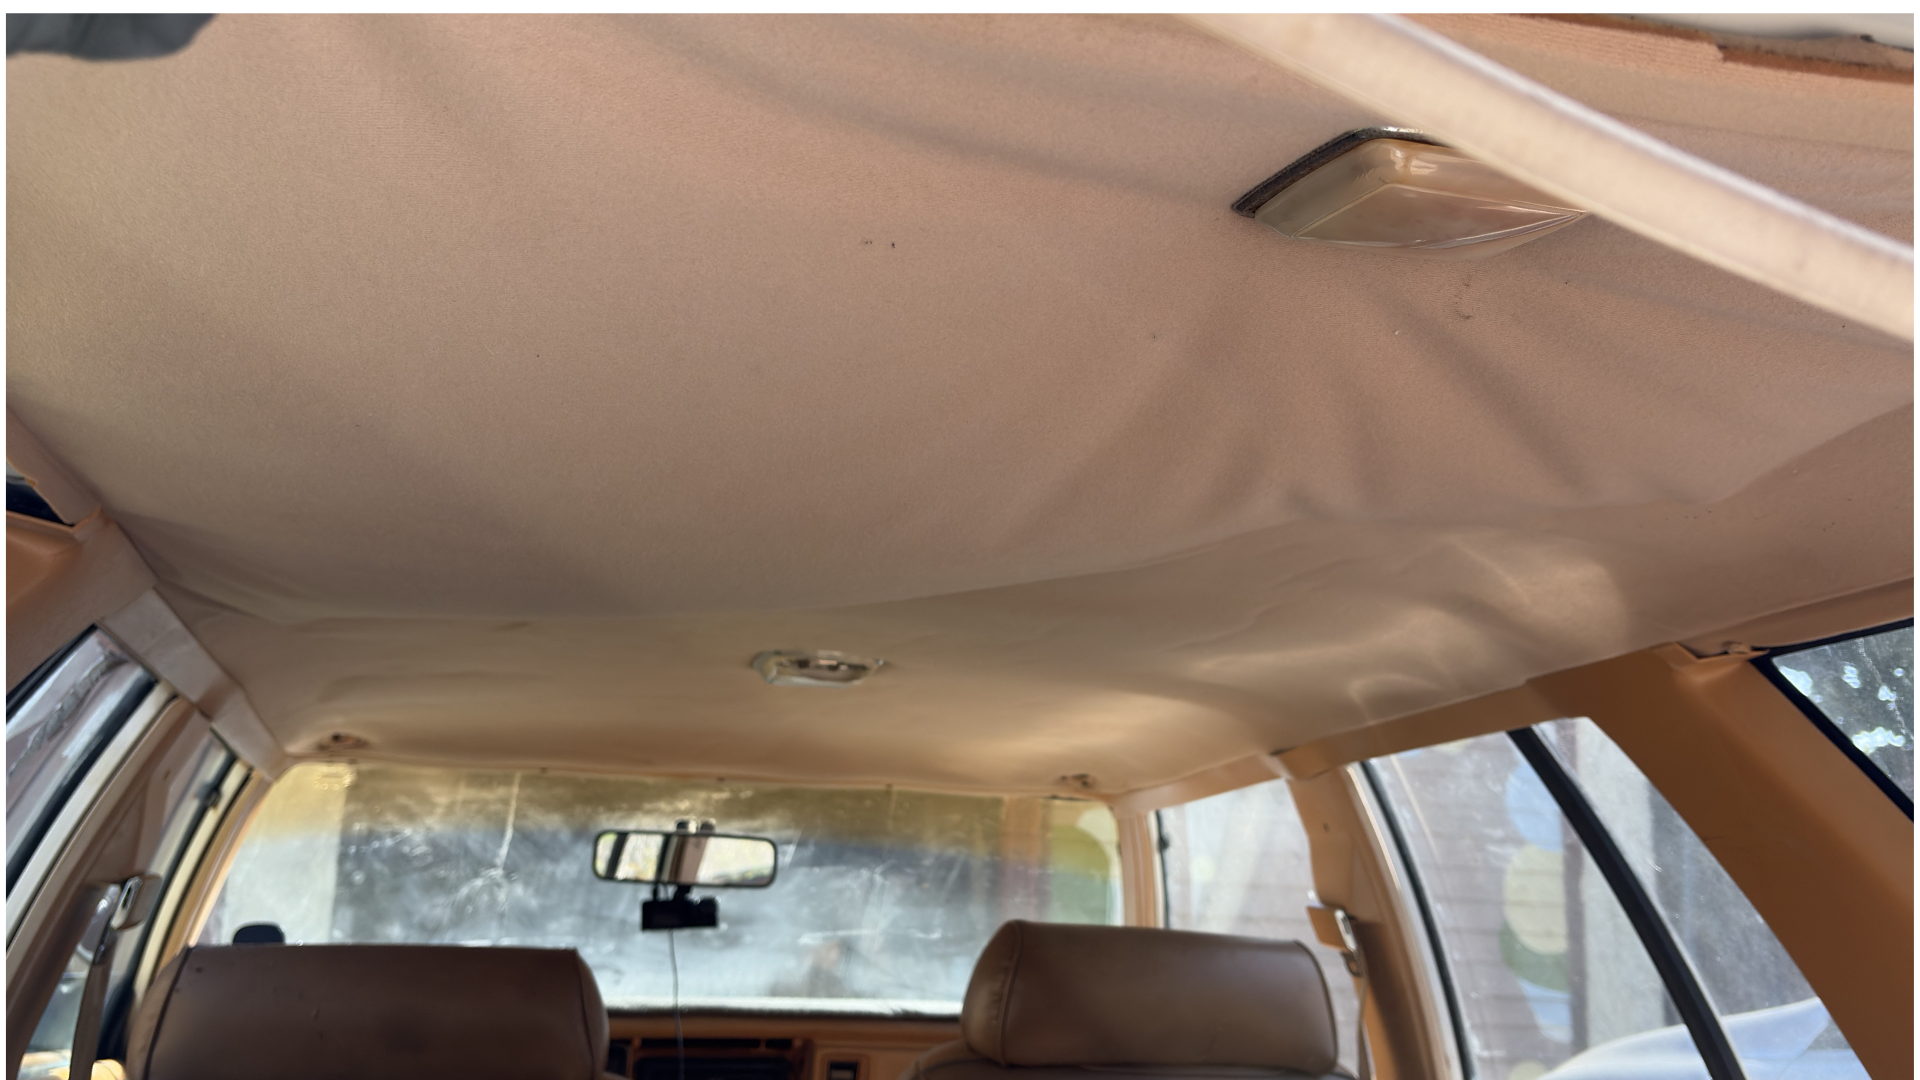
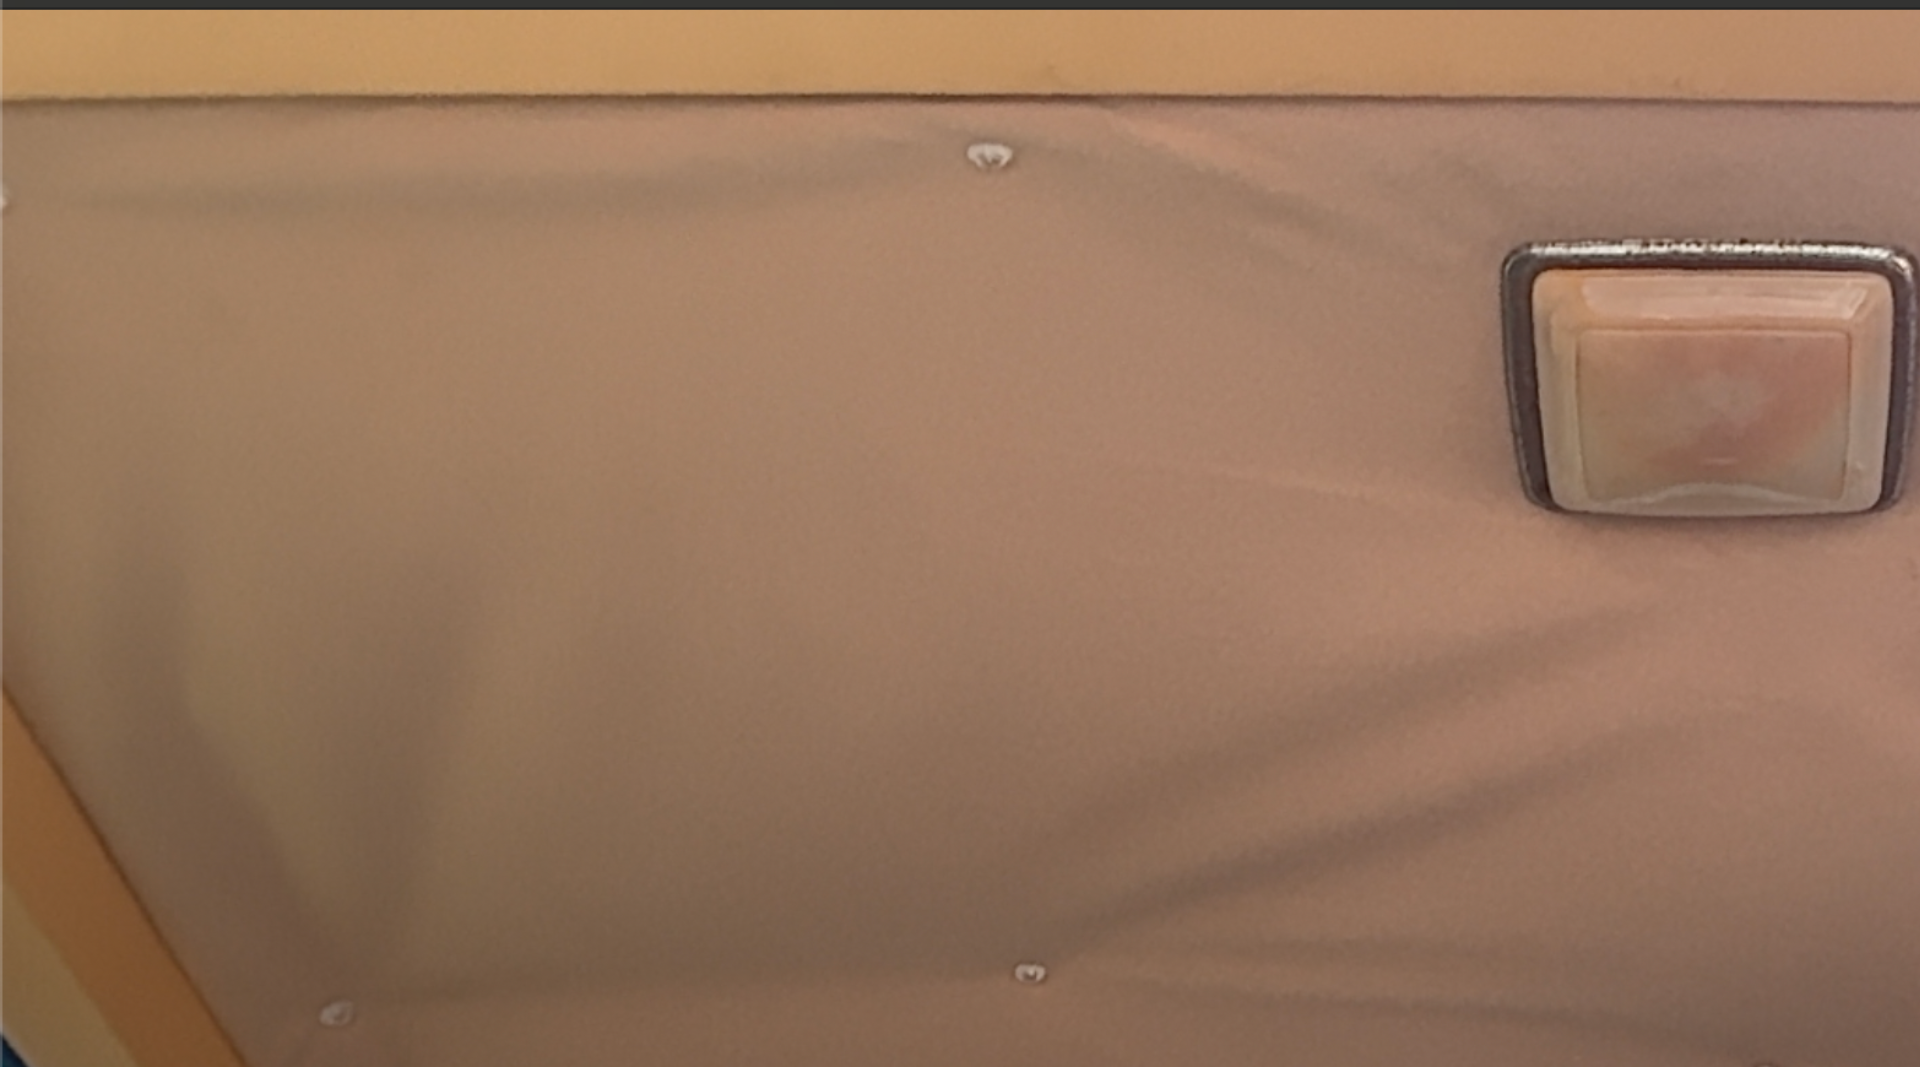
Before and after.
The headliner wasn't fully collapsed yet, but it was definitely headed that direction. A few dollars' worth of twist pins bought me time until I'm ready for a proper replacement.
What this fix can and cannot do.
Can twist pins hold a sagging headliner?
They held the loose cloth against the backing board in this wagon and made the rear cargo area look much better. The board still had enough structure for the pins to grip.
Is it a permanent repair?
No. The failed foam stays behind the fabric. A real fix still means removing the board, cleaning it, and putting in new material.
What are the tradeoffs?
The pin heads remain visible, and this depends on the backing board still having enough structure to grip. It's a practical temporary fix, not invisible upholstery work.
What should I wear?
Safety glasses and a mask make sense when old foam has turned to powder. I learned the eye-protection part after the dust was already falling.
What went sideways.
The repair itself was easy. The dust was the problem.
Old cloth headliners fail because the foam backing breaks down. In this wagon, that foam has had about forty years to become powder. Once I started working overhead, some of it came straight down into my eyes.
Next time, safety glasses go on before I touch anything above my face.
What I learned.
Products, safety guidance, and the original videos.
The result statements on this page come from the work shown on this wagon. These references identify the pins, note what a conventional adhesive-based repair uses, and support the eye-protection warning.
Related repairs
Final result.
Nobody is mistaking this for professional upholstery work.
But the roof isn't hanging down anymore, the wagon looks better inside, and the whole experiment started with an $8 pack of pins from a craft store.
Is it factory correct? Absolutely not.
Is it good enough that I bought another pack and finished the back half? Absolutely.
Sometimes good enough is exactly the right repair.
The headliner lost.
The dust won a few rounds, but after Part 2 the headliner is staying where it belongs and the back of the wagon looks a whole lot better.