
Forty years of vacuum hoses. One cracked. More to go.
The turbo vacuum routing on this wagon resembles a haunted bowl of noodles. One obviously cracked hose has been replaced. The full routing inspection is still in progress — and the engine stays off until the cylinder #1 compression problem is sorted first.
Where the vacuum-line job stands.
What was actually found?
At least one vacuum hose was visibly cracked and was replaced. Other aged hoses, connectors, and routing still need a careful inspection.
Was the entire vacuum system rebuilt?
No. This is an in-progress inspection, not a completed rebuild. The final routing and condition of every line have not been verified.
Why are vacuum lines important on a Turbo I?
The network supports the MAP signal, wastegate and boost control, and emissions equipment. Wrong routing or leaks create drivability and boost-control problems.
Why replace one hose at a time?
Photographing, labeling, and replacing one line at a time preserves the existing routing while it's compared against the correct 1985 Turbo I diagram.
Can the engine be started to check for leaks?
Not right now. A compression test found 61 PSI in cylinder #1 beside three 140 PSI readings. The engine stays off until that internal problem is diagnosed and repaired.
The turbo wagon deserves organized breathing.
This repair log covers inspecting, tracing, replacing, and documenting the vacuum lines on the 2.2L Turbo engine. Old brittle hoses, mystery routing, cracked tees, and forgotten emissions plumbing are all invited to the intervention.
Symptoms and reason for repair
What this job needs
Equipment for hose archaeology.
Operation: organized noodles.
Take approximately 4,542 reference photos.
Every angle. Every hose. Every weird connector. The wagon knows where everything goes. I definitely do not.
Inspect every vacuum line by hand.
Bend each hose gently. If it cracks, crumbles, or sounds crunchy — replace it.
Label critical routing.
Especially turbo, wastegate, MAP, and emissions lines. Future troubleshooting becomes dramatically less painful this way.
Replace one hose at a time.
This is the entire strategy. One out. One in. Wash, rinse, repeat until done.
Check all plastic connectors.
Old Chrysler plastic is brittle. Assume it will crumble and plan accordingly.
Inspect hidden routing behind components.
The wagon contains hoses hidden specifically to test patience and sanity. Both will be tested.
Stop before running the engine.
The wagon has a confirmed cylinder #1 compression problem. A running leak check must wait. Visual routing inspection can continue with the engine off.
Document what is complete and what is not.
One cracked hose has been replaced. The remaining hoses, connectors, and final routing still need to be verified before this job can be called done.
Current spaghetti evidence.
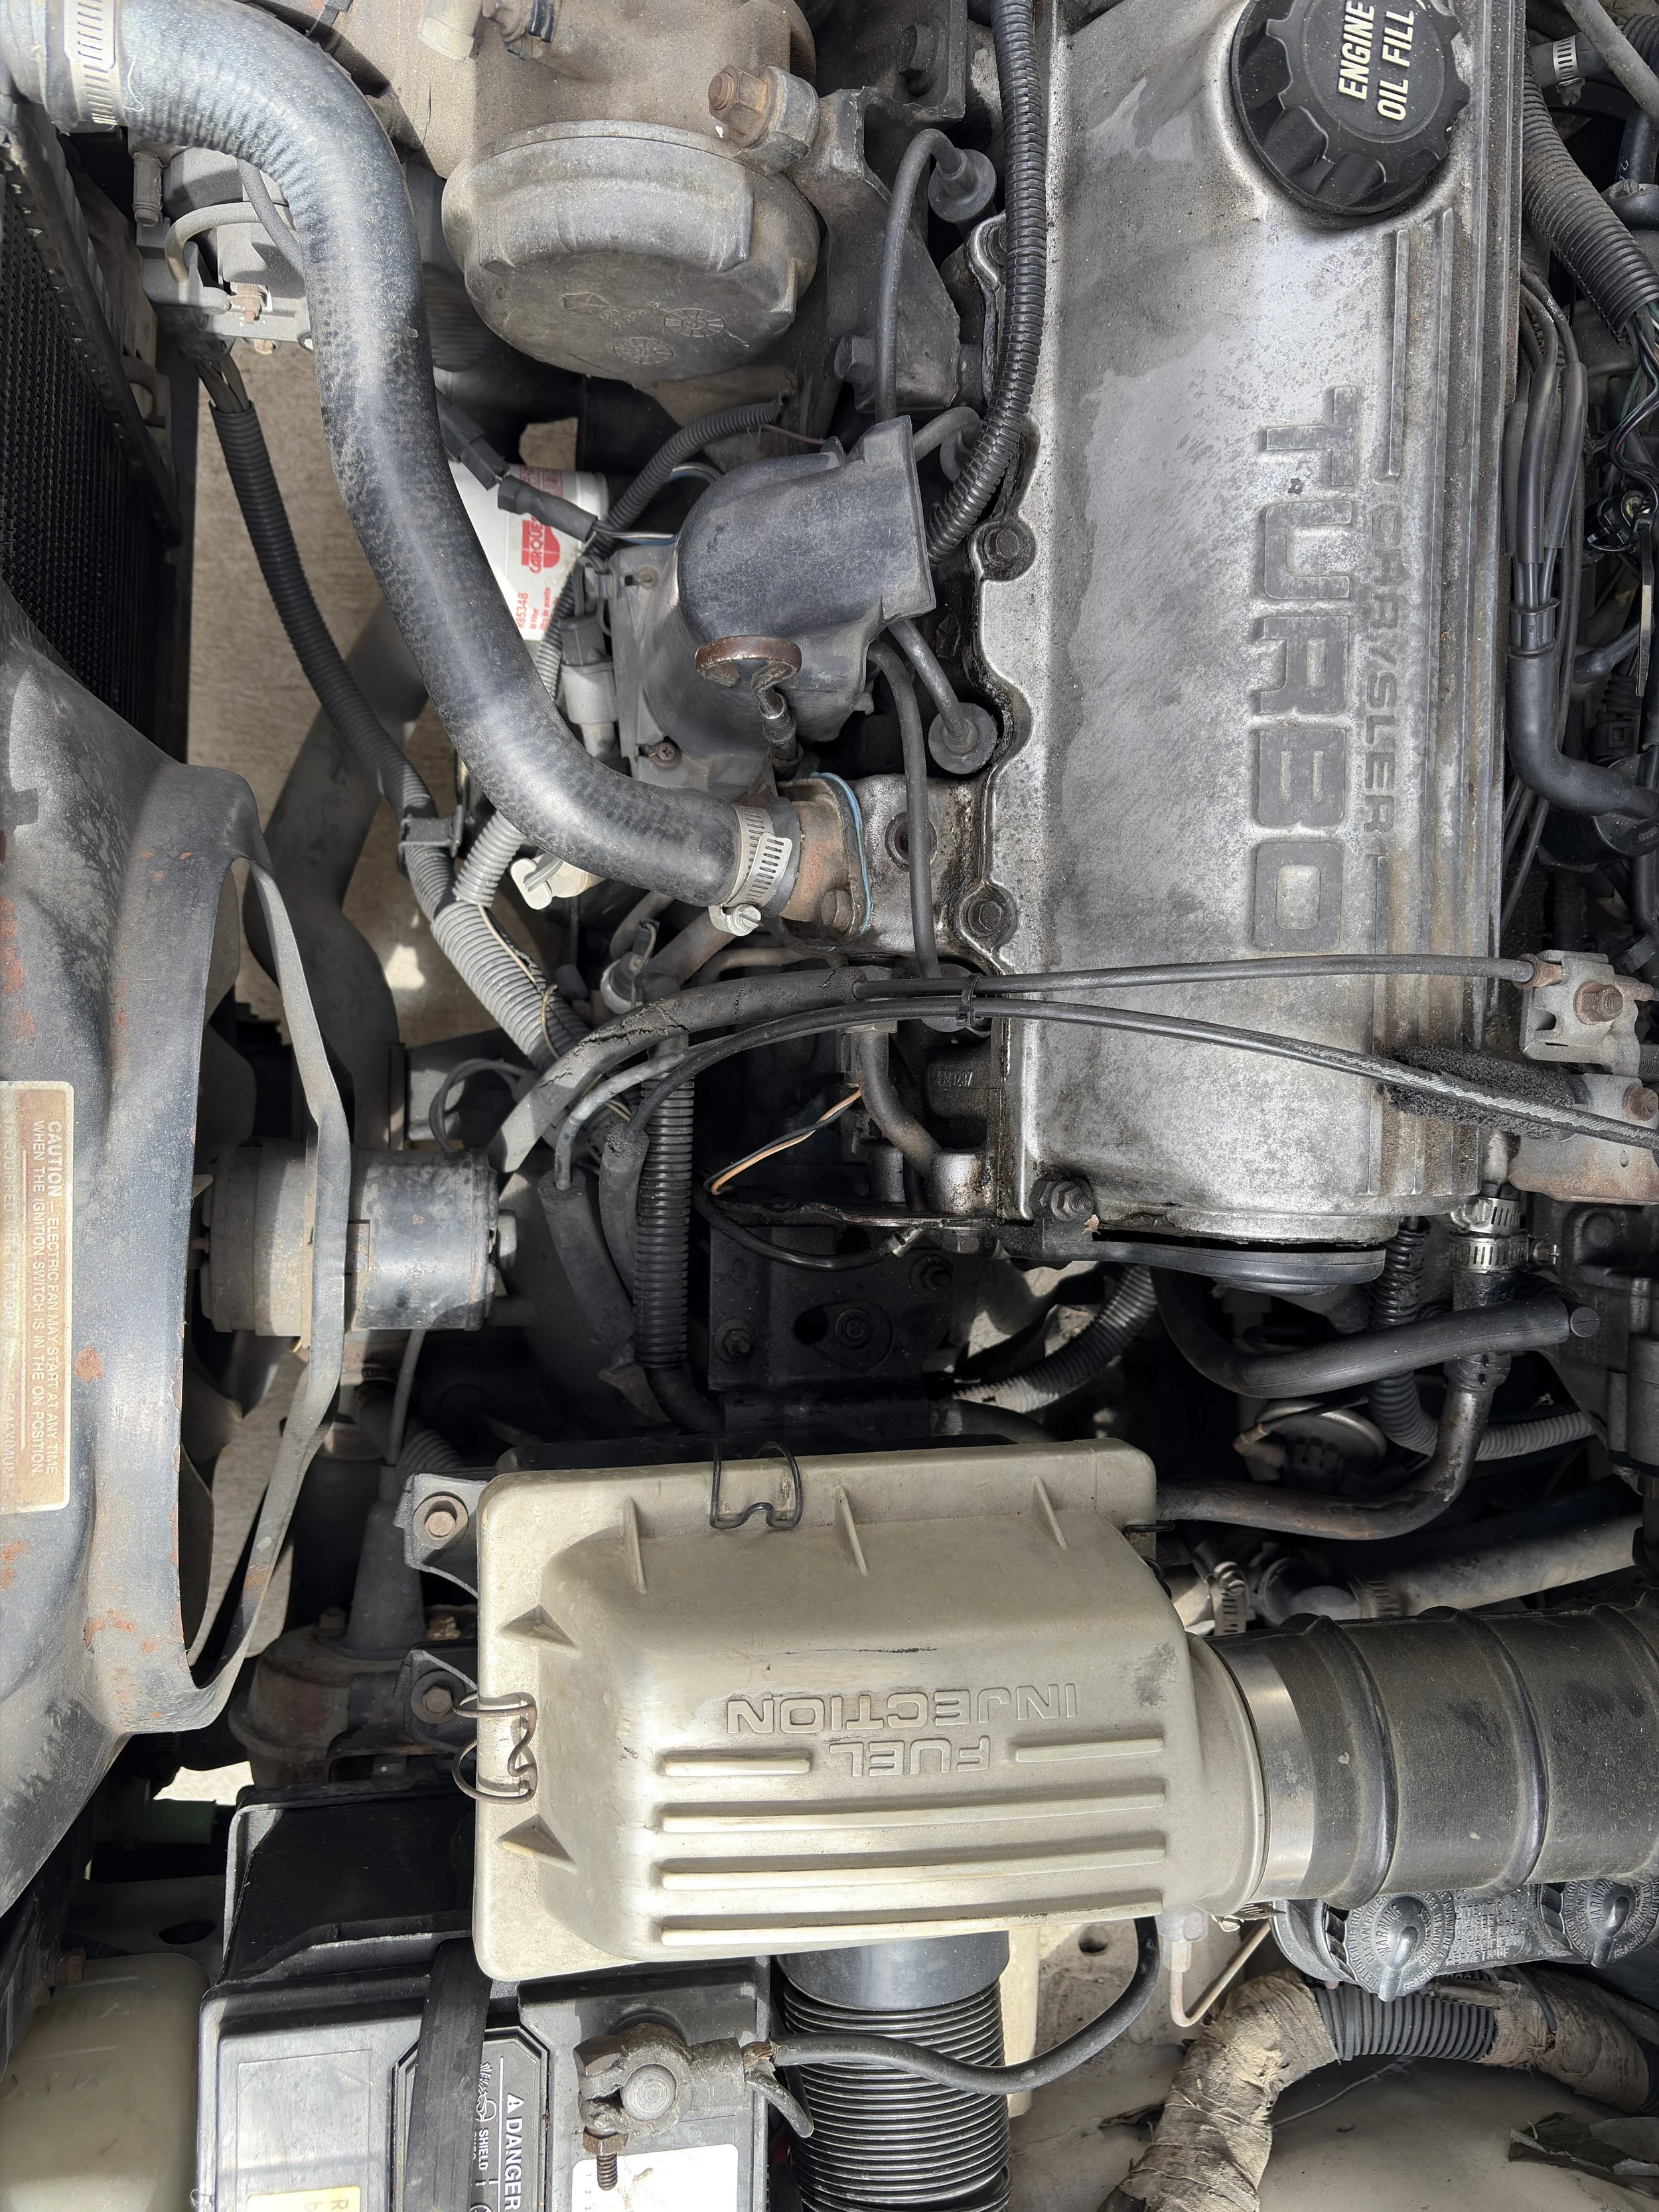
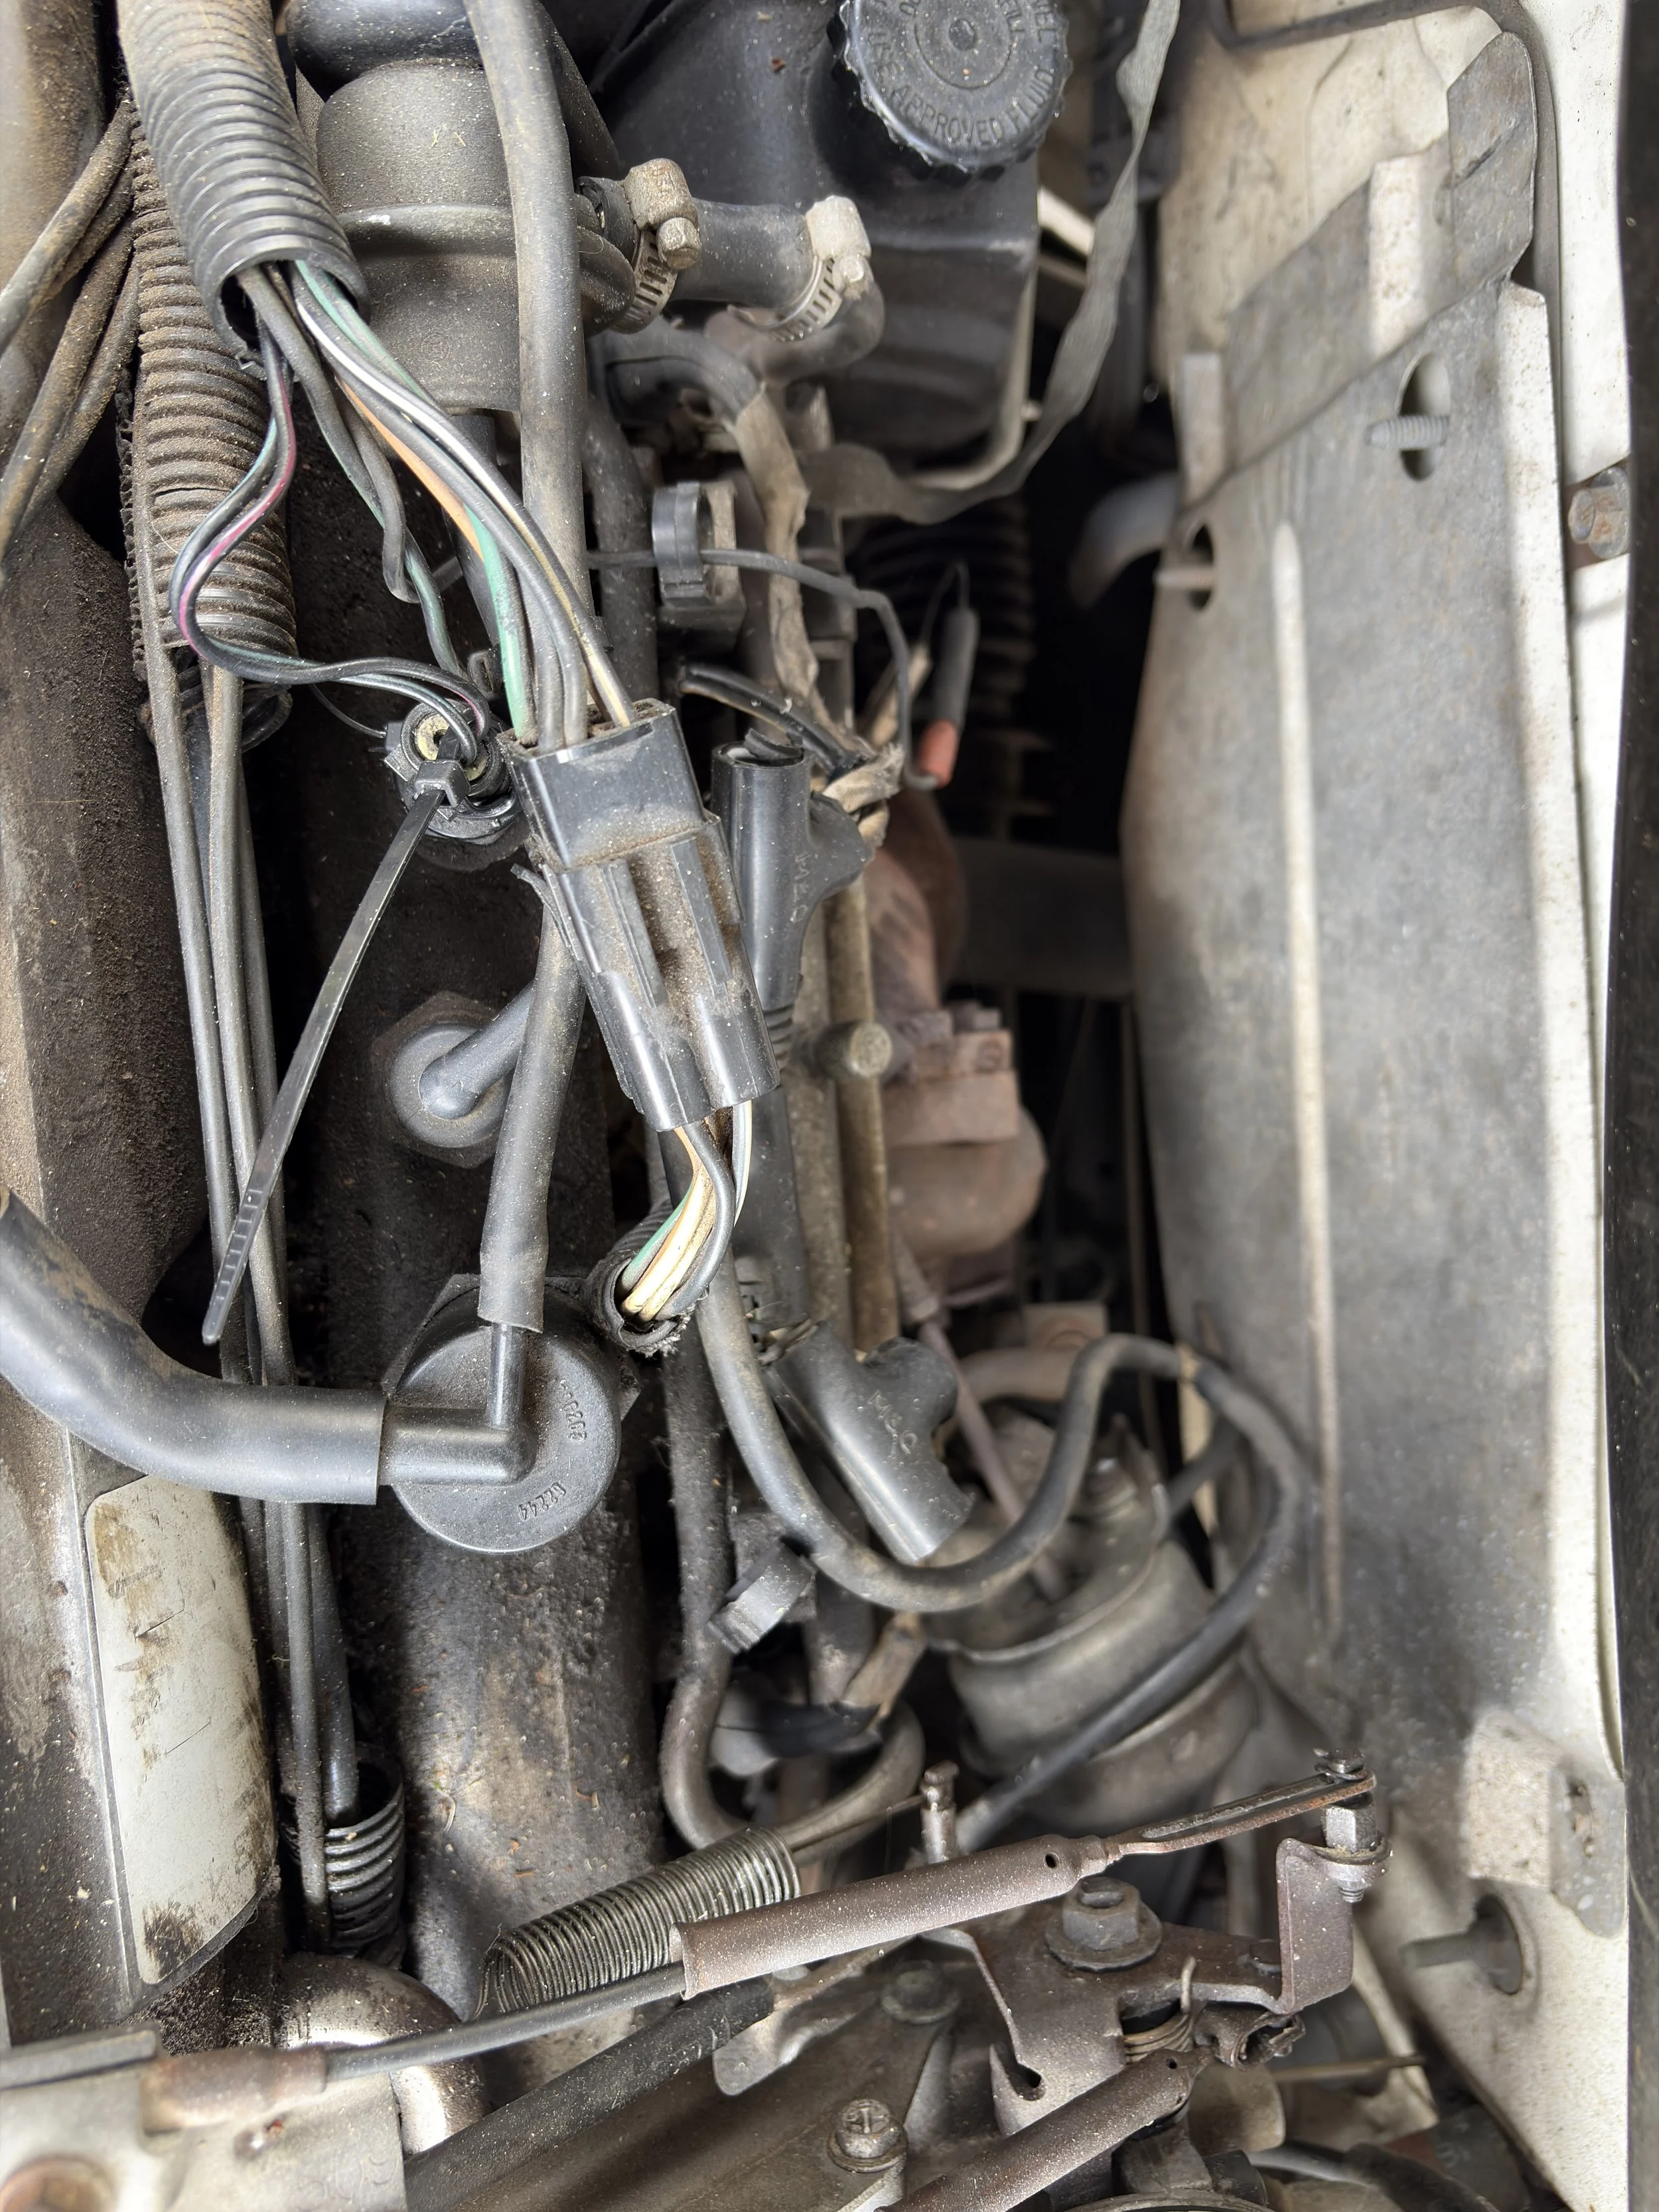
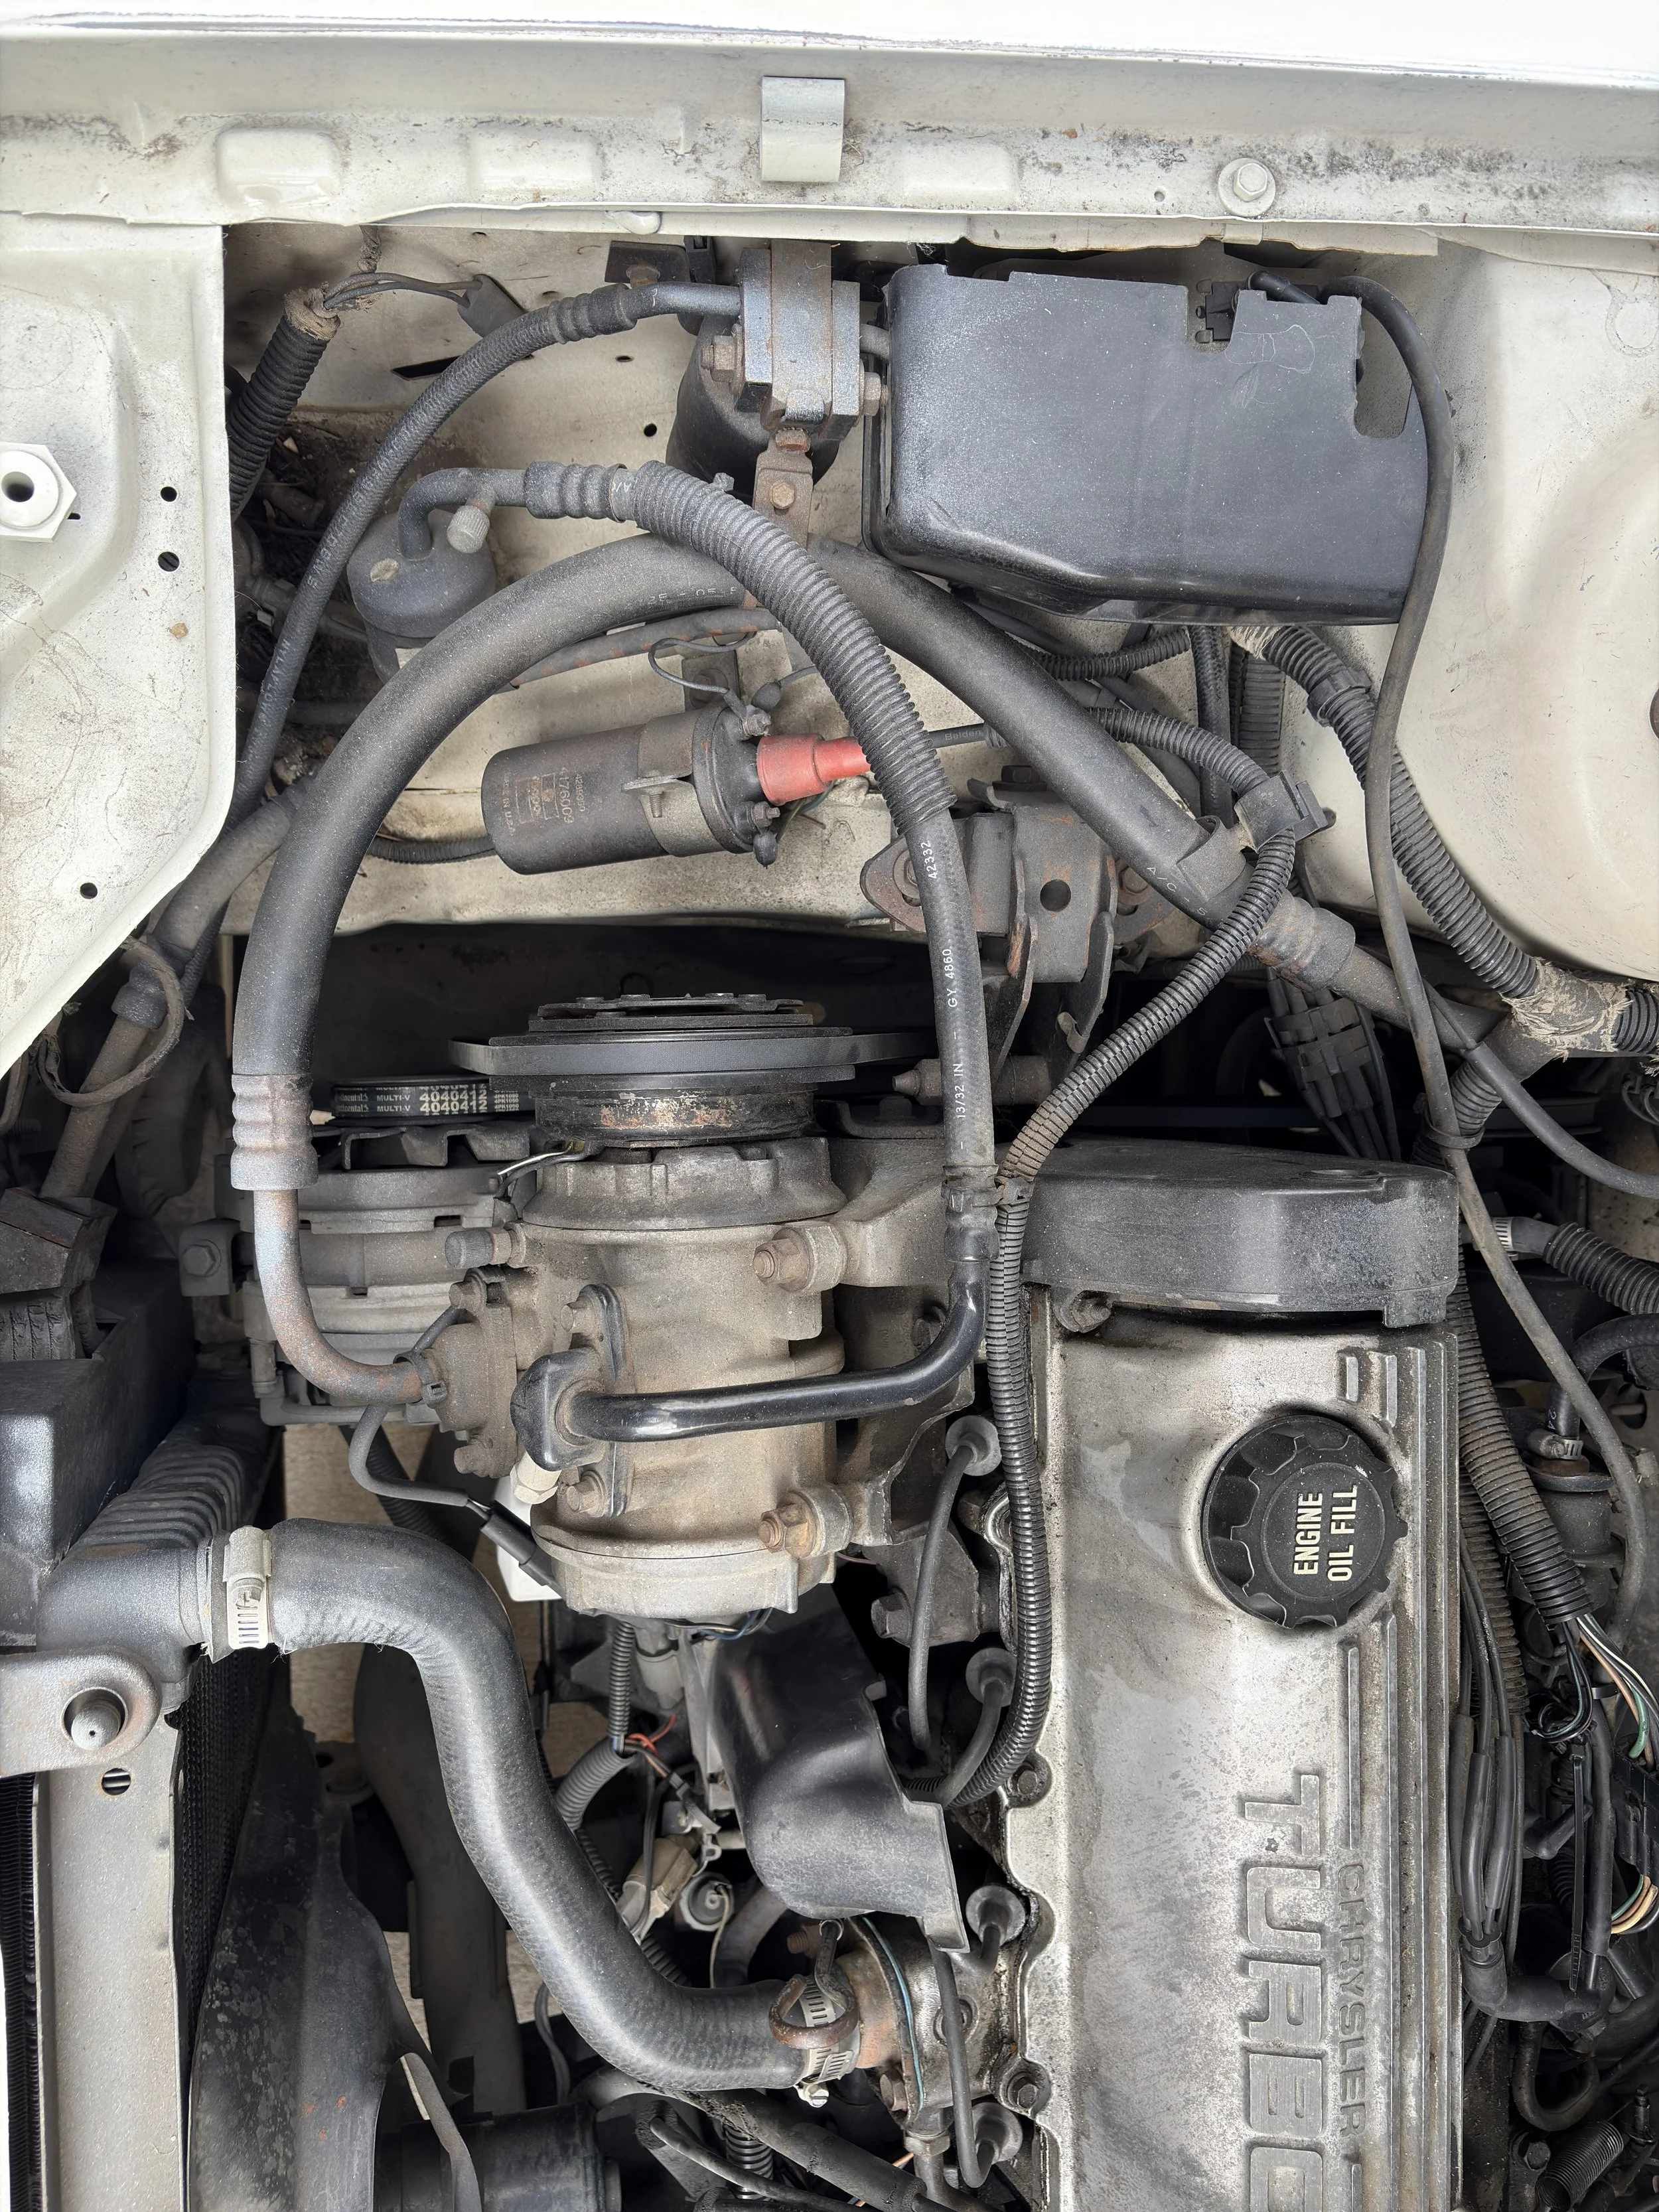
What went sideways.
So far, the situation is wonderfully chaotic. One obviously cracked vacuum hose has been replaced. The rest of the system still needs a proper diagram-matched inspection before anything can be called organized.
Where this stands.
Completed: one visibly cracked hose replaced.
Still unfinished: complete hose condition and routing have not been verified, and no engine-running check will happen while the cylinder #1 compression problem remains unresolved.
What supports this inspection.
The labels separate routing references from what has actually been observed and completed on this specific wagon.
Turbo Dodge Parts hosts routing diagrams for early Chrysler turbo vacuum systems. The correct diagram still needs to be matched to the wagon's Federal or California emissions configuration. View the vacuum diagrams.
Los Angeles Public Library provides access to Chilton automotive repair information for vehicle-specific service research. Access may require a library card. View the library resource.
The ownership guide explains why old vacuum routing, brittle connectors, and boost-control plumbing deserve careful documentation rather than guesswork. Read the survival guide.
The current engine record explains why the wagon cannot be started for a running vacuum-leak check while the confirmed cylinder #1 compression problem remains unresolved. Read the complete diagnosis.
One cracked hose down. More routing to go.
This job is paused alongside the larger engine repair. The vacuum system still needs a diagram-matched, one-line-at-a-time inspection before it can be called organized engineering.