
The compression test made it pretty clear. Cylinder number one came in at 61 PSI. The other three cylinders were sitting right around 140 PSI. That gap is not a "maybe something is wrong" gap. That is a "the head gasket is blown and we need to talk" gap. I knew it was bad. I just did not know how bad until I saw the numbers written down.
What I have been told, and what I have read, is that the 2.2 engine has a known weakness right at cylinder number one. The design of the cooling passages near that cylinder puts it at higher risk for head gasket failure than the others. Which means I am not just dealing with a bad gasket. I am dealing with a bad gasket on the exact cylinder the engine was already predisposed to fail at, in a car that may have been driven with the blown gasket for a while before I got it. White smoke on startup, milky oil, coolant disappearing from the reservoir. That is not a short list.
The short version of what that means: there is a real chance the aluminum head is warped or cracked. I will not know for certain until it is off the car and at a machine shop. But I am planning for that possibility, not hoping against it.
So. This is the job. And this is the plan.
Filming It, Solo, in the Driveway
I want to be upfront about the setup here, because I think it is worth being honest about: I am doing this in my driveway, not in a garage. The wagon has been sitting under a cover since shortly after I got it. That is where it is going to stay while I work on it, because I do not have another option.
I am also filming this alone. No camera person. That means I will be stopping constantly to set up a shot, hit record, do the thing, stop again, move the camera, and start over. It is going to be slow. Some moments are going to get missed because both of my hands were busy. That is just the reality of solo driveway filming, and I would rather say that upfront than pretend I have a film crew standing by.
The goal is to put this on YouTube in some form. Whether that ends up being one long video, a series of shorter ones, or something else entirely, I genuinely do not know yet. I have never filmed a job this big before. I figure I will get in there, get the footage I can get, and figure out the edit later.
My dad is going to be involved in the actual repair work, which I am grateful for. He knows what he is doing with these engines in a way that I very much do not. But he will not be in the videos. That is his preference, and I respect it. So the on-camera presence is just me, the car, and whatever I am currently confused about.
The Three Phases
From what I understand, this job does not happen all in one day. Probably not even in one week. There is teardown, then there is waiting on the machine shop, then there is reassembly. I am treating those as three distinct phases, because they are, and because pretending otherwise would be setting myself up to be frustrated.
Draining the coolant and oil. Disconnecting everything attached to the top of the engine: intake, exhaust, turbo connections, coolant hoses, vacuum lines (there are a lot of vacuum lines), the timing belt cover, the timing belt itself. Then pulling the head bolts and lifting the head off the block. This is also when I will get a look at the turbocharger, which has to come off to pull the head on this engine. I am planning to inspect it closely and rebuild it rather than replace it outright, but I will not know what I am actually dealing with until it is in my hands.
The head goes to a machine shop to be pressure tested and inspected. If it is warped, it gets resurfaced. If it is cracked, that is a different and more expensive conversation. I am not going to know the cost of this phase until I get there. What I do know is that skipping this step is not an option. Bolting a new gasket onto a warped head just means blowing the new gasket too.
Everything goes back together, in the right order, torqued to spec. The timing belt goes back on correctly, which is not optional and not something I am going to rush. My dad has a timing light. We will use it. New gaskets, new seals, new anything that makes sense to replace while the engine is apart. Then coolant, oil, and a very cautious first start.
The Parts List
This is the "while you're in there" list. Some of these are mandatory because they have to come off anyway. Some of them are cheap enough and accessible enough that it makes no sense to put the engine back together without replacing them. And some of them are unknowns that I am budgeting for without knowing the actual number yet.
I have not ordered any of this yet. Pricing and sourcing is the next step.
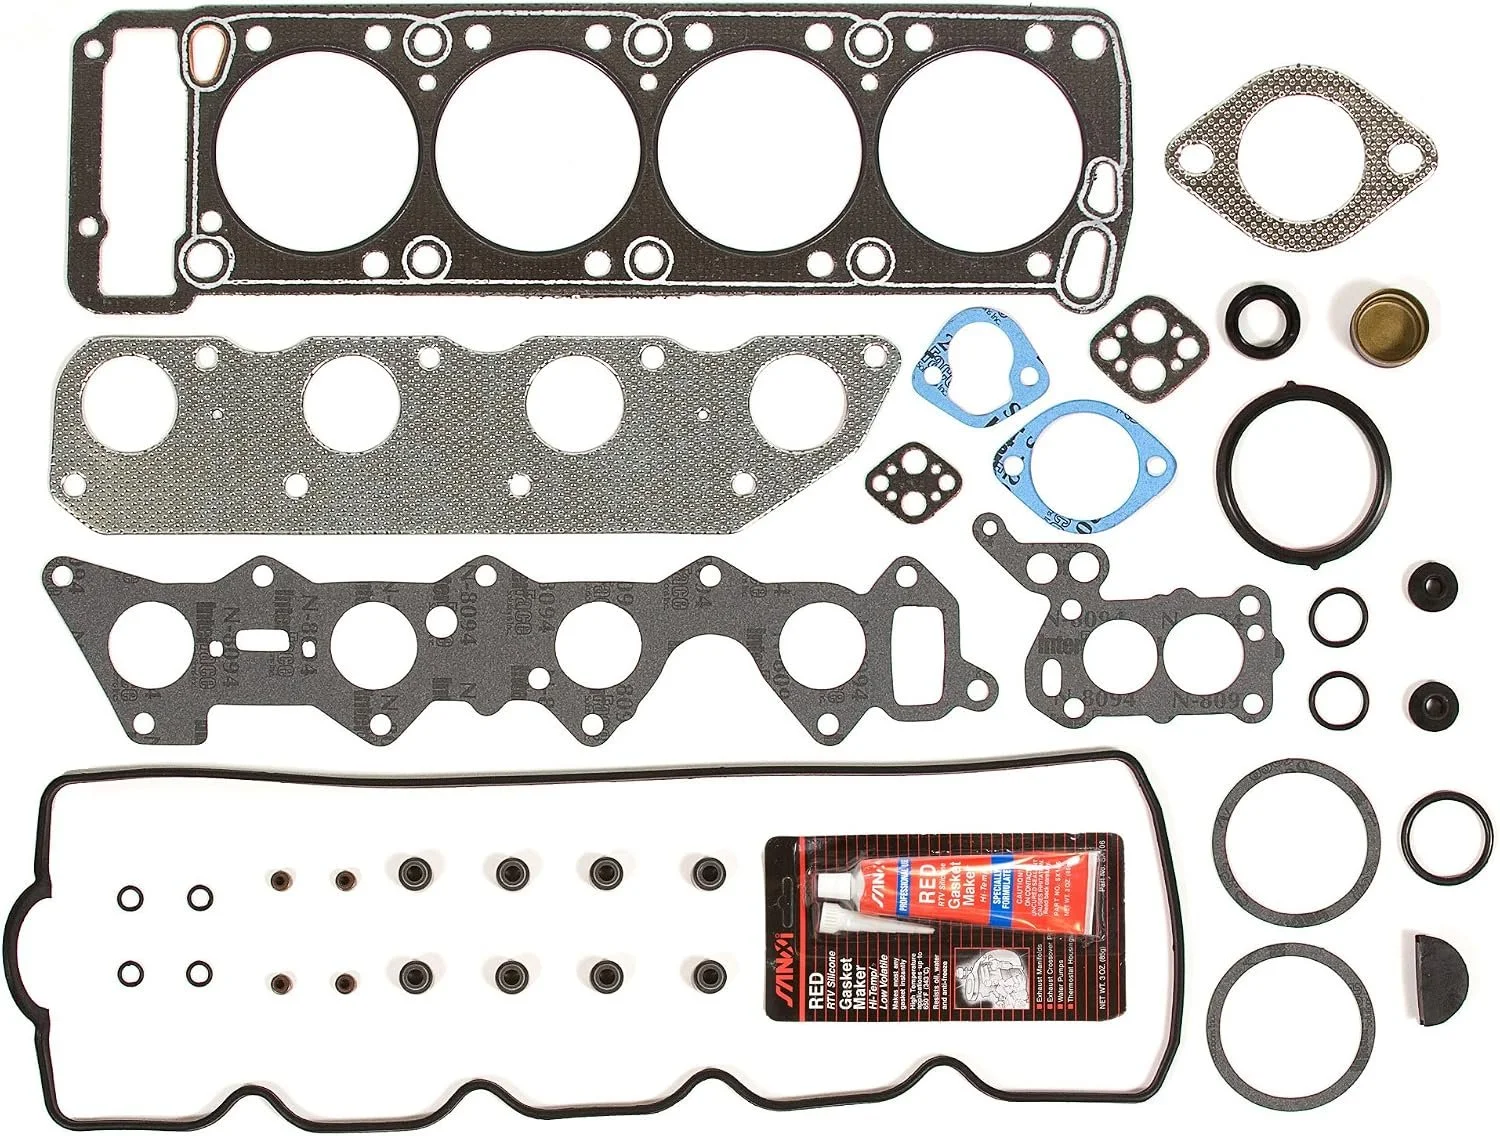
The whole reason we are here. A full set includes the cylinder head gasket plus all the smaller gaskets and seals for the top end that come off during the job. From what I read, Fel-Pro is the common recommendation for this engine.

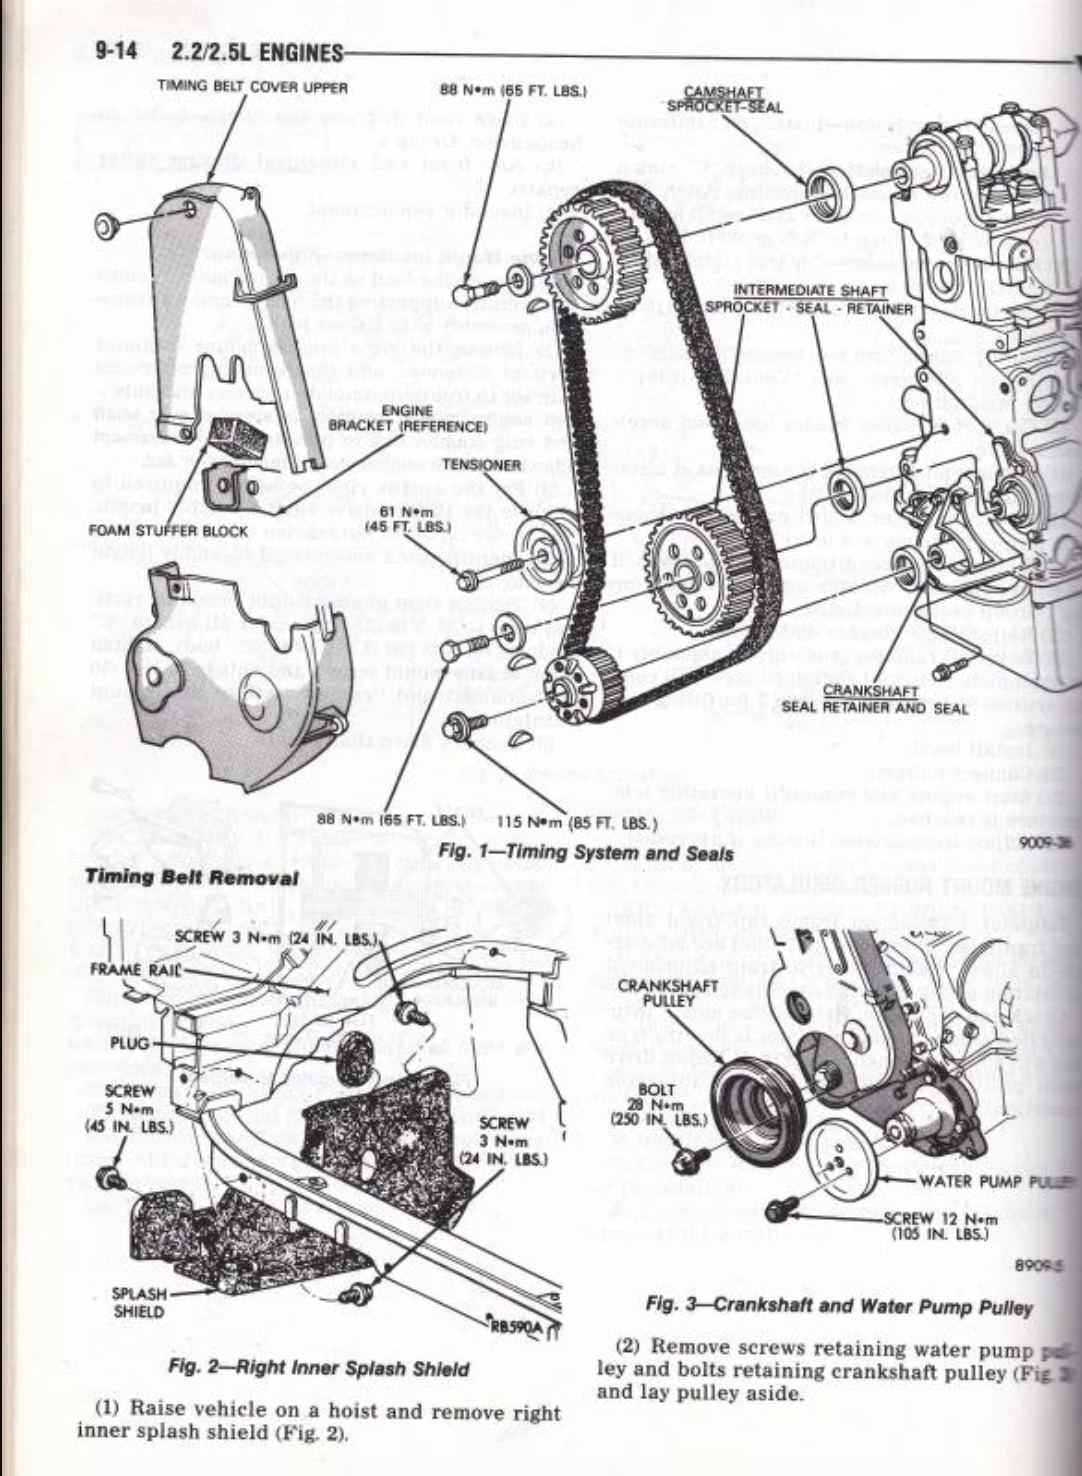
The timing belt has to come off to pull the head, so it is getting replaced regardless of its current condition. The tensioner keeps the correct amount of pressure on the belt, and if one is coming off, both are going in the bin. Getting the timing right on reassembly is one of the most critical parts of this job. My dad has a timing light. We are using it.

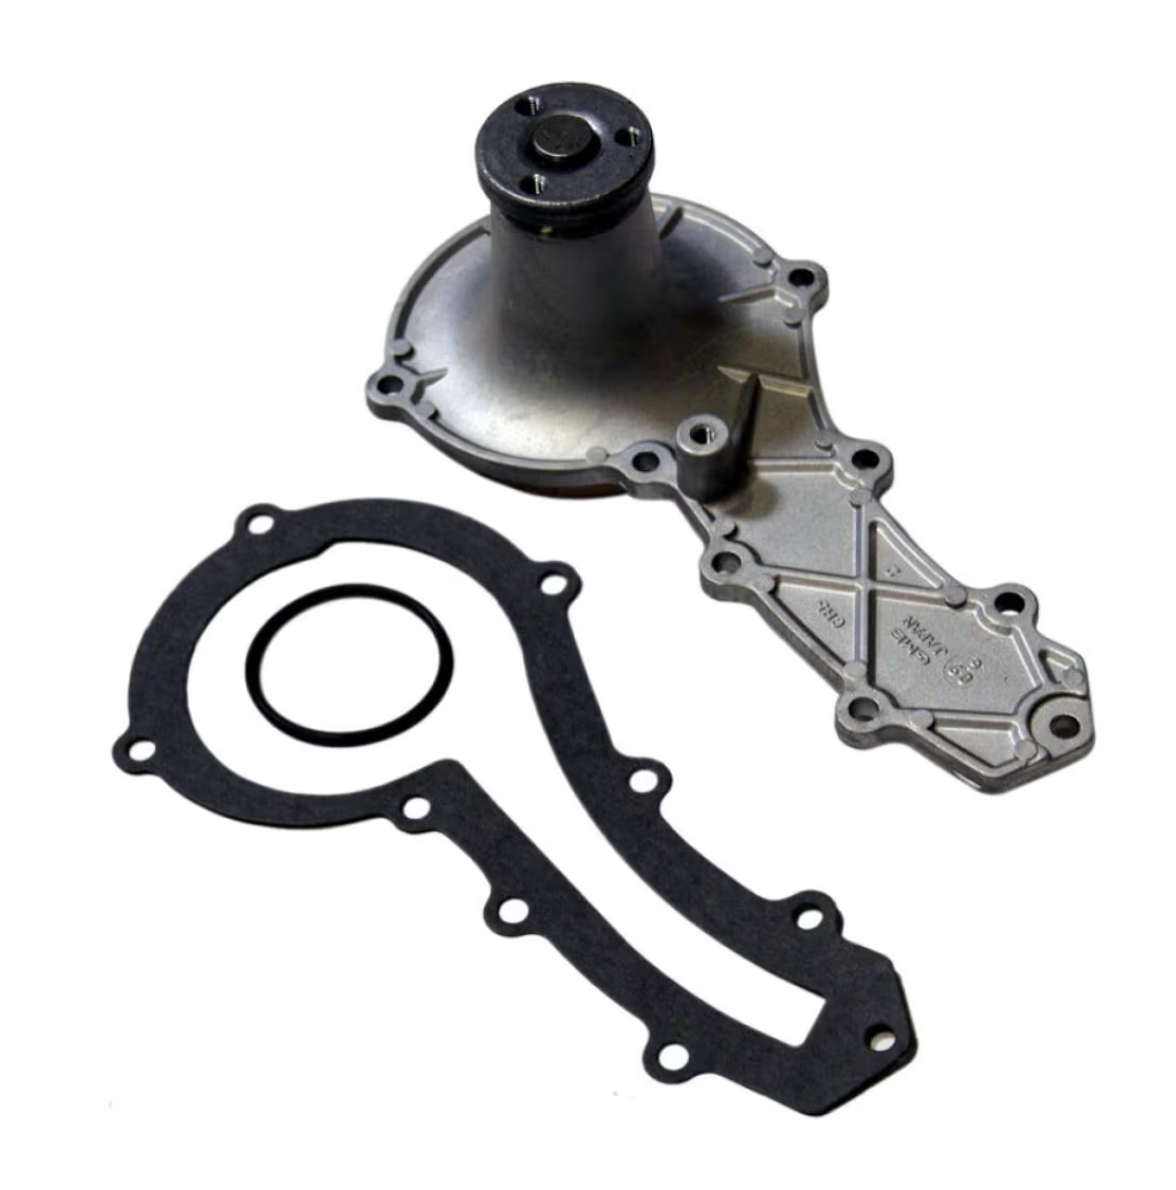
On the 2.2, the water pump is driven by the timing belt. So the timing belt coming off means the water pump is right there and accessible. Replacing a 40-year-old water pump while everything is apart costs a fraction of what it would cost to pull the timing belt again later because the pump failed.
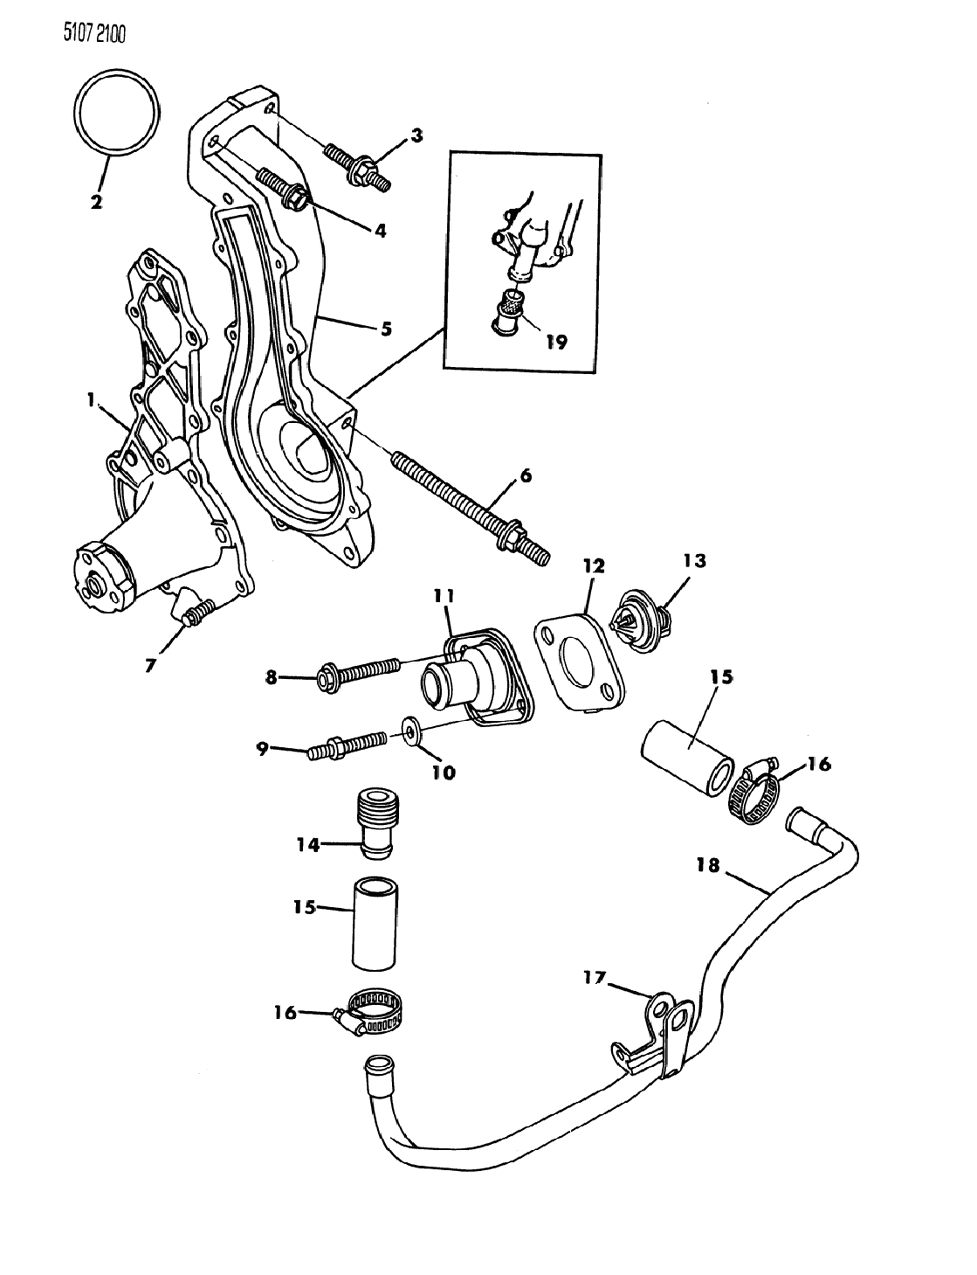
Already replaced once, but given everything the cooling system has been through on this car, replacing it again during reassembly is the right call. It is a cheap part. There is no good argument for putting the old one back in.
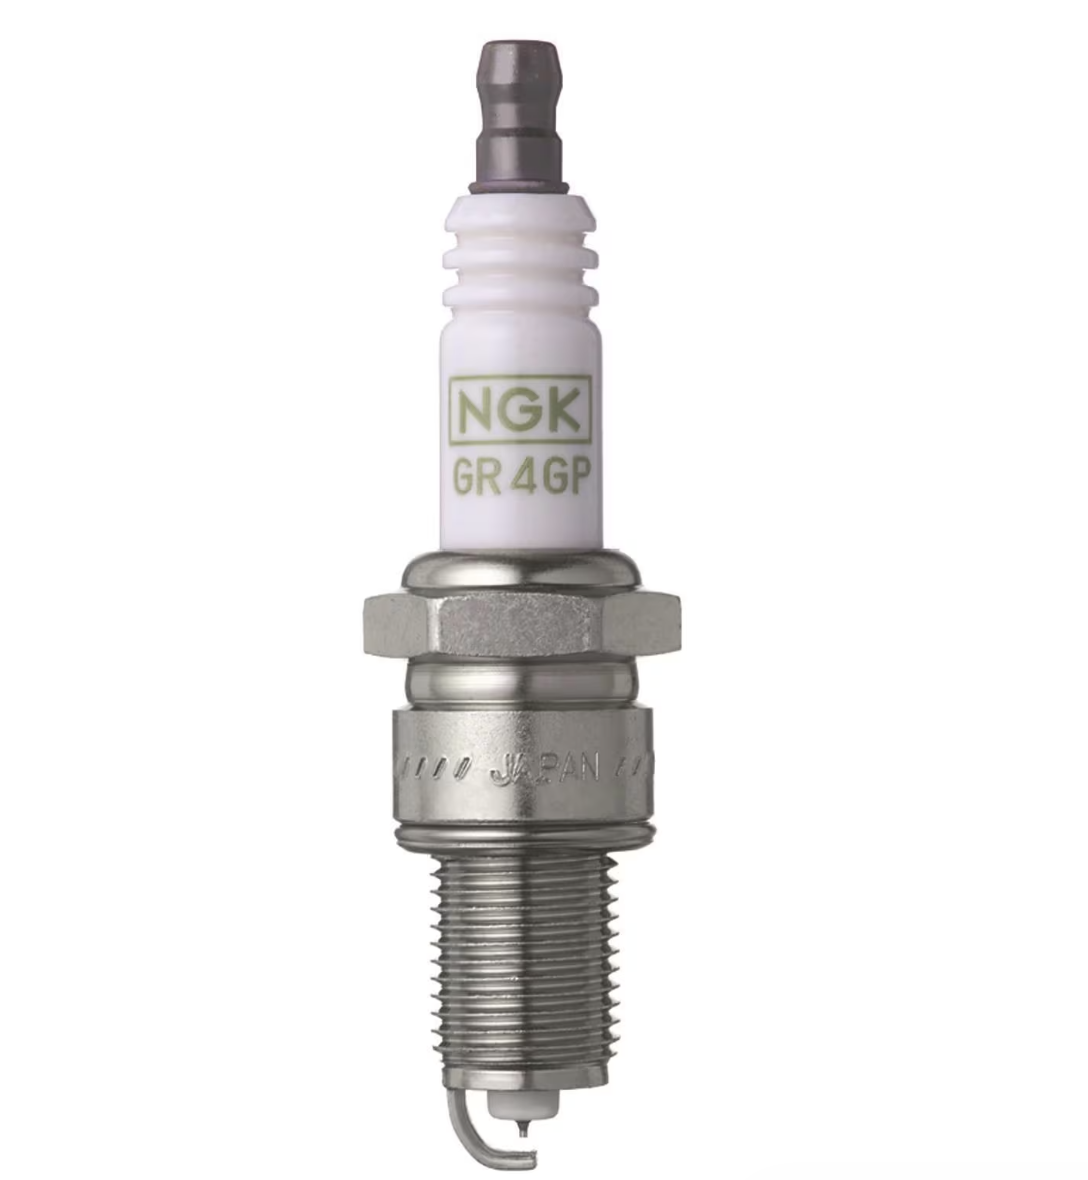
Pulled and inspected previously to help diagnose what was going on in cylinder number one, but not replaced yet. They are getting replaced as part of this job. With a fresh head gasket and the engine back together, new plugs are part of making sure it starts clean.
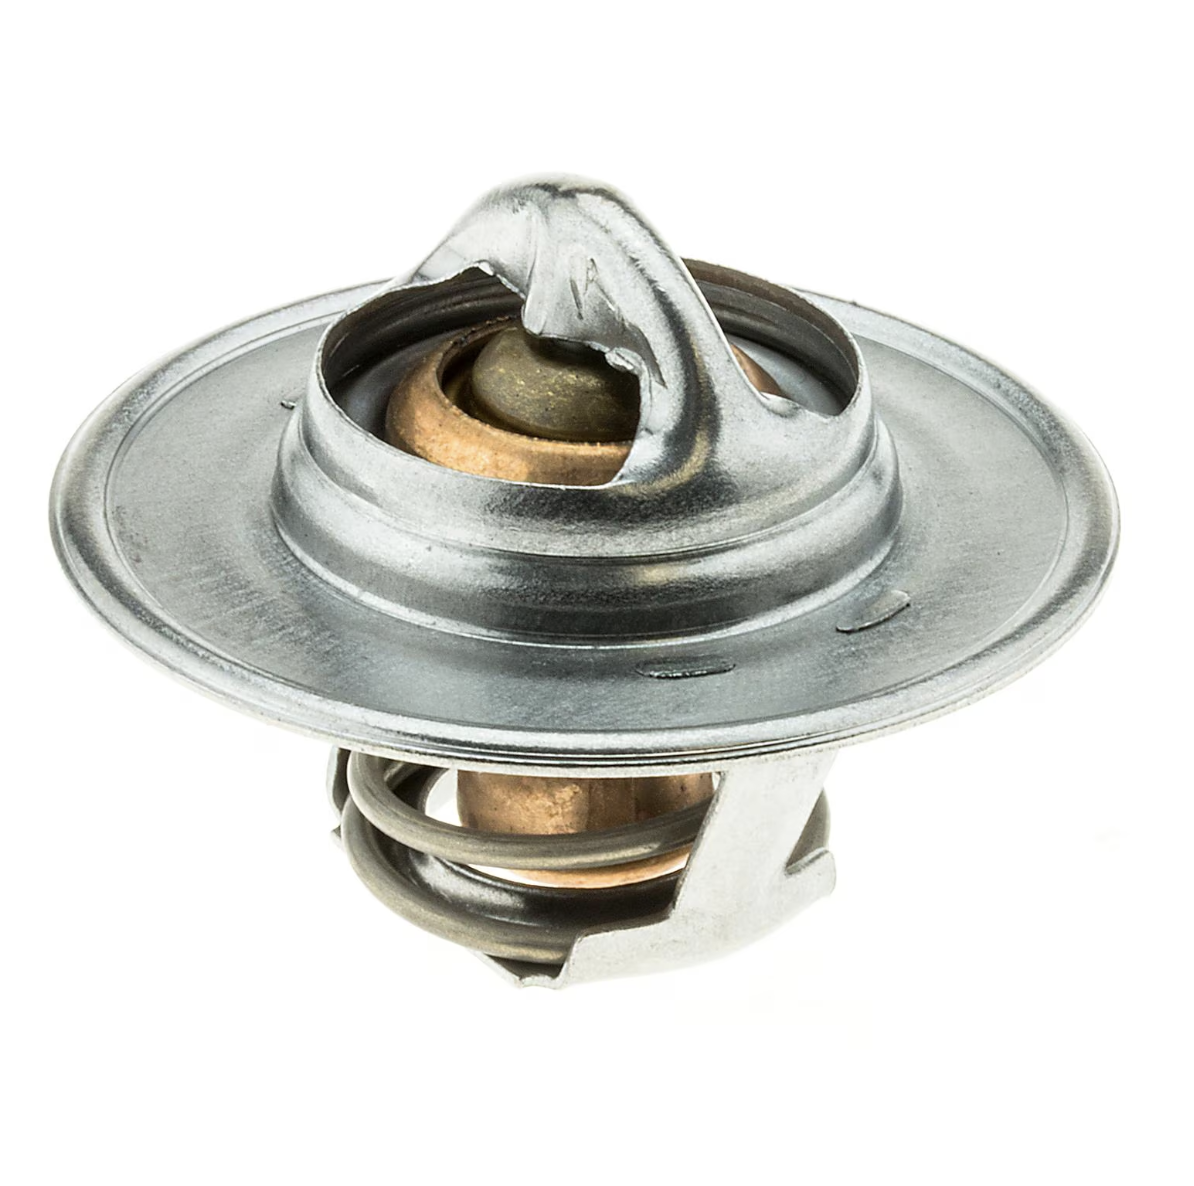
The cooling system is getting drained as part of the teardown anyway. Old rubber hoses on a 40-year-old car are not something I want to trust once everything is sealed back up and running again. All of them are coming out.

Done at the machine shop while the head is already off and on the bench. Easier to do there than anywhere else.
Will inspect closely while the head is off. Replace if they need it, leave them if they do not.
The turbocharger has to come off to pull the head on this engine, so it is getting pulled regardless. The plan is to rebuild rather than replace, but I will not know what kind of shape it is actually in until I have it in my hands and can look at it properly. More on this once teardown starts.
Head inspection, pressure test, and resurfacing if needed. Cost unknown until I get there. Could be straightforward. Could not be.
I do not have a number yet. I am not going to pretend I do. What I know is that this job has a floor and I do not know where the ceiling is, because the ceiling depends on what the machine shop finds when the head comes off. I will post real costs as I go, because that is kind of the whole point of this site. Actual receipts, when I have them.
What I Do Not Know Yet
There are a few things that will not get resolved until the engine is actually apart. I want to name them here rather than gloss over them, because they are real variables.
The head condition is the big one. Based on what I have read about the 2.2 engine and the symptoms this car had, I think there is a meaningful chance the head has some damage. The aluminum is softer than cast iron and more prone to warping when it gets run hot, which mine almost certainly did before the previous owner figured out something was wrong. Or before they sold it to me without mentioning it. Either way.
The turbocharger is the other one. It has been sitting on a sick engine for however long this gasket has been blown. Turbos do not love that. I am going into the inspection with an open mind and planning to rebuild rather than replace, but I will not know what kind of shape it is actually in until I pull it and look.
And then there are the things I will find once the engine is apart that I cannot anticipate at all. That is just how this goes. I have read enough teardown threads on TurboDodge to know that the "while you're in there" list has a tendency to grow once you are actually in there.
I am a novice doing a job that experienced mechanics respect for its complexity. I have help, I have resources, and I am going in with a plan. But I also know that the plan is going to change the moment I start pulling things apart. I am okay with that. The car has been sitting. It is not getting any better under the cover.
What Comes Next
The next update will be the actual teardown. Coolant drained, timing cover off, head bolts out, head on its way to the shop. I will film what I can and post it when it is ready.
If you have done a head gasket job on a 2.2 Turbo and have advice I have not thought of yet, I genuinely want to hear it. The TurboDodge forums have been helpful, but firsthand experience is better than anything I can read.
More soon.