Replacing the thermostat was only step one.
The new thermostat went in easily and the housing stayed dry. The overheating did not leave with the old one, so a simple 30-minute repair became the beginning of a much bigger diagnosis.
What the thermostat repair proved.
Did the new thermostat fix the overheating?
No. The thermostat replacement was completed successfully, but the wagon continued to overheat and stall afterward.
Did the thermostat housing leak afterward?
No leak was observed at the housing after reassembly. The replacement itself went fine — the larger problem was still somewhere else.
How long did the replacement take?
About 30 minutes. One of the rare old-car jobs that stayed close to the expected timeline.
What did the follow-up tests find?
Cylinder #1 measured 61 PSI while cylinders #2, #3, and #4 each measured 140 PSI. Coolant also surged from the open radiator neck during cranking.
Can the wagon be run or driven now?
No. The thermostat is no longer the issue, but the overheating and cylinder #1 compression problem make running or driving it unsafe until the failure is identified and repaired.
A successful repair, but not the fix.
I replaced the thermostat on the 1985 Chrysler Town & Country 2.2L Turbo because it was overheating and the thermostat was a sensible first thing to rule out. The job took about 30 minutes, the new part went in without a fight, and the housing did not leak afterward.
Unfortunately the wagon still overheated and stalled. That did not make the replacement pointless — it confirmed that the easy answer was not the whole answer and gave me a clean starting point for the cooling-system tests that followed.
Reason for the repair
What this job needs
What the job takes.
The actual process.
Let everything cool completely.
Do not open the cooling system hot. Pressurized hot coolant causes serious burns.
Disconnect the battery.
I disconnected it before working around the engine. On future drivability work, I will record any stored Chrysler fault codes before removing battery power.
Place a drain pan under the work area.
Some coolant will escape when the housing comes off. A cat litter pan works well in a pinch.
Follow the upper radiator hose to the thermostat housing.
The housing is where the upper hose meets the engine. Take photos before loosening anything.
Remove the hose and housing bolts.
Work slowly. If something feels stuck, take a beat before applying full force.
Remove the old thermostat.
Note the orientation before pulling it out. The replacement needs to sit the same way regardless of how the old one ended up positioned.
Clean the mating surfaces.
Old gasket material needs to come off carefully. The goal is clean and flat — a plastic scraper or careful razor blade on the mating surfaces does the job.
Install the new thermostat and gasket.
Seat the thermostat correctly, place the new gasket, and reinstall the housing evenly without overtightening.
Refill coolant and check for leaks.
Top off the system, burp trapped air using the correct procedure, and inspect the housing for leaks. If temperature rises abnormally or coolant starts escaping, shut it down immediately.
Verify what actually changed.
The housing stayed dry and the thermostat replacement was complete. The overheating continued, which meant I had ruled out one simple possibility and earned a sequel.
After the repair.
New thermostat in, housing sealed, no leaks. The cooling system looked exactly like it should. The overheating told a different story.
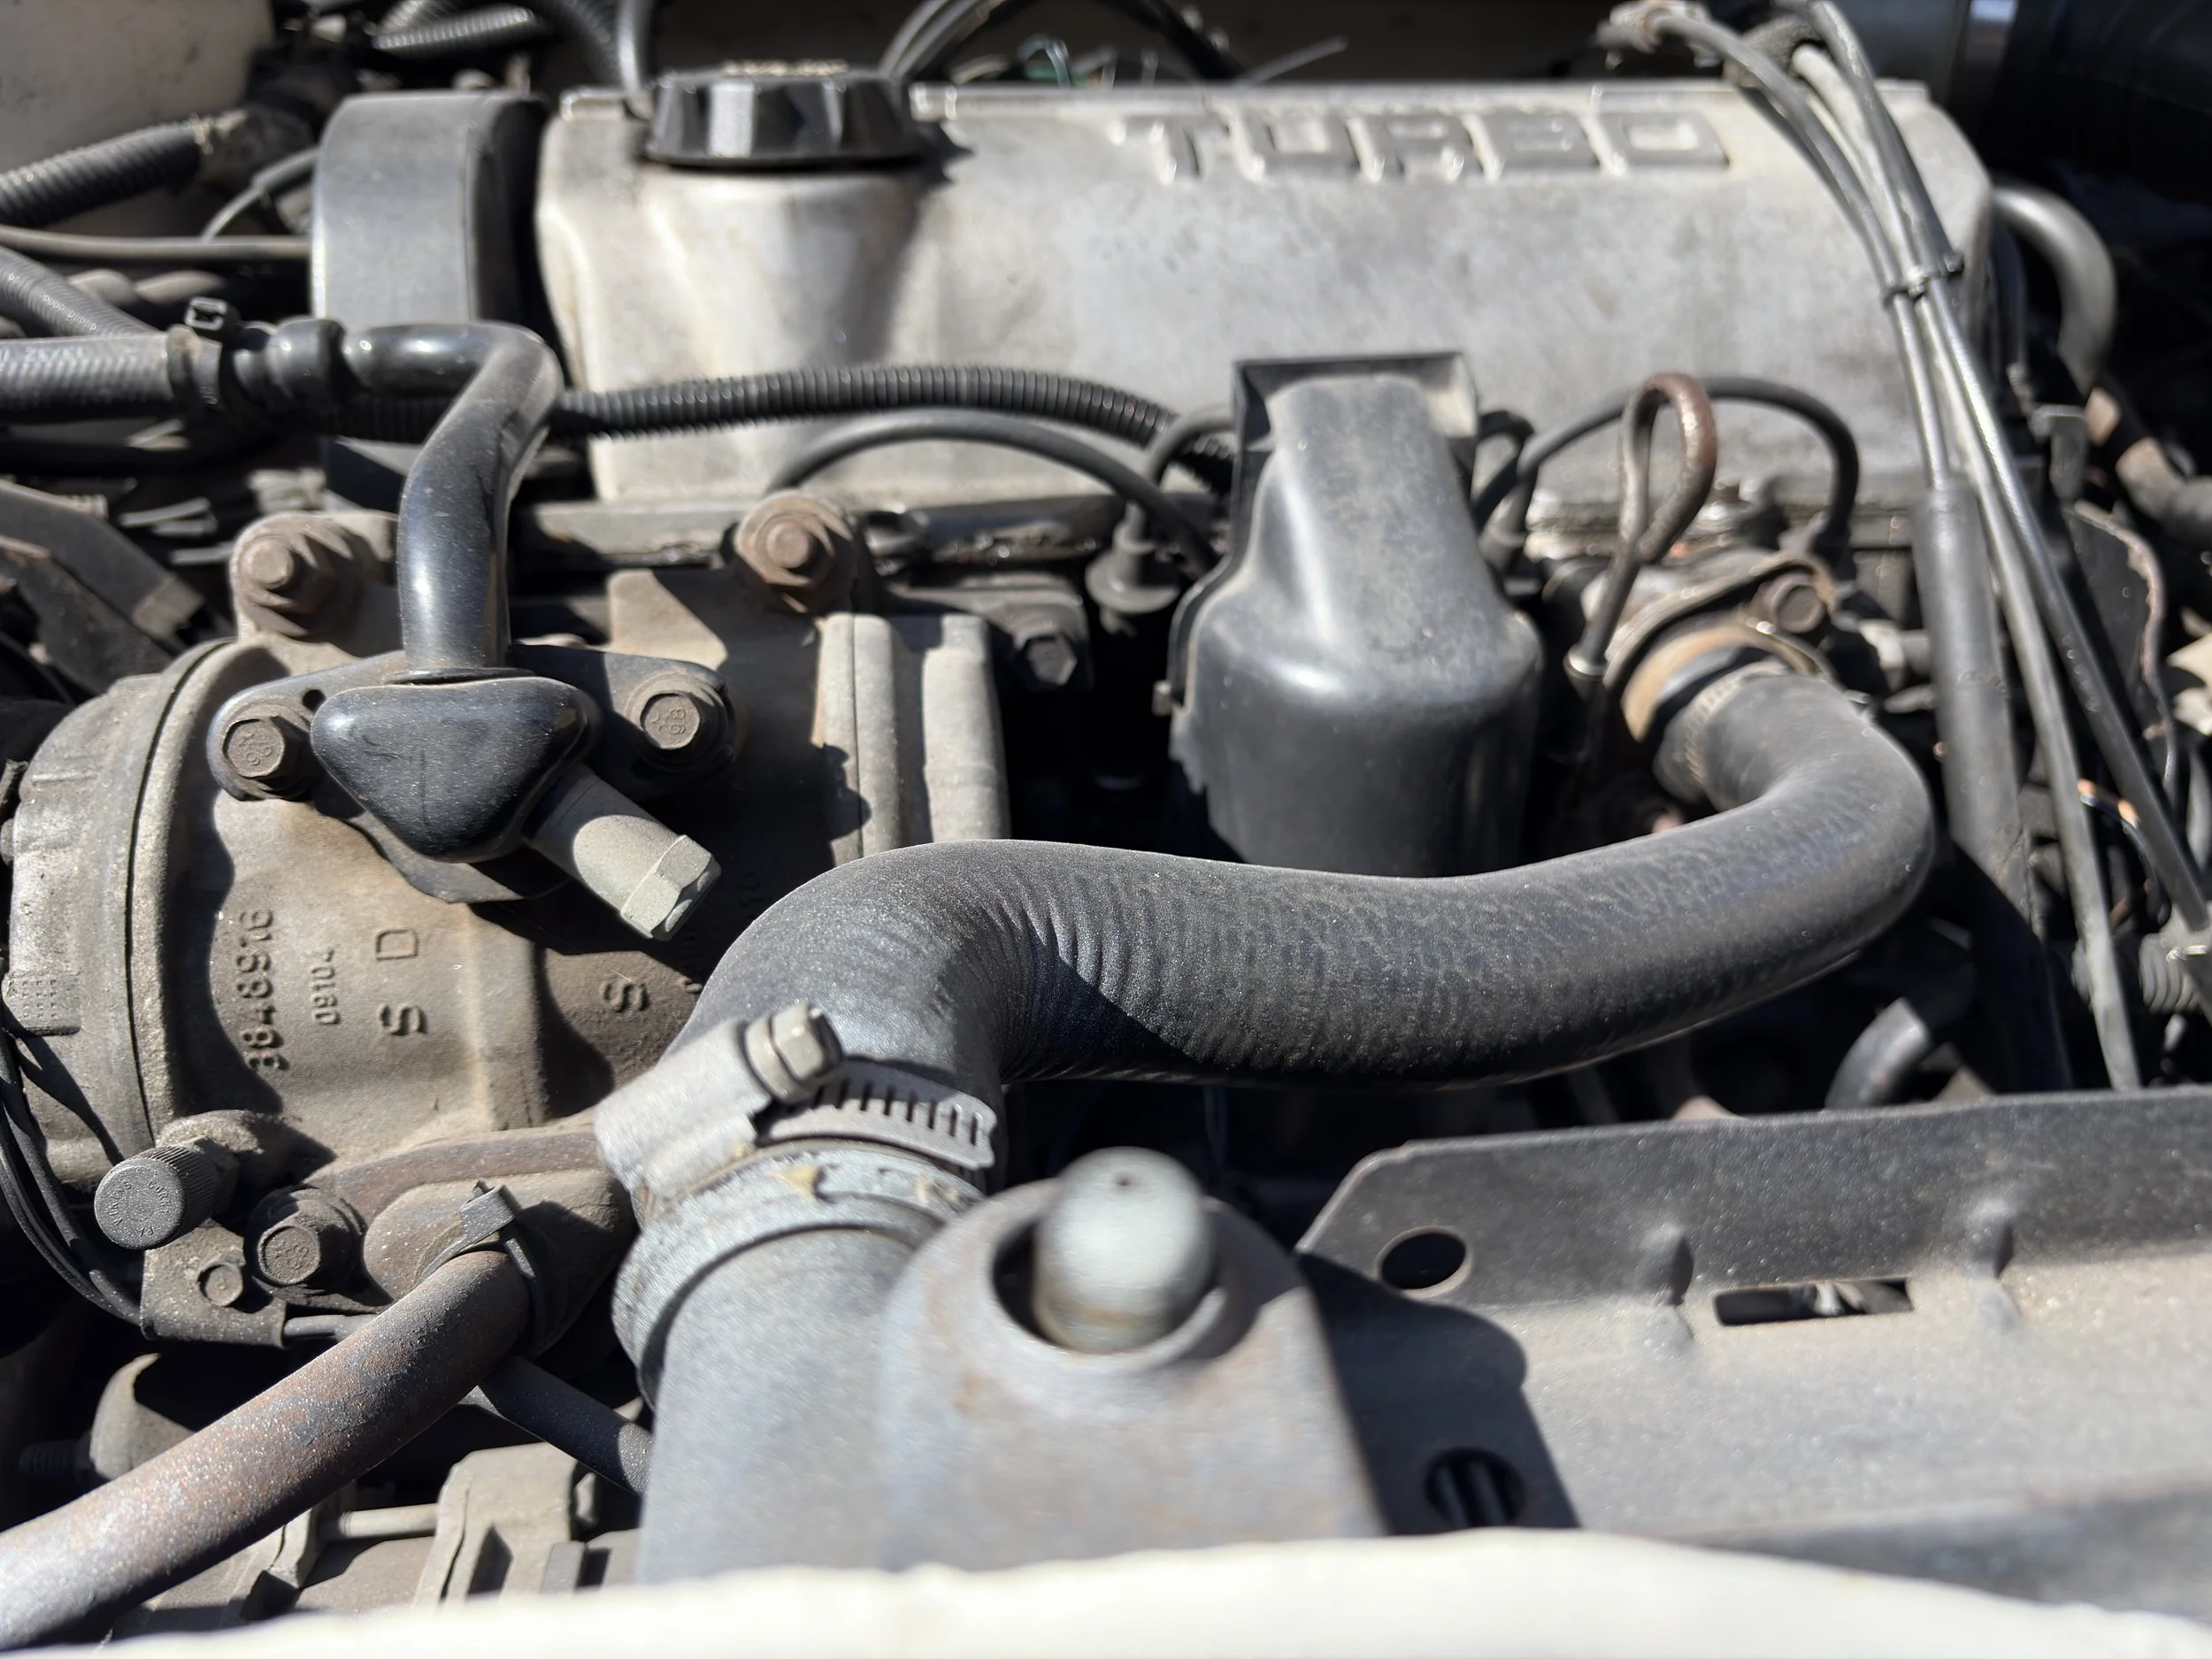
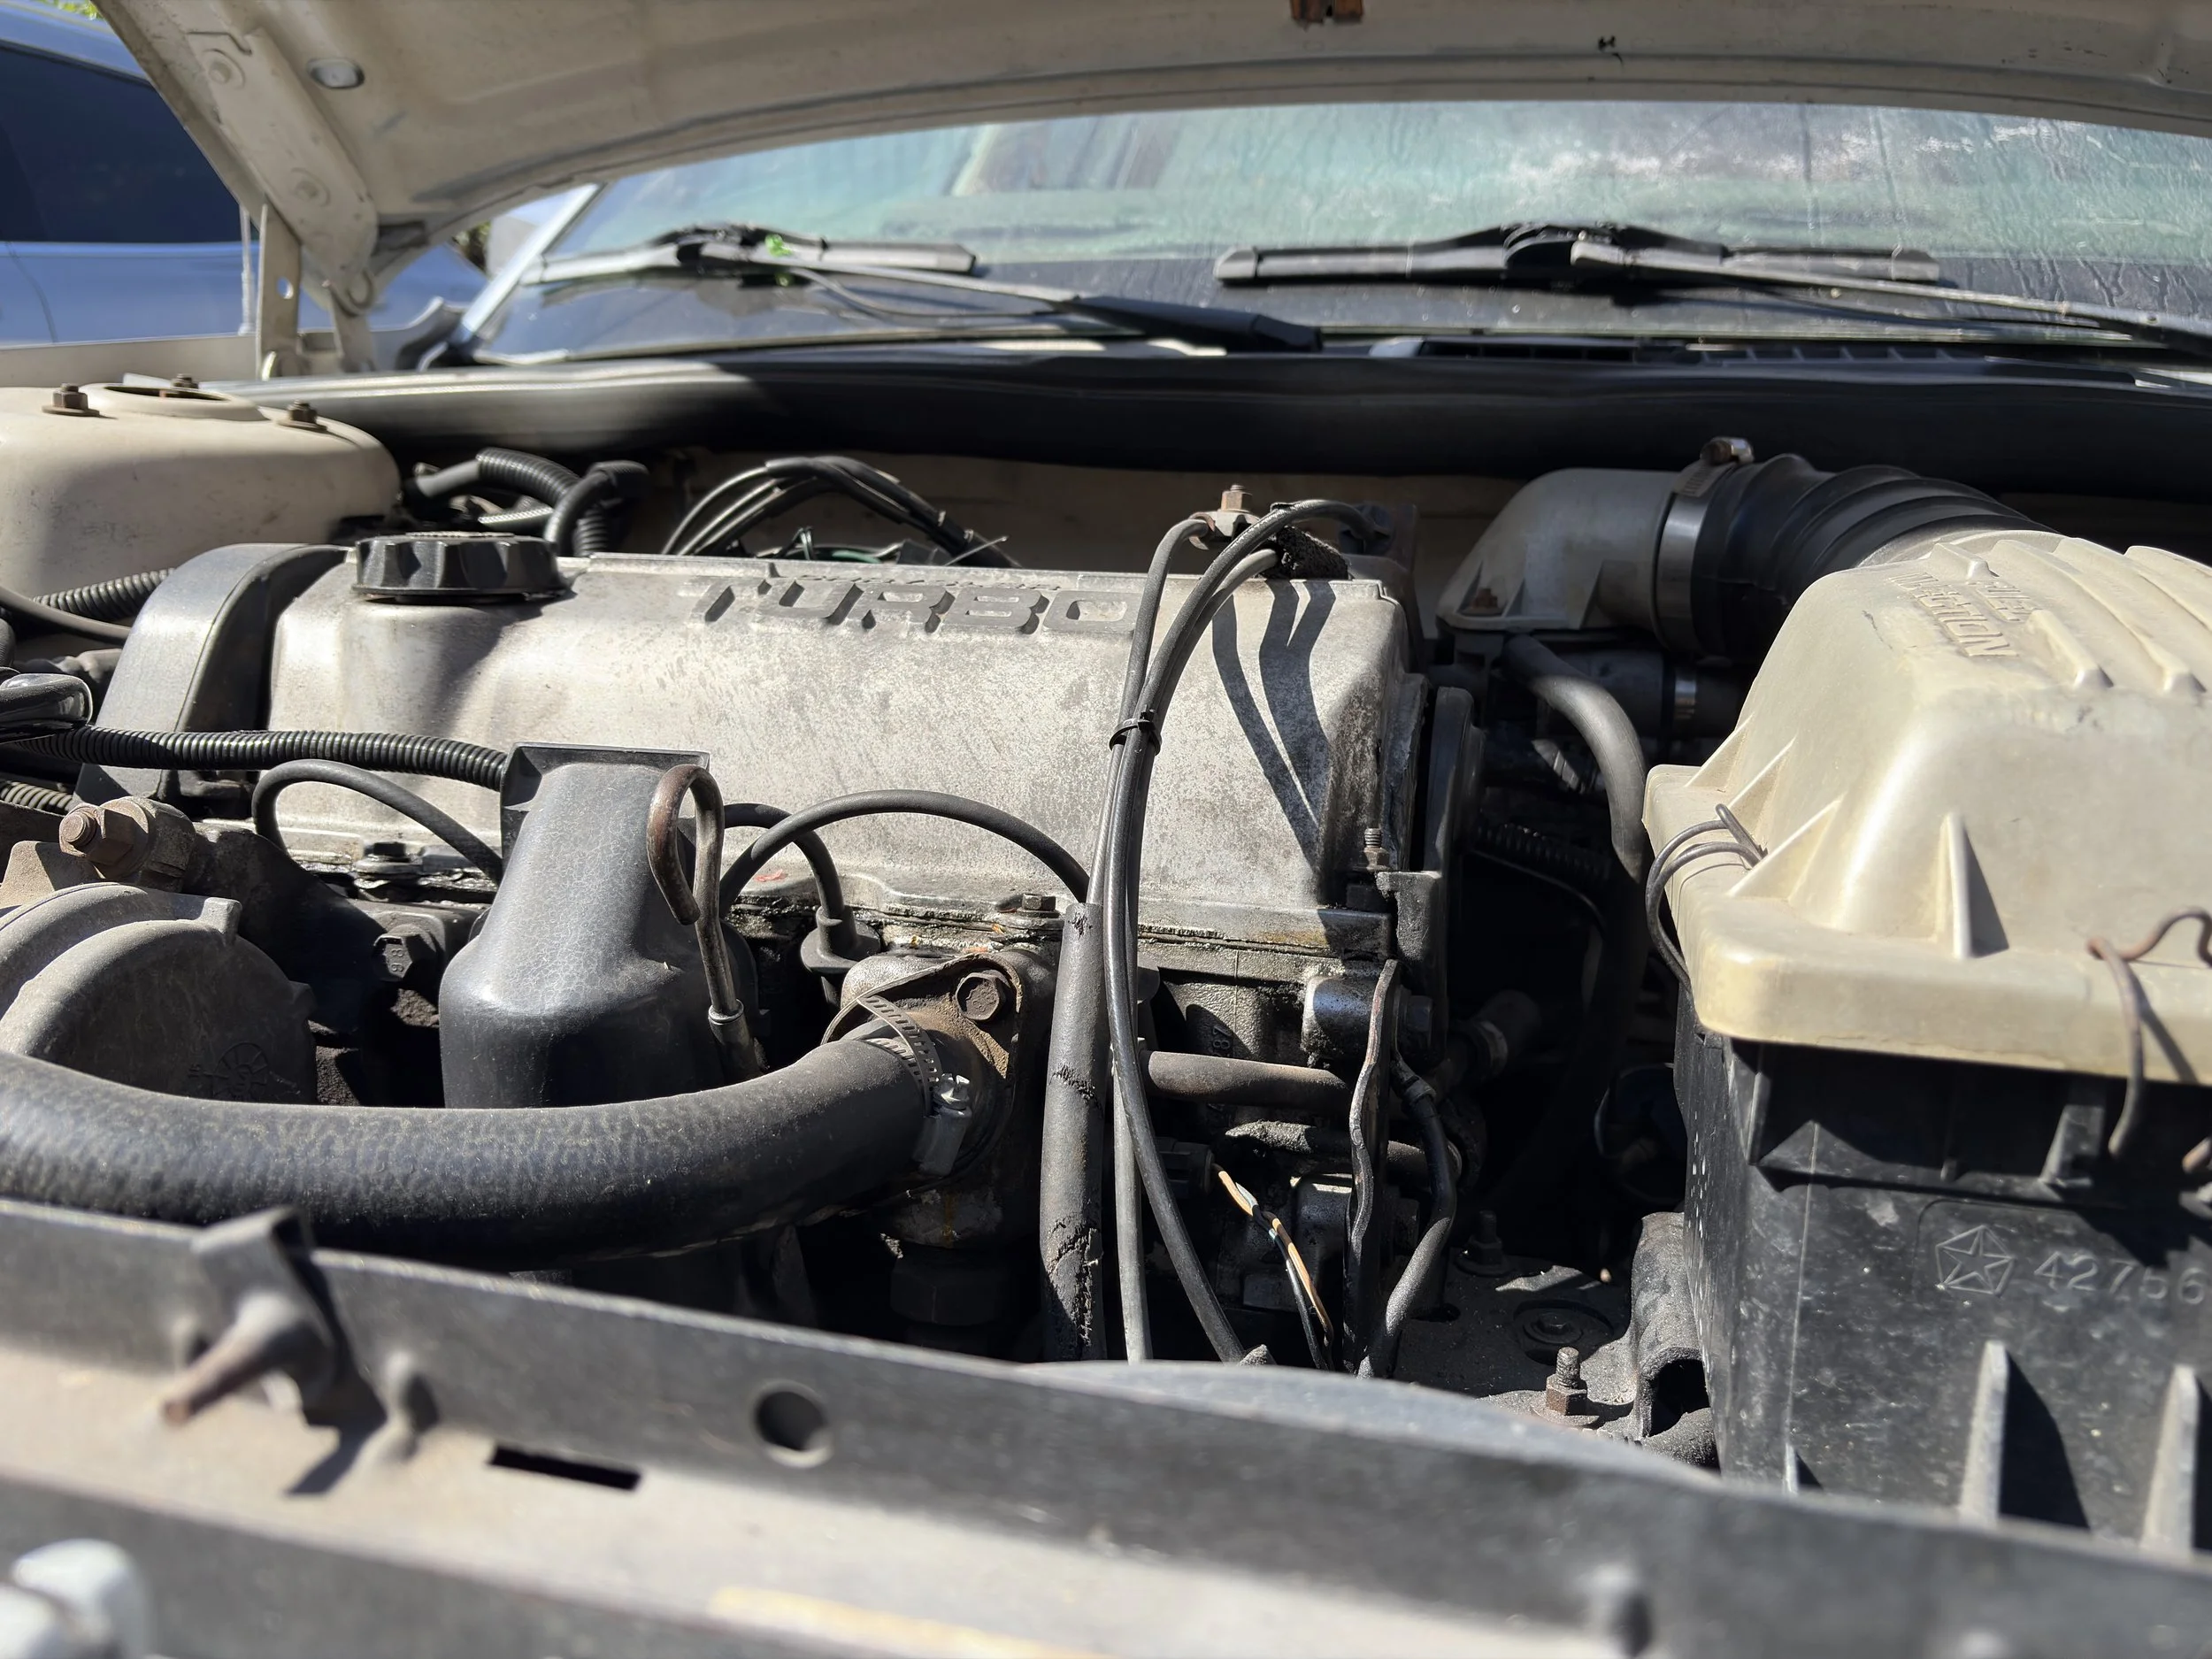
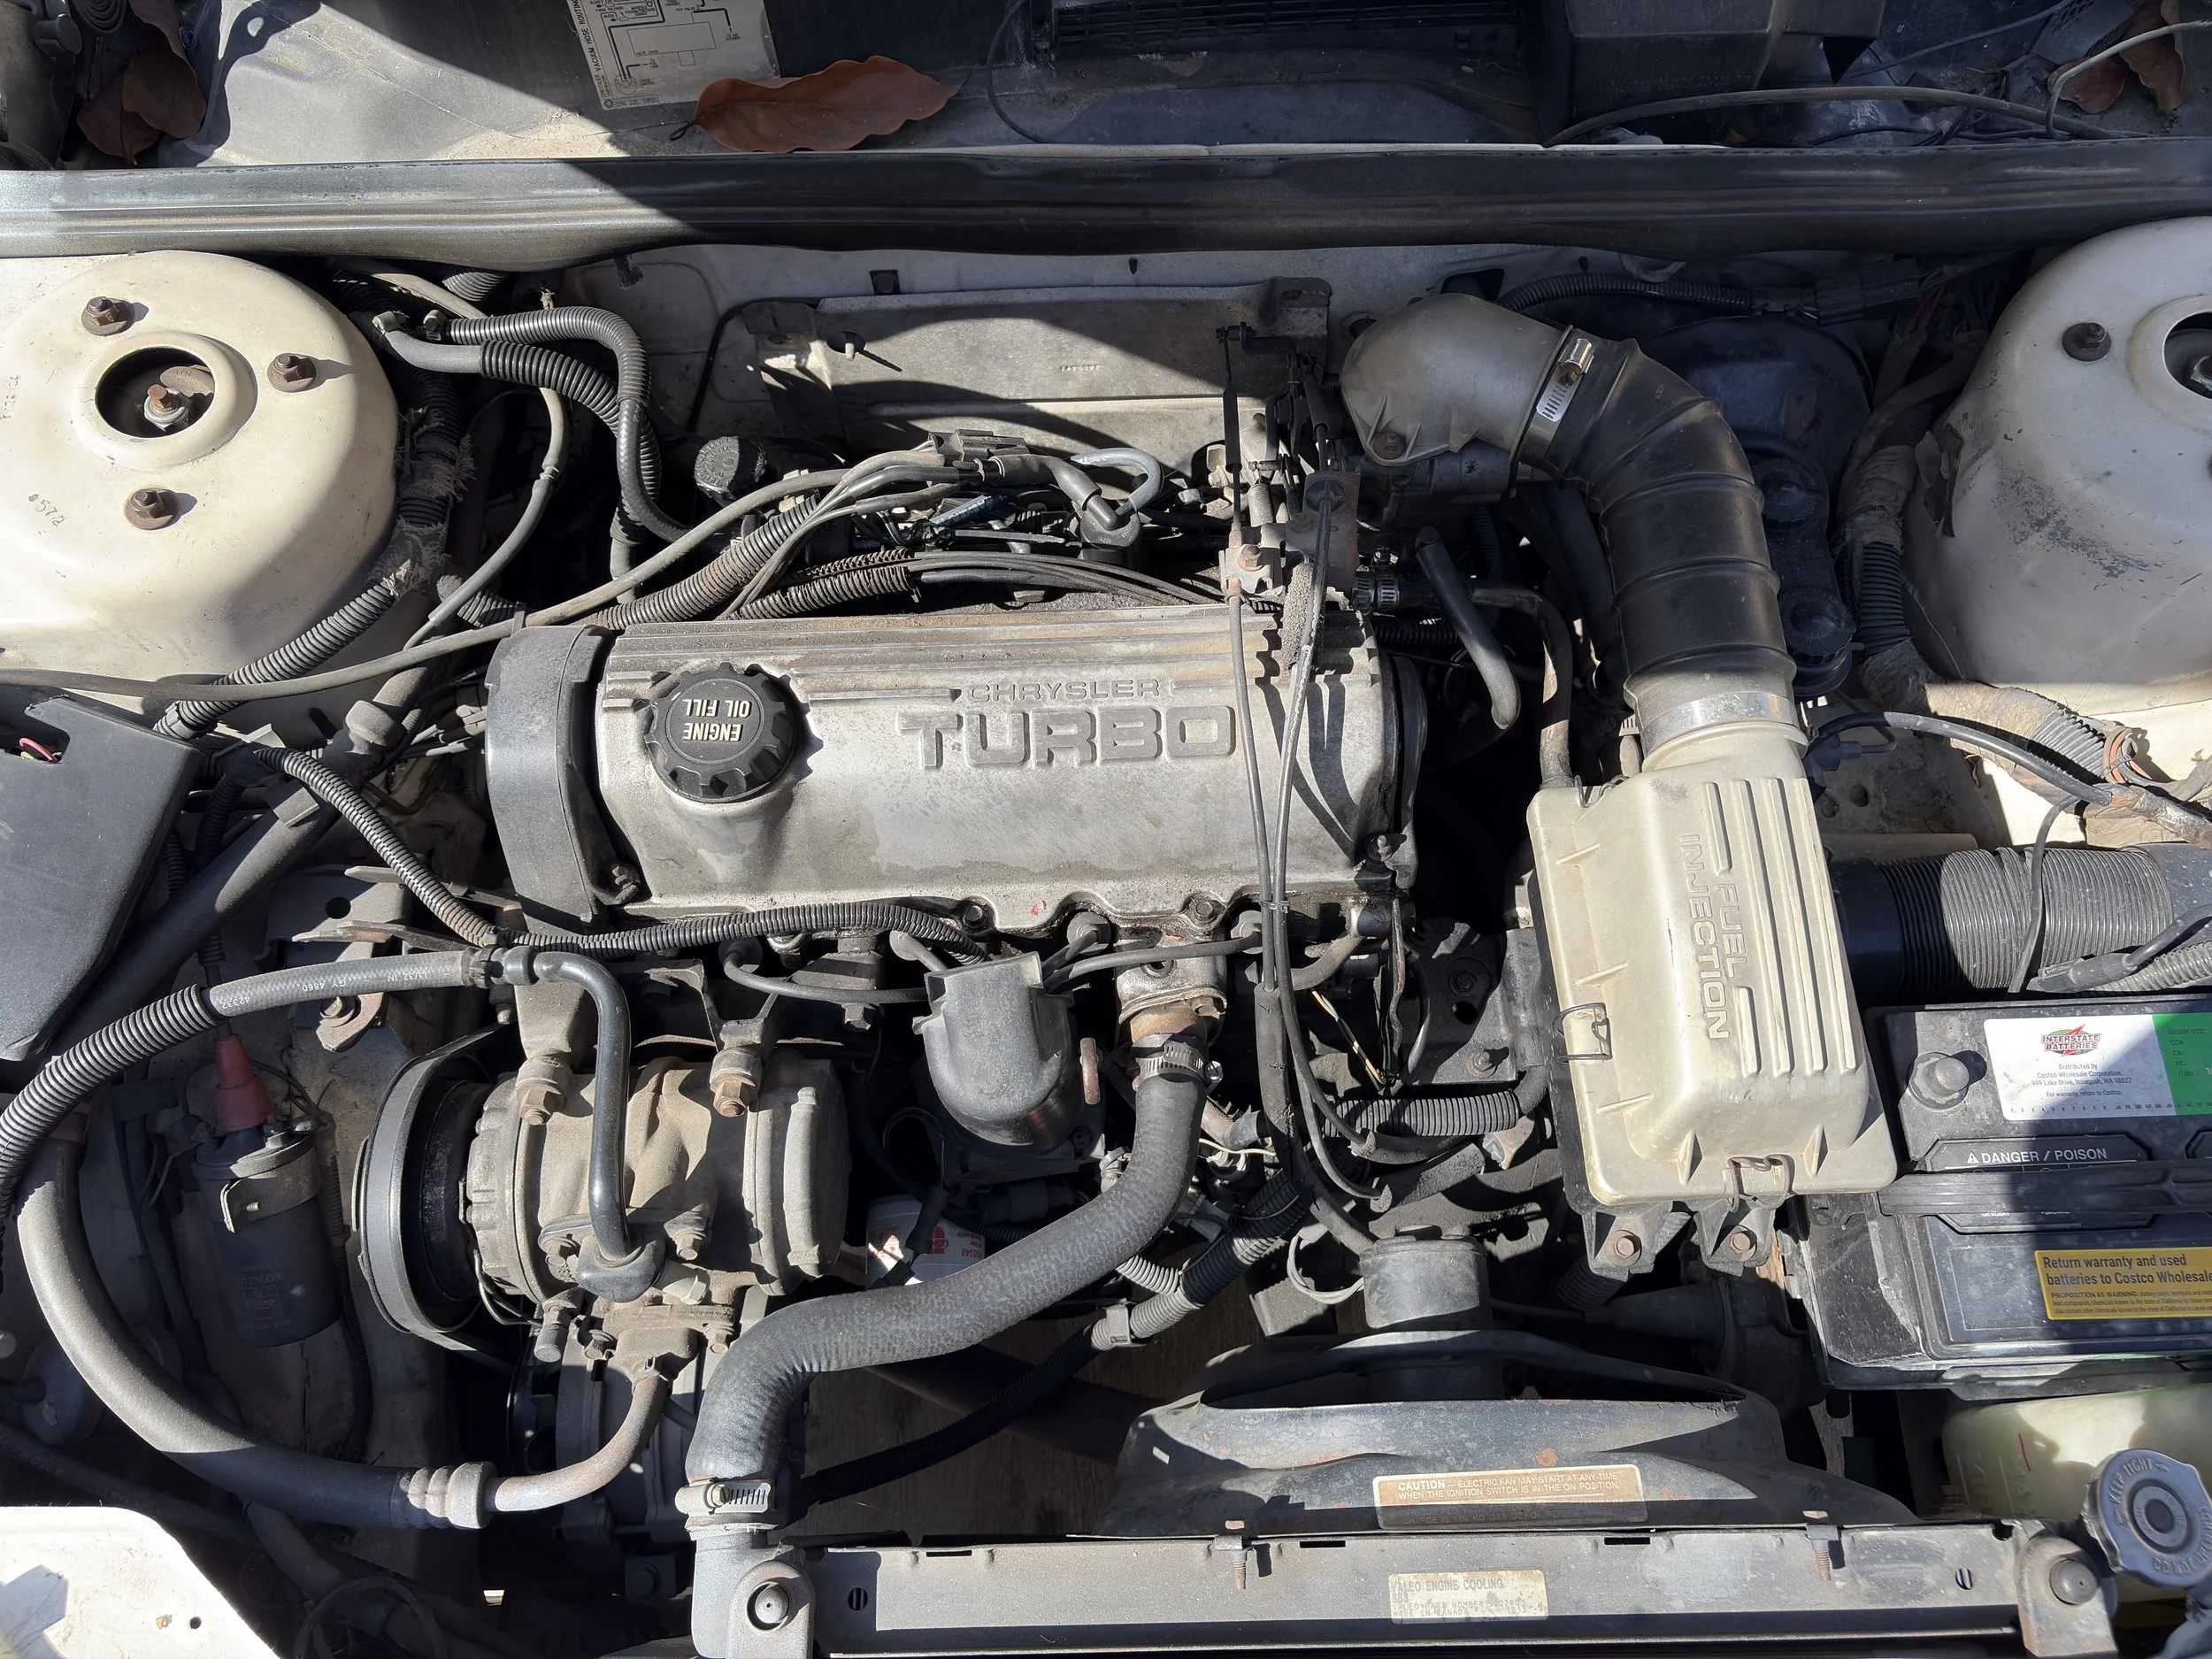
Honestly, nothing during the repair.
It was one of the rare jobs that really did take about 30 minutes. The complication came afterward, when the same overheating and stalling symptoms remained exactly as before.
Successful replacement. Still overheating.
The thermostat was replaced successfully, but it was not the cause of the overheating. The wagon stayed parked while I moved from replacing a likely maintenance part to testing the cooling system and the engine itself.
The tests found a real problem in cylinder #1.
When I later pulled the spark plugs, all four were very dark and sooty. The firing tip of the #1 plug also had clear liquid on it while the outside ceramic was dry. That was a clue, not proof of a failed head gasket, so I kept testing.
What supports this repair record.
The labels separate service-information resources from what I observed and measured on this specific wagon.
Los Angeles Public Library provides access to Chilton automotive repair information for procedures and vehicle-specific service research. Access may require a library card. View the library resource.
The Operation CHARM service-information archive lists the factory-style compression-test conditions, 100 PSI minimum, and 25 percent maximum variance used to interpret the later engine test. View the specification page.
The continuing record documents that the thermostat did not end the overheating, along with the later coolant, spark-plug, and compression evidence. Read the cooling-system diagnosis.
The full test record documents the repeated 61 PSI result in cylinder #1, the three matching 140 PSI readings, coolant behavior, and the limits of what the test proves. Read the compression-test page.
The thermostat was only the beginning.
The simple repair went well. The symptoms stayed. Now the evidence is pointing toward a much more specific problem inside cylinder #1.